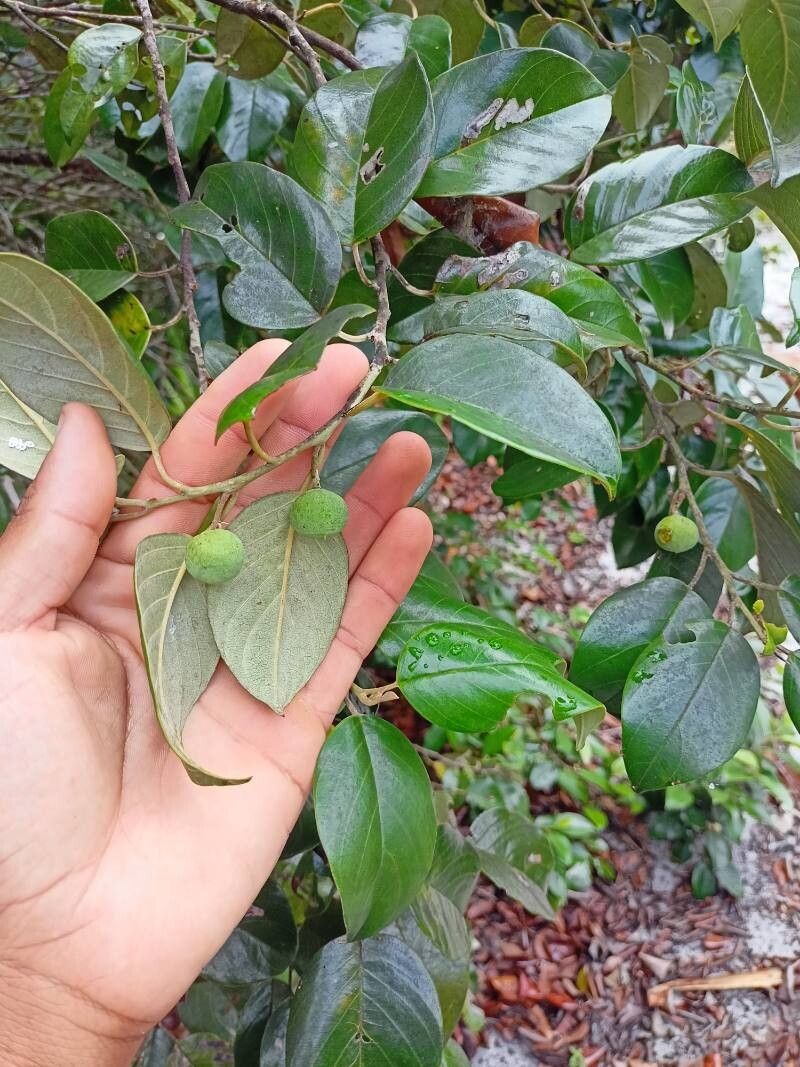
Hello, plant lovers! It’s so wonderful to have you here. Today, we’re diving into the delightful world of Emmotum affine, a plant that has truly captured my heart over the years. Its delicate, almost fern-like foliage, often with a subtle shimmer, brings a touch of elegance to any space. And the satisfaction of coaxing new life from a beloved specimen? Well, there’s nothing quite like it. While Emmotum affine isn’t the absolute easiest plant for a complete beginner, with a little patience and following these steps, I think you’ll find it surprisingly rewarding.
The Best Time to Start
For the highest success rate with Emmotum affine, I always recommend starting your propagation efforts in the late spring or early summer. This is when the plant is in full growth mode. New, healthy shoots are abundant, and their vigorous energy transfers beautifully to the cuttings. Aim to take your cuttings when the stems are semi-hardwood – not brand new and floppy, but not completely woody and old either.
Supplies You’ll Need
Before we get our hands dirty, let’s gather our tools:
- Sharp Pruning Shears or a Clean Knife: Essential for taking clean cuts to prevent disease.
- Rooting Hormone (Optional but Recommended): A powder or gel that encourages root development.
- Well-Draining Potting Mix: A blend of peat moss, perlite, and a bit of coarse sand works wonders. You can also use a good quality seed-starting mix.
- Small Pots or Seedling Trays: Clean containers for your cuttings. Make sure they have drainage holes!
- Plastic Bag or Clear Plastic Dome: To create a humid environment for your cuttings.
- Watering Can or Spray Bottle: For gently watering your new propagations.
- Labels and a Marker: To keep track of your plants and the date you started them.
Propagation Methods
Let’s get down to business! The most reliable way to propagate Emmotum affine for me has been through stem cuttings.
- Select Your Cuttings: Look for healthy, non-flowering stems that are about 4-6 inches long. Aim for those that have at least two sets of leaves.
- Make the Cut: Using your clean shears or knife, make a clean cut just below a leaf node (where a leaf attaches to the stem). This is where roots are most likely to form.
- Prepare the Cutting: Gently remove the lower leaves from the cutting, leaving just the top two or three pairs. This prevents them from rotting when buried in the soil and directs the plant’s energy into root production. If the remaining leaves are very large, you can sometimes trim them in half to reduce water loss.
- Apply Rooting Hormone (If Using): Dip the cut end of the stem into your rooting hormone. Gently tap off any excess.
- Plant Your Cuttings: Fill your small pots with your prepared potting mix and moisten it thoroughly. Make a small hole in the center of the soil with your finger or a pencil. Insert the rooted end of your cutting into the hole, ensuring it’s deep enough to be stable. Gently firm the soil around the base.
- Create a Humid Environment: Water the soil lightly again. Then, you can either cover the pot with a clear plastic bag (making sure the bag doesn’t touch the leaves of the cutting, a couple of stakes can help with this) or place it under a clear plastic dome. This is crucial for retaining moisture.
- Provide Light and Warmth: Place your pots in a bright, indirect light location. Avoid direct sun, which can scorch the delicate cuttings. A little bit of warmth from the bottom can also be beneficial, so placing them on a heat mat (if you have one) is a great idea.
The “Secret Sauce” (Pro Tips)
Here are a couple of my personal tricks that I’ve found really boost success:
- The “Wiggle Test”: Don’t be tempted to pull on your cuttings to check for roots too early! Wait a good 4-6 weeks. When you do decide to gently tug, if you feel resistance, that’s a good sign roots have formed. That little bit of tension tells you they’ve anchored themselves.
- Cleanliness is Key: I cannot stress this enough. Make sure all your tools, pots, and even your hands are clean before you start. This drastically reduces the chance of introducing any fungal or bacterial issues that can quickly kill a tender cutting.
Aftercare & Troubleshooting
Once your cuttings have developed a healthy root system (they’ll feel secure when you gently tug), it’s time for them to become independent plants!
- Acclimatize Slowly: Begin by gradually removing the plastic cover for a few hours each day over a week. This helps them adjust to lower humidity.
- Watering: Water when the top inch of soil feels dry. Avoid overwatering, as this is the most common reason for failure.
- Repotting: Once the new plants have several sets of healthy leaves and a good root system showing through the drainage holes, you can repot them into slightly larger pots with your regular potting mix.
- Signs of Trouble: The most common issue you might face is rot. If you see your cutting turning mushy, blackening, or wilting dramatically, it’s likely a rot issue. This usually stems from overwatering or poor air circulation. If caught early, you might be able to salvage a healthy section to try again. Wilting can also be a sign of underwatering or the cutting being too far from the humidity dome.
A Heartfelt Encouragement
Propagating plants is a journey, and like any good journey, there are ups and downs. Don’t be discouraged if your first few attempts aren’t perfect. Every plant you try to propagate teaches you something new. Be patient with your Emmotum affine cuttings, give them the right conditions, and enjoy the magic of watching new life emerge. Happy gardening!
Resource:
https://identify.plantnet.org/k-world-flora/species/Emmotum%20affine%20Miers/data