Welcome, garden friends! Today, we’re diving into the fascinating world of Elegia equisetacea, that wonderfully architectural rush-like beauty. If you’ve ever admired its elegant, hollow stems and wondered how to get more of these stunners for your own garden, you’re in the right place. Propagating Elegia equisetacea can be a rewarding project, and while it might seem a tad tricky at first glance, with a little know-how, you’ll be well on your way to multiplying your collection. It’s a plant that rewards patience, so let’s get our hands dirty!
The Best Time to Start
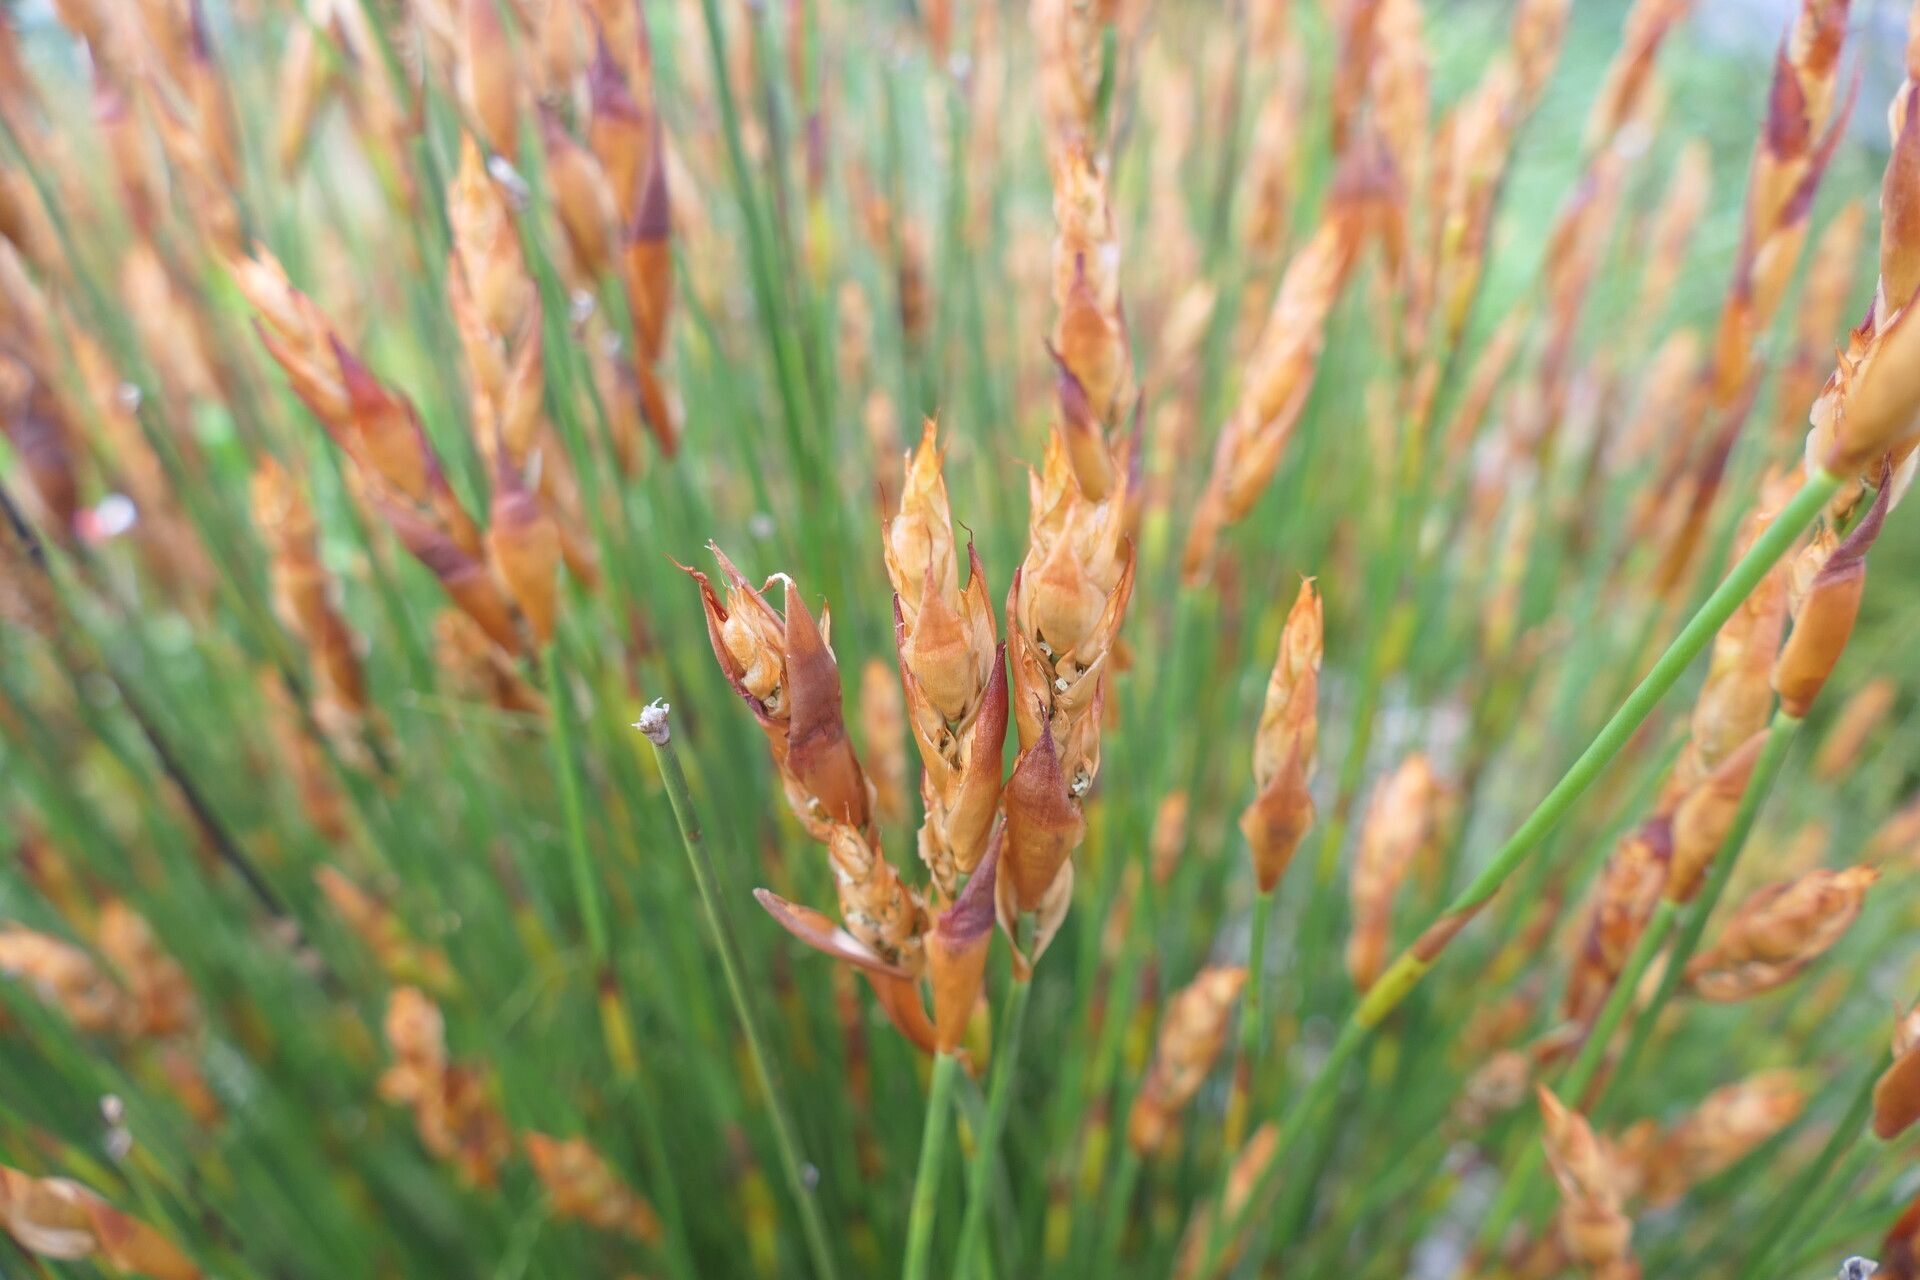
For Elegia equisetacea, the sweet spot for propagation is typically when the plant is actively growing, usually in late spring or early summer. This is when the plant has plenty of energy reserves to put into developing new roots. You want to aim for healthy, vigorous stems that aren’t flowering or setting seed, as this energy needs to be directed towards root formation.
Supplies You’ll Need
Before we get started, let’s gather our essentials. Having everything ready makes the process smoother.
- Sharp pruning shears or a clean knife: For making clean cuts.
- Rooting hormone (optional, but recommended): A powder or gel to encourage root development.
- Well-draining potting mix: A mix of perlite, coarse sand, and peat moss works beautifully. You can also buy specialized succulent or cactus mixes.
- Small pots or propagation trays: With drainage holes, of course!
- Plastic bags or propagation domes: To create a humid environment.
- Water mister: For keeping things moist.
- Labels: So you don’t forget what you’ve planted!
Propagation Methods
Elegia equisetacea is most commonly propagated by stem cuttings. It’s a straightforward method once you get the hang of it.
Stem Cuttings:
- Select your stem: Look for a healthy, non-flowering stem that’s at least six inches long.
- Make the cut: Using your sharp shears or knife, make a clean cut just below a node (where a leaf or branch emerges). The goal is a cutting that has several nodes along its length.
- Prepare the cutting: Gently remove the lower leaves from the cutting, leaving about two to three sets of leaves at the top. This prevents them from rotting in the soil.
- Apply rooting hormone (optional): Dip the cut end of the stem into your rooting hormone, tapping off any excess.
- Plant the cutting: Insert the cut end into your prepared, moistened potting mix. Make sure at least one node is buried in the soil, as this is where roots will emerge.
- Create a humid environment: Lightly water the soil and then cover the pot with a plastic bag or propagation dome. This traps humidity, which is crucial for cuttings to root. You can prop up the bag with a few stakes if it touches the leaves.
- Place in bright, indirect light: Find a spot that receives plenty of light but avoids direct, scorching sun.
The “Secret Sauce” (Pro Tips)
Now, for a couple of tricks learned over the years that can really boost your success rate.
- Don’t overcrowd: When planting multiple cuttings in one pot, give them a little breathing room. This improves air circulation and reduces the risk of fungal diseases.
- Bottom heat is your friend: If you have a propagation mat or can place your pots on a warm windowsill, gentle bottom heat can significantly speed up root formation. Aim for a soil temperature around 70-75°F (21-24°C).
Aftercare & Troubleshooting
Once your cuttings are planted, the real patience game begins.
- Maintain humidity: Mist your cuttings lightly every few days, especially if the soil surface starts to look dry. The goal is consistently moist, but not soggy, soil.
- Check for roots: After about 4-6 weeks, you can gently tug on a cutting. If you feel resistance, you’ve got roots! You’ll also start to see new growth emerging.
- When to transplant: Once the roots are well-established and you see good new growth, you can transplant your new Elegia into its own small pot. Continue to keep it in bright, indirect light and water as needed.
The most common issue you might encounter is rot. This usually happens if the soil is too wet for too long, or if the humidity is too high without enough air circulation. If you see a cutting turning black and mushy, unfortunately, it’s likely a goner. Don’t be discouraged! Just clear it out and try again with your next batch, paying closer attention to drainage and airflow.
So there you have it! Propagating Elegia equisetacea is a journey. Be patient with yourself and the process. Observe your cuttings, learn from them, and most importantly, enjoy the satisfaction of creating new life for your garden. Happy propagating!
Resource:
https://identify.plantnet.org/k-world-flora/species/Elegia%20equisetacea%20(Mast.)%20Mast./data