Oh, hello there! Pull up a chair, I’ve got the kettle on. Today, we’re diving into a truly special little fern: Elaphoglossum cinnamomeum. This beauty, also known as the Cinnamon Fern for its gorgeous rusty underside, is such a charming addition to any shady corner. Its textured fronds have a certain elegance, and honestly, coaxing a new plant into existence from an existing one? It’s one of the most satisfying feelings a gardener can have. Now, is Elaphoglossum cinnamomeum a walk in the park for propagation? Not exactly a beginner’s first foray, I’d say. It requires a little patience and a gentle touch, but with these steps, you’ll be well on your way.
The Best Time to Start
For a truly successful propagation with Elaphoglossum cinnamomeum, I always find spring to be the golden time. As the days grow longer and warmer, and your established plant is showing signs of new, vigorous growth, that’s your cue. You want to work with healthy, active material. Attempting this when the plant is dormant or stressed is just setting yourself up for disappointment.
Supplies You’ll Need
Gathering your tools before you begin makes the whole process so much smoother. Here’s what you’ll want on hand:
- Sharp Pruning Shears or a Clean Knife: For making clean cuts.
- Well-Draining Potting Mix: A blend of peat moss, perlite, and a bit of orchid bark works wonders for ferns.
- Small Pots or Trays: With drainage holes, of course!
- Rooting Hormone (Optional but Recommended): A powdered or gel type.
- Clear Plastic Bag or Humidity Dome: To create a mini-greenhouse effect.
- Watering Can with a Fine Rose: For gentle watering.
- Gloves: If you prefer to keep your hands clean.
Propagation Methods
With Elaphoglossum cinnamomeum, the most reliable method I’ve found is through division. These ferns tend to form clumps over time, and separating these clumps is a natural and effective way to get new plants.
Division is your best bet:
- Gently Excavate: Carefully remove your Elaphoglossum cinnamomeum from its pot. If it’s in the ground, loosen the soil around it and lift the entire root ball with as much of the surrounding soil as possible.
- Inspect the Clump: Look for natural divisions. You’ll see areas where the rhizomes (the creeping stems just below the soil surface) have branched. You’re looking for sections that have their own healthy roots and at least a couple of fronds.
- Make Your Cut (or Pull Apart): Using your clean knife or shears, carefully separate a division from the main plant. If the rhizomes are easily pulled apart by hand without damaging them too much, that’s often the gentlest way. Aim for divisions that are about a quarter to a third the size of the original plant.
- Prepare the New Plant: Trim away any damaged or dead fronds. You can dust the cut surfaces with a fungicide if you’re particularly concerned about rot, but usually, a clean cut is sufficient.
- Pot Up: Fill your new, small pots with your well-draining potting mix. Create a slight well in the center.
- Plant the Division: Place the divison into the pot, ensuring the top of the rhizome is just at or slightly below the soil surface. Gently firm the soil around it.
- Water Gently: Water thoroughly but gently, making sure the soil is evenly moist but not waterlogged.
The “Secret Sauce” (Pro Tips)
Here are a few things I’ve learned over the years that really make a difference:
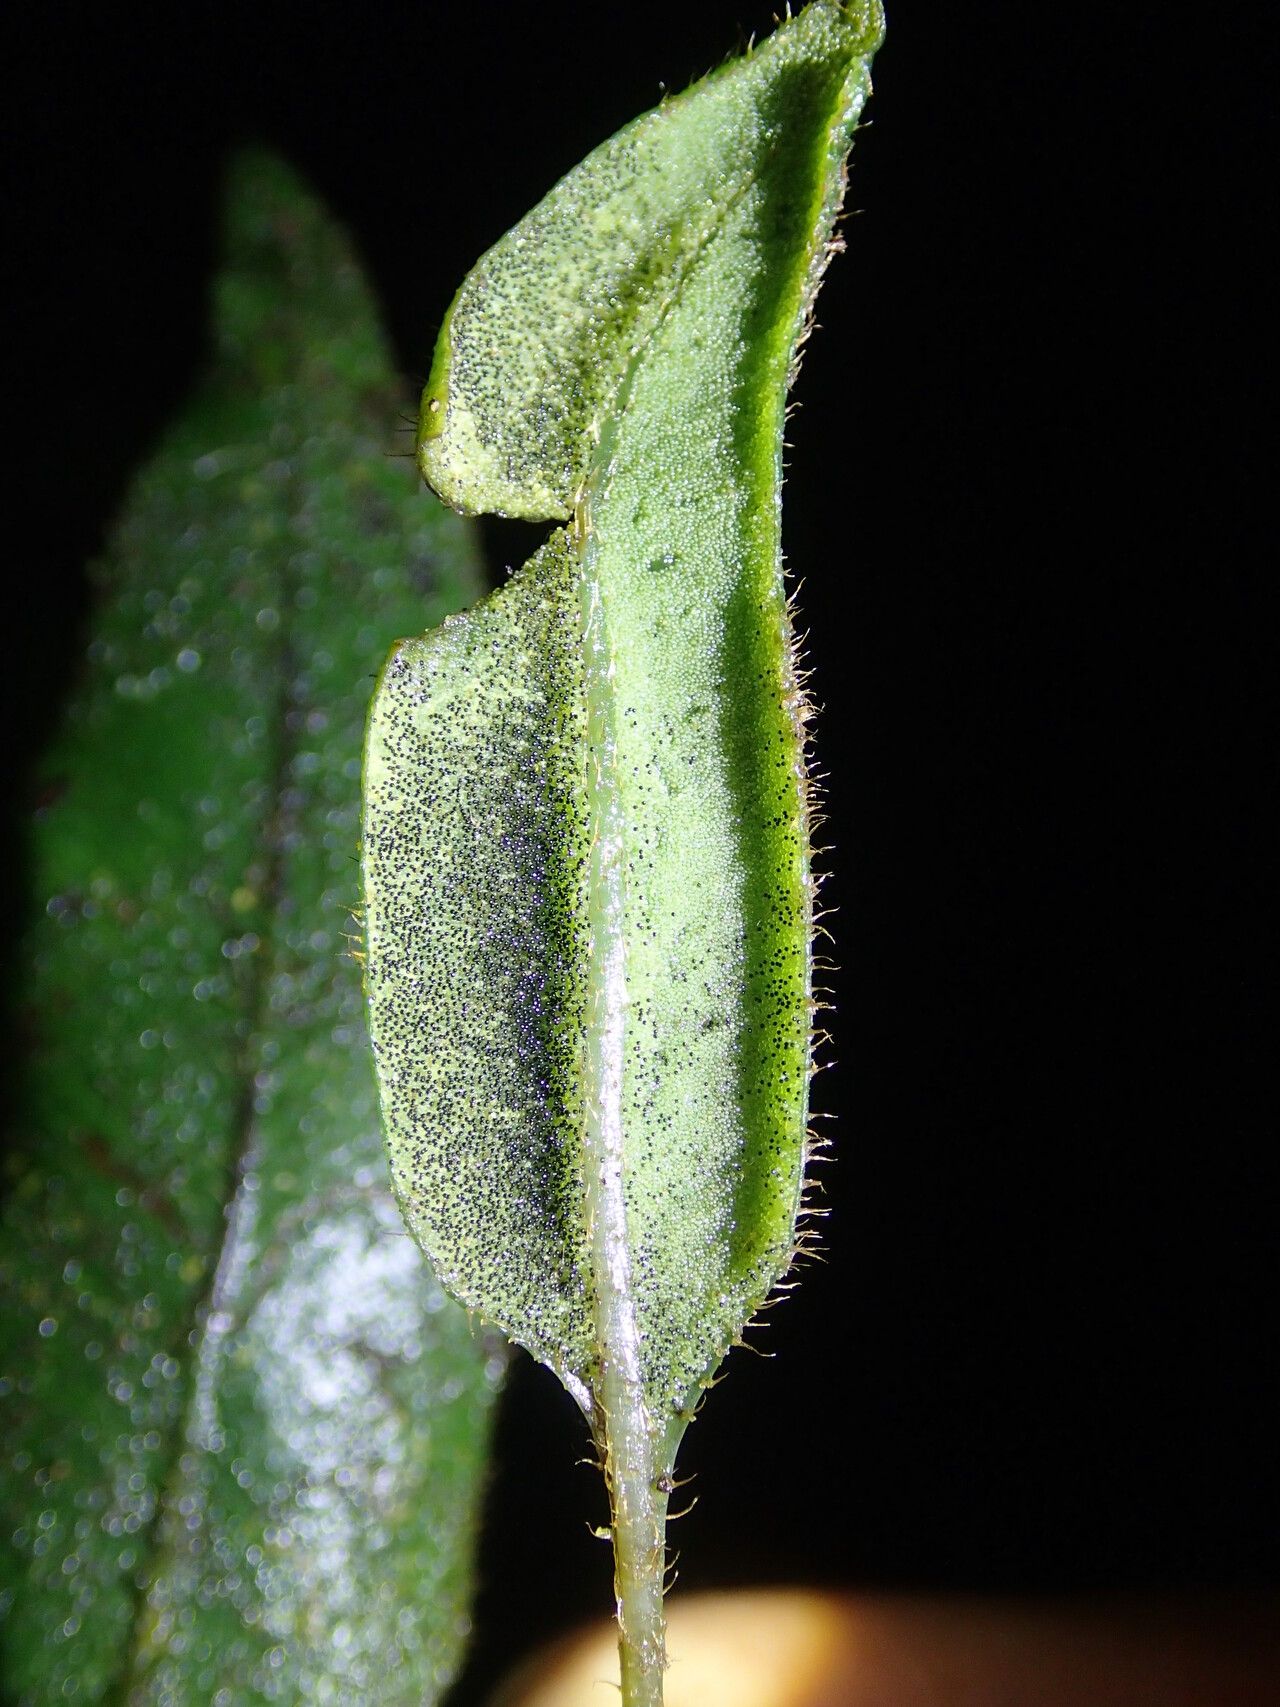
- Think About the Underside: Remember that lovely cinnamon color? That’s often a sign of good health. When you’re dividing, focus on the divisions that have plenty of those rusty-colored scales on their rhizomes – it’s a good indicator of vitality.
- Don’t Drown It: While ferns love humidity, waterlogged soil is the death knell. Ensure your pots have excellent drainage and only water when the top inch or so of soil feels dry to the touch. Overwatering is the most common mistake I see.
- Embrace the Shade: Just like their parent plant, new divisions hate direct sun. They need bright, indirect light, like what you’d find under a canopy of trees. Think of it as their cozy, dappled-light spa treatment.
Aftercare & Troubleshooting
Once your new Elaphoglossum cinnamomeum is potted, it’s time for some tender loving care.
- Humidity is Key: Pop a clear plastic bag over the pot or place it under a humidity dome. This is crucial because the new division needs to retain moisture while it establishes its root system. Mist the inside of the bag lightly if you see condensation drying up too quickly.
- Patience, Young Grasshopper: It can take several weeks, or even a couple of months, for new growth to appear. Don’t be tempted to dig it up to check for roots; you’ll only disturb the delicate process.
- Acclimatize: Once you see new fronds unfurling, it’s time to gradually introduce it to the outside world. Open the bag a little each day for a week, slowly increasing the airflow, before removing it completely.
- Troubleshooting Rot: The biggest culprit for failure is rot, often caused by overwatering or poor drainage. If you see fronds turning mushy and brown, or if the rhizome feels soft and slimy, unfortunately, it’s likely too late. This is why that well-draining mix and careful watering are so important. Yellowing leaves, on the other hand, can sometimes indicate too much light, so move it to a shadier spot if this happens.
A Little Encouragement to Finish
So there you have it! Propagating Elaphoglossum cinnamomeum is a journey, not a race. Be patient, observe your new plant closely, and don’t be discouraged if your first attempt isn’t perfect. Every gardener has their learning curve. The joy of seeing a tiny new fern emerge, knowing you helped bring it to life, is absolutely worth it. Happy growing!
Resource: