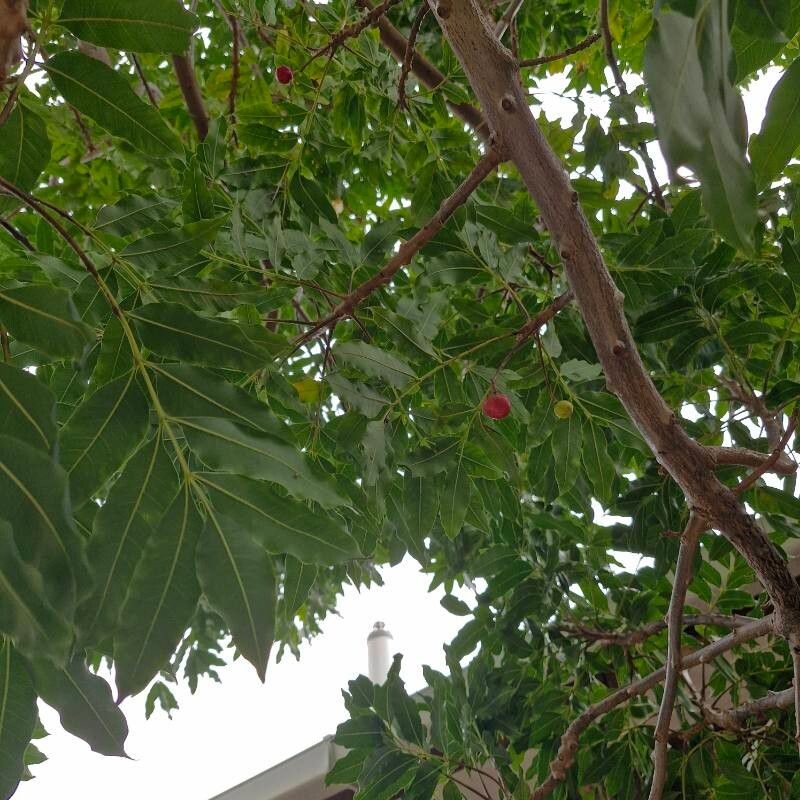
Hello, fellow garden enthusiasts! Today, we’re diving into the wonderful world of propagating Ekebergia capensis, often called the Cape Ash or African Dogwood. This lovely tree boasts beautiful, fragrant flowers and often, delightful fruit, making it a real gem for any garden. And trust me, nurturing a new plant from a tiny cutting or seed is one of the most satisfying gardening experiences there is. For Ekebergia capensis, propagation can be a touch challenging, but with a little patience and the right approach, you’ll be rewarded with your own homegrown beauties.
The Best Time to Start
Timing is everything in the garden, and for Ekebergia capensis, spring and early summer are your best bets. This is when the plant is actively growing, and cuttings taken during this period will have the most energy to root. Look for healthy, non-flowering shoots – these are typically the most vigorous and successful.
Supplies You’ll Need
Before we get our hands dirty, let’s gather our tools:
- Sharp pruning shears or a clean, sharp knife: For taking clean cuttings.
- Rooting hormone powder or gel: This is a game-changer for encouraging root development.
- Well-draining potting mix: A good blend of perlite, coarse sand, and peat moss works wonders. You can also find specialized seed-starting mixes.
- Small pots or seedling trays: Clean and with drainage holes.
- Plastic bags or a propagator: To create a humid environment for cuttings.
- Watering can with a fine rose or spray bottle: For gentle watering.
- Optional: Heat mat: To provide bottom warmth for faster rooting.
Propagation Methods
Let’s explore the most common ways to multiply your Ekebergia capensis.
Stem Cuttings:
This is my personal favorite, and often the most reliable for this plant.
- First, choose a healthy stem that’s about as thick as a pencil.
- Using your clean pruning shears or knife, take a cutting about 4-6 inches long. Make the cut just below a leaf node, which is where new roots are most likely to form.
- Gently remove the lower leaves from the cutting. You want to expose the nodes.
- Dip the cut end of the cutting into rooting hormone. Tap off any excess.
- Insert the cutting into your prepared potting mix, about 1-2 inches deep. Make sure at least a couple of nodes are buried in the soil.
- Water gently to settle the soil around the cutting.
- Cover the pot with a plastic bag or place it in a propagator to maintain high humidity. You can support the bag with stakes so it doesn’t touch the leaves.
- Place the pot in a bright, indirect light location. Keep the soil consistently moist but not waterlogged.
Water Propagation (with caution):
While some plants root beautifully in water, Ekebergia capensis can be a bit fussier. If you decide to try this:
- Take a stem cutting as described above, but trim off all but the top two or three leaves.
- Place the cutting in a jar of clean, room-temperature water.
- Crucially, ensure no leaves are submerged in the water. This can lead to rot.
- Change the water every few days to keep it fresh.
- Once you see small white root nubs forming (this can take a while!), carefully transplant the cutting into well-draining potting mix.
The “Secret Sauce” (Pro Tips)
Here are a few tricks I’ve learned over the years that really help:
- Bottom Heat is Your Friend: If you can, place your pots on a heat mat. This gentle warmth from below mimics spring soil temperatures and can significantly speed up the rooting process. It’s like giving your cuttings a cozy blanket!
- Don’t Rush the Transplant: Be patient! Don’t be tempted to pull on the cutting to see if it’s rooted. The best indicator is new leaf growth. Once you see healthy new shoots and leaves emerging, you’ll know your cutting is establishing itself.
- Cleanliness is Paramount: Always use sterilized tools and pots. This might sound basic, but it’s the number one way to prevent fungal diseases and rot, which can quickly doom your efforts.
Aftercare & Troubleshooting
Once you see signs of new growth – those tiny leaves unfurling – it’s time to gradually acclimate your new plant.
- Remove the plastic bag or propagator for increasingly longer periods each day over a week or so. This allows the new plant to adjust to normal humidity levels.
- Continue to keep the soil consistently moist.
- Once the plant is well-established and has several sets of leaves, you can pot it up into a slightly larger container with fresh potting mix.
Now, what if things go wrong? The most common issue you might encounter is rot. If your cutting turns black and mushy, it’s likely rotted. This is usually due to too much moisture and/or poor air circulation. If you see this, it’s best to discard the cutting and start again, paying close attention to your watering and humidity levels. Another sign of failure is if the cutting simply wilts and never shows signs of rooting – this could be due to lack of rooting hormone, poor light, or the cutting simply not being viable.
A Little Patience Goes a Long Way
Propagating Ekebergia capensis is a journey, not a race. There will be times when you have to try again, and that’s perfectly okay! Every attempt teaches you something new. So, grab your tools, find a healthy plant, and embrace the process. The reward of nurturing a new life from a humble cutting is truly special. Happy gardening!
Resource:
https://identify.plantnet.org/k-world-flora/species/Ekebergia%20capensis%20Sparrm./data