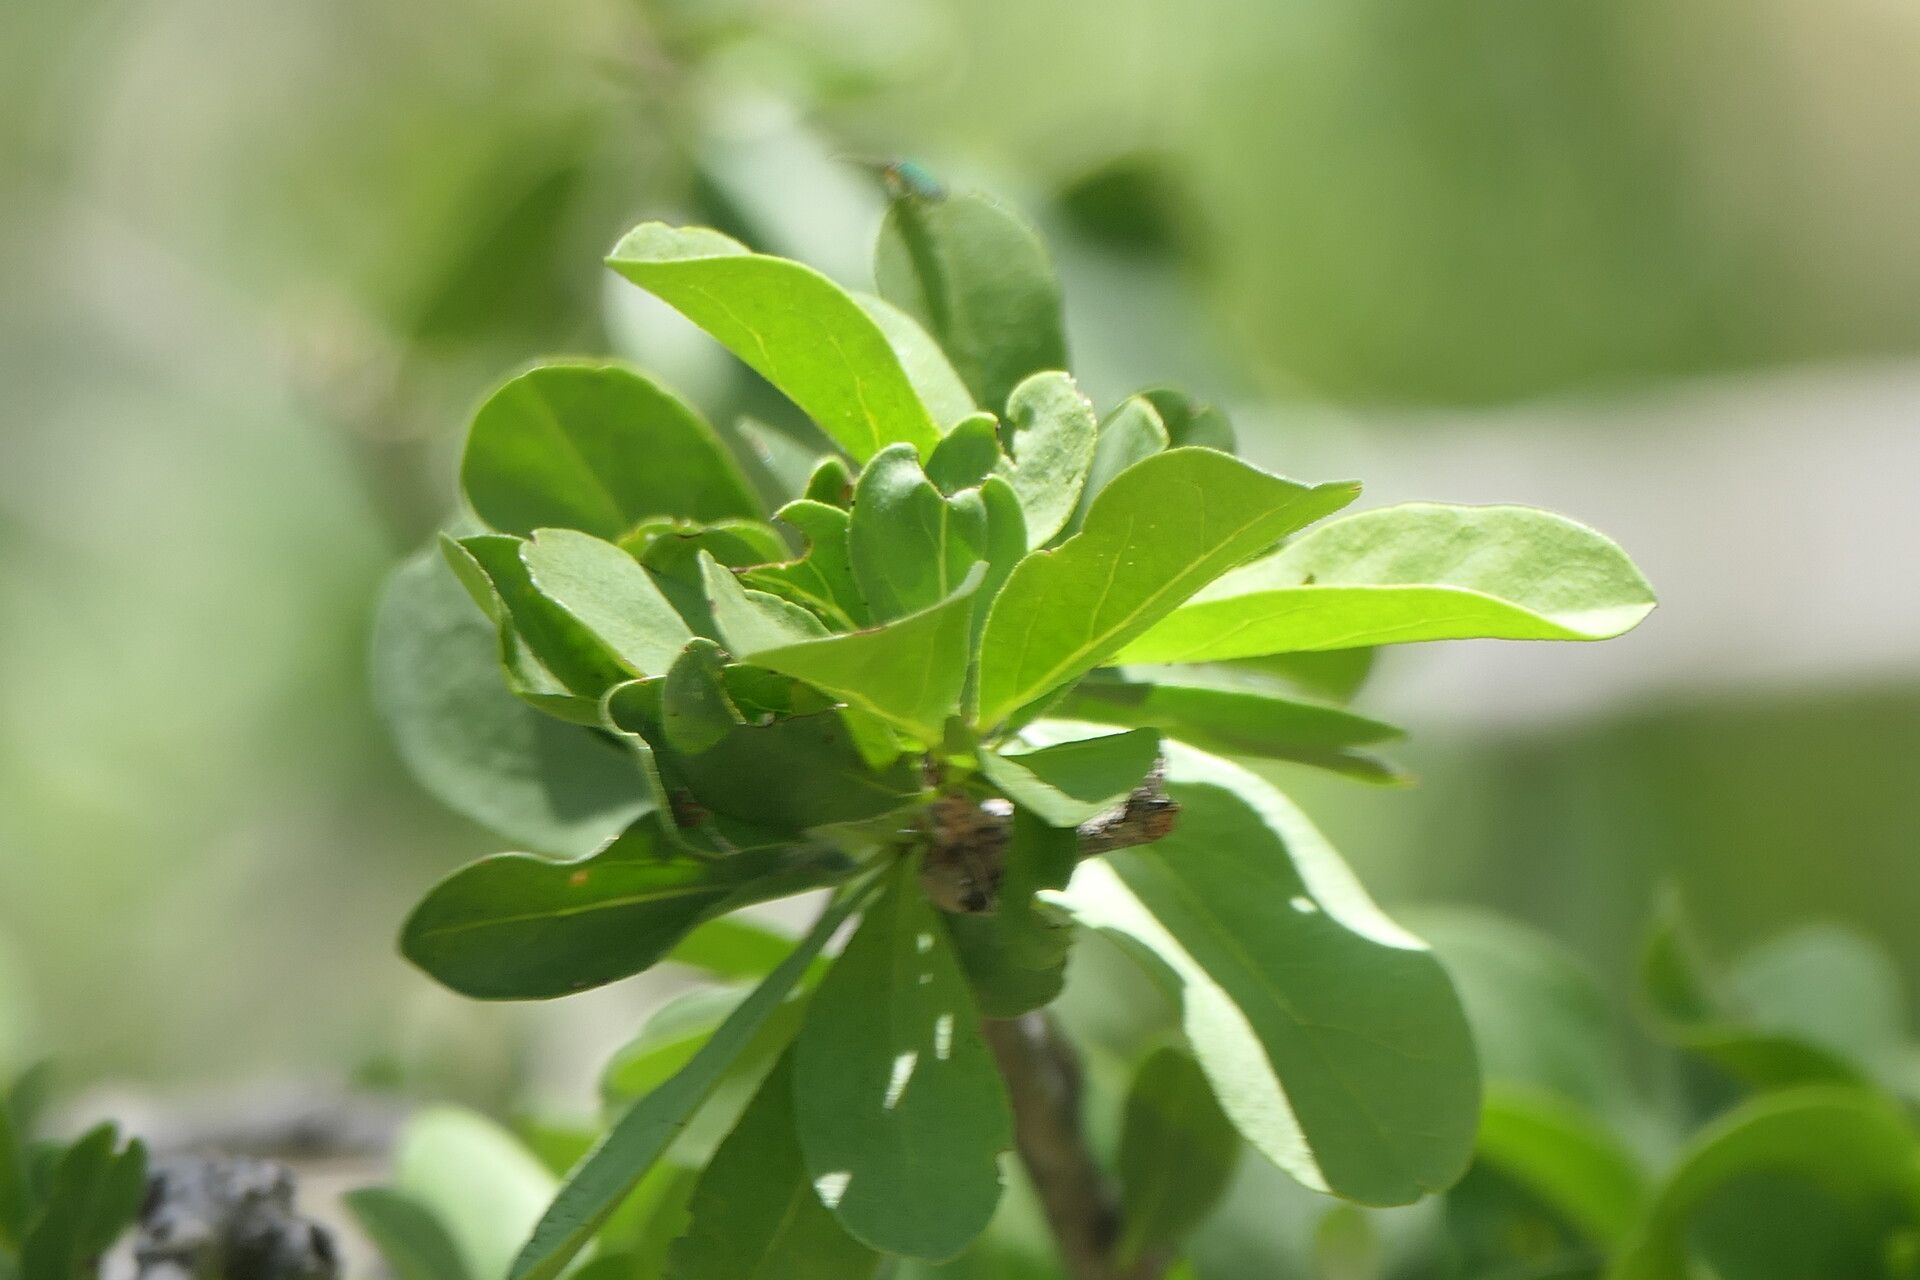
Hello fellow garden enthusiasts! Today, we’re diving into the wonderful world of Ehretia alba, a truly special plant that deserves a spot in every garden. You might know it for its delicate white flowers that bloom prettily, or its lovely shrubby form. Growing these beauties from scratch is incredibly satisfying, and I’m here to share how you can do it too!
This isn’t a plant that will tie you in knots trying to propagate. In fact, Ehretia alba is quite forgiving, making it a fantastic choice even if you’re just dipping your toes into the world of plant propagation. It feels so good to nurture a new life from a tiny piece of a beloved plant.
The Best Time to Start
For the highest success rate with Ehretia alba, the sweet spot is late spring to early summer. This is when the plant is actively growing, and the stems have a good amount of energy to put into developing roots. You’re looking for softwood cuttings, which are new, flexible shoots that haven’t hardened off completely. Avoid the very old, woody stems or the brand-new, impossibly tender tips.
Supplies You’ll Need
Gathering your supplies beforehand makes the whole process smoother. Here’s what I always have on hand:
- Sharp, clean pruning shears or a sharp knife: For making clean cuts.
- Rooting hormone powder or liquid: This really gives your cuttings a boost.
- A well-draining potting mix: I like to use a blend of perlite and peat moss or coir. A sterile seed-starting mix works wonders too.
- Small pots or a propagation tray: With drainage holes, of course!
- A plastic bag or propagation dome: To create a humid environment.
- Water: For misting and potentially for water propagation.
- Labels and a marker: So you don’t forget what you planted where!
Propagation Methods
Let’s get our hands dirty! Ehretia alba can be successfully propagated using a couple of methods, but stem cuttings are my go-to.
Stem Cuttings (My Favorite Way!)
- Take your cuttings: On a bright, but not scorching, morning, select healthy, vigorous stems. Using your clean shears, cut pieces that are about 4-6 inches long. Make sure each cutting has at least two sets of leaves.
- Prepare the cuttings: Gently remove the lower leaves, leaving just the top two or three. This prevents them from rotting in the soil.
- Dip in rooting hormone: Lightly dip the cut end into your rooting hormone. Tap off any excess.
- Plant the cuttings: Fill your small pots or propagation tray with your prepared, moist potting mix. Use a pencil or your finger to make a small hole, and then gently insert the cutting, ensuring the bottom leaf nodes are buried. Firm the soil around the stem.
- Create humidity: Water the soil lightly. Then, cover the pot or tray with a plastic bag or propagation dome. You want to create a mini greenhouse effect.
Water Propagation (A Close Second)
If you prefer to see those roots emerge, water propagation is also an option for Ehretia alba.
- Prepare the cuttings: Follow steps 1 and 2 from the stem cutting method. Instead of rooting hormone, you’re just looking for a clean cut.
- Place in water: Put the cuttings in a jar or glass of clean water. Make sure the water level covers at least one node where you removed the leaves.
- Keep it fresh: Change the water every few days to prevent stagnation and keep it clean.
- Watch them grow! You’ll start seeing little white roots appear in a few weeks. Once the roots are about an inch long, you can transplant them into soil.
The “Secret Sauce” (Pro Tips)
Here are a couple of things I’ve learned over the years that seem to make all the difference:
- Don’t let the leaves touch the water (in water propagation): If you’re doing water propagation, be mindful that the leaves don’t sit in the water. Submerged leaves can rot and invite disease, which is the last thing you want for your little baby plant.
- Bottom heat is your friend: Ehretia alba cuttings absolutely love a bit of warmth from below. If you have a propagation mat, pop your pots on it. This little boost encourages root development much faster. If you don’t have one, placing them on top of a gently warm refrigerator can sometimes do the trick.
Aftercare & Troubleshooting
Once you start seeing roots poking out the bottom of your pot, it’s time for a little more TLC!
- Gradually acclimate: Once roots are established, slowly remove the plastic bag or dome over a few days. This prevents shock from the sudden change in humidity.
- Gentle watering: Keep the soil consistently moist but not waterlogged. Feeling the surface of the soil is the best way to tell when it needs a drink.
- Bright, indirect light: Place your new plants in a location that receives bright, indirect sunlight. Direct sun can scorch their tender new leaves.
Sometimes, things don’t go as planned, and that’s okay! The most common issue I see is rot. If your cuttings turn mushy or black at the base, it’s usually a sign of too much moisture and not enough air circulation. If you notice this, pull the affected cuttings, discard them, and ensure the remaining ones have better drainage and perhaps a bit more air. Don’t get discouraged; nature has a way of teaching us!
Keep Growing!
Propagating Ehretia alba is a truly rewarding journey. It’s about patience, observation, and a little bit of nurturing. Enjoy the process, celebrate every tiny root that appears, and soon you’ll have even more of these lovely plants to share or admire. Happy gardening!
Resource:
https://identify.plantnet.org/k-world-flora/species/Ehretia%20alba%20Retief%20&%20A.E.van%20Wyk/data