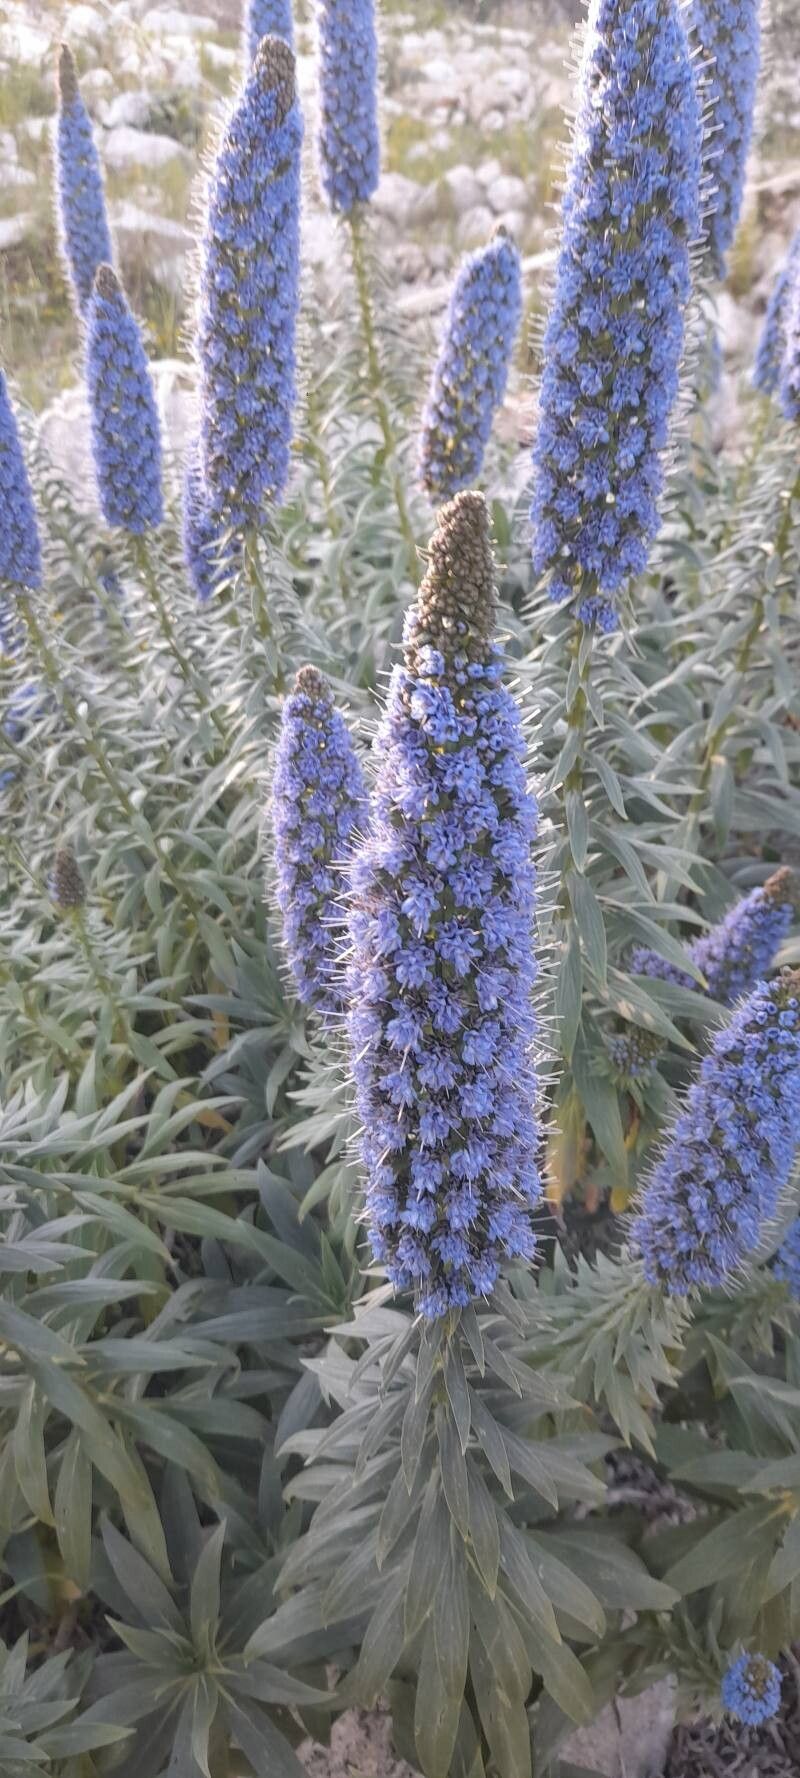
Hello there, fellow plant enthusiasts! I’m so excited to chat with you today about one of my absolute favorite desert dwellers: Echium webbii, or the Canary Island Bugloss. Seriously, if you’re looking for a plant that brings a touch of the exotic and a whole lot of dramatic flair to your garden, this is it. Those tall, architectural spikes of vibrant blue flowers are just breathtaking. And the best part? Learning to propagate them, while a teensy bit more involved than, say, a begonia, is incredibly rewarding. You get to share these beauties, fill up more of your landscape, and really feel that connection to your plants. For beginners, I’d say it’s a project that needs a little focused attention, but with a few key tips, you’ll be well on your way.
The Best Time to Start
When I’m looking to get new Echium webbii going, I always aim for late spring or early summer. This is when the plant is actively growing after its main flowering season, and the stems are nice and firm, but not yet woody. You want to be working with healthy, vigorous material. If you’re collecting seeds, that’s usually after the flowers have faded and the seed pods have begun to dry.
Supplies You’ll Need
To give your Echium webbii the best start, gather these essentials:
- Sharp, clean pruning shears or a sharp knife: A clean cut is crucial.
- Rooting hormone (optional but recommended): This little sprinkle can make a big difference in encouraging root development.
- Well-draining potting mix: I like a blend of perlite, coarse sand, and a good quality potting soil. Think cactus mix, but a bit richer.
- Small pots or trays: Clean and with drainage holes, of course.
- Watering can with a fine rose or a spray bottle: Gentle watering is key.
- Plastic bags or a propagator lid: To create a humid environment.
- Location with bright, indirect light: No direct scorching sun for new cuttings!
Propagation Methods
For Echium webbii, stem cuttings are my go-to method. It’s reliable and gives you a fantastic chance of success.
- Take Your Cuttings: Select a healthy stem that has finished flowering or is just about to. Using your clean shears, cut a section about 4-6 inches long, making sure it has at least a couple of leaf nodes. Remove the lower leaves, leaving just a few at the very top.
- Apply Rooting Hormone (If Using): Dip the cut end of the stem into your rooting hormone powder, tapping off any excess.
- Plant Your Cuttings: Fill your small pots with your well-draining mix. Make a hole in the center with your finger or a pencil and gently insert the cutting, ensuring the lowest leaf node is below the soil surface. Firm the soil gently around the stem.
- Create a Humid Environment: Water the soil lightly. Then, cover each pot with a plastic bag or place them in a propagator, ensuring the bag doesn’t touch the leaves of the cutting too much. Secure the bag around the pot or close the propagator lid.
- Provide the Right Conditions: Place the pots in a spot that gets bright, indirect light. Avoid strong, direct sun, which can scorch the tender cuttings. Warmth is also your friend; a heat mat underneath can really speed things up, but it’s not strictly necessary if your environment is already warm.
- Be Patient! Check on your cuttings regularly. You’ll want to mist the soil lightly every few days or when the surface feels dry. Resist the urge to waterlog them; that’s a fast track to rot.
The “Secret Sauce”
Now, for a couple of things I’ve learned over the years that really lean in the favor of successful Echium propagation:
- Don’t Overwater: I can’t stress this enough. Echium are desert plants, and that translates to their cuttings. They have those succulent-like leaves that retain moisture. Soggy soil is the enemy. A light misting is usually all they need while they root.
- Consider Bottom Heat: While not essential, if you have a propagation mat, using bottom heat can be a game-changer. It encourages root formation from the base of the cutting and is particularly helpful if your ambient temperatures are a bit on the cooler side.
- Use Multiple Cuttings: Don’t be shy! Take more cuttings than you think you’ll need. Not every single one will take, but if you have a good handful, your chances of getting a few strong, rooted plants are really high.
Aftercare & Troubleshooting
Once you start seeing signs of new growth or feel a gentle tug when you very carefully try to lift a cutting, that’s a good sign roots are forming! This usually takes several weeks to a couple of months.
At this point, you can gradually introduce your new plantlets to slightly less humid conditions. Slowly open the plastic bag a little each day over a week to acclimate them. Continue watering sparingly, allowing the soil to dry out slightly between waterings. Once they’re well-established, you can transplant them into slightly larger pots with fresh potting mix.
The most common problem you’ll encounter is rot. If your stem cutting turns mushy and brown, it’s usually a sign of too much moisture combined with insufficient air circulation. Unfortunately, there’s not much you can do once rot sets in, so prevention is key. If you see leaves yellowing and dropping without any signs of rot, it could be that they’re not getting enough light, or perhaps the conditions are too dry.
A Warm Farewell
Propagating Echium webbii is a journey. There will be moments of anticipation, and maybe a little bit of trial and error. But that’s what gardening is all about, isn’t it? Be patient with your cuttings, enjoy the process of nurturing something new, and before you know it, you’ll be admiring your very own spikes of blue! Happy growing!
Resource:
https://identify.plantnet.org/k-world-flora/species/Echium%20webbii%20Coincy/data