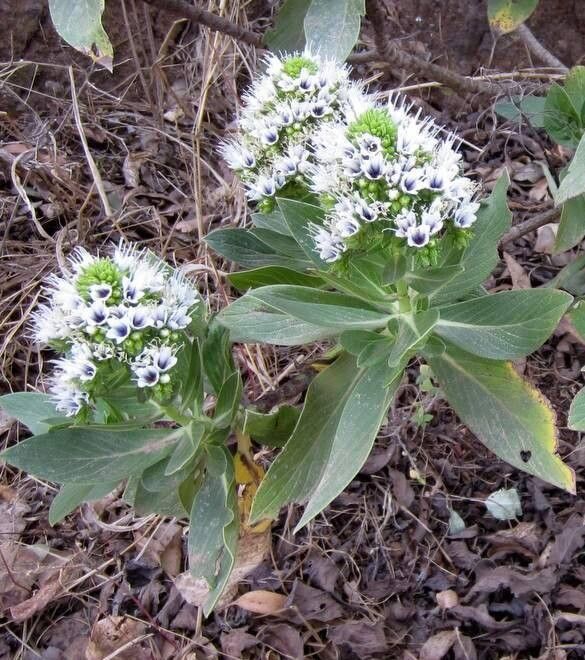
Hello there, fellow plant lovers! It’s so good to be chatting with you again. Today, we’re diving into the wonderful world of Echium hypertropicum, or as some of us affectionately call it, the “Canary Island Bugloss.” If you’ve ever seen these architectural beauties gracing a garden, you’ll understand their allure. Their spiky, architectural forms and, in many cases, stunning blue or purple flower spikes are simply spectacular. Propagating them yourself? That’s a whole other level of garden satisfaction. It’s incredibly rewarding to nurture a tiny cutting into a mature specimen. And thankfully, Echium hypertropicum is generally quite agreeable, making it a fantastic plant to try propagating, even if you’re just starting out in your green-thumb journey.
The Best Time to Start
For the highest success rates with Echium hypertropicum, I find that late spring to early summer is absolutely ideal. This is when the plant is actively growing, and those new shoots are full of vigor. You want to be taking cuttings from healthy, current-season growth, not from old, woody stems. Waiting until the plant has recovered from any major flowering event is also a good idea.
Supplies You’ll Need
Gathering your supplies beforehand makes the whole process much smoother. Here’s what I usually have on hand:
- Sharp pruning shears or a clean, sharp knife: For making clean cuts.
- Rooting hormone: A good quality powder or gel will give your cuttings a real boost.
- A gritty, well-draining potting mix: I like a blend of perlite, coarse sand, and a good quality potting soil. Some growers even swear by a mix of pumice and coco coir.
- Small pots or seed trays: Clean ones are key to prevent disease.
- A clear plastic bag or propagator lid: To create a humid microclimate.
- Watering can with a fine rose: For gentle watering.
- A small trowel or dibber: For making planting holes.
Propagation Methods
Echium hypertropicum is most often propagated from stem cuttings. It’s straightforward and generally yields great results.
Stem Cuttings
- Select your parent plant: Choose a healthy, vigorous Echium hypertropicum. Look for stems that don’t have flowers or developing seed heads.
- Take the cuttings: Using your sharp shears or knife, carefully take cuttings that are about 4-6 inches long. Make the cut just below a leaf node (where a leaf attaches to the stem). It’s best to take several cuttings, as not every single one will take.
- Prepare the cuttings: Gently remove the lower leaves from the cutting, leaving just a few at the top. If the leaves are very large, you can snip them in half to reduce water loss.
- Apply rooting hormone: Dip the cut end of each stem into your rooting hormone, tapping off any excess. This is a crucial step for encouraging root development.
- Pot them up: Make a hole in your prepared potting mix with a trowel or dibber, and then insert the cutting, ensuring the hormone-coated end is in contact with the soil. Firm the soil gently around the stem.
- Create humidity: Water the soil gently, and then cover the pot or tray with a clear plastic bag or propagator lid. This traps moisture around the cuttings, preventing them from drying out before they root. Make sure the leaves aren’t touching the inside of the bag if possible.
- Provide the right conditions: Place your pots in a bright spot, out of direct, scorching sunlight. A little warmth from a heat mat underneath can really speed things up, but it’s not strictly essential.
The “Secret Sauce” (Pro Tips)
- Don’t overwater: This is probably the biggest killer of cuttings. The soil should be consistently moist but not waterlogged. Let the surface dry out just a touch between waterings. Soggy conditions are a fast track to rot.
- Good air circulation: While humidity is important, you don’t want stagnant air. Periodically open the plastic bag or propagator lid for a few minutes each day to allow for fresh air exchange. This helps prevent fungal issues.
- Gentle tug test: After about 4-6 weeks, you can gently tug on a cutting. If you feel resistance, it means roots have formed. Don’t yank, just a very light pull.
Aftercare & Troubleshooting
Once your cuttings have developed roots (watch for new leaf growth too!), it’s time to start acclimating them to normal conditions. Gradually remove the plastic bag or propagator lid over a few days, increasing the exposure time each day. Continue to water them gently, allowing the soil to dry slightly between waterings. Eventually, you can transplant them into their own individual pots.
The most common issue you’ll encounter is rot. If a cutting turns black and mushy, or if you see mold developing on the soil surface, it’s likely suffering from too much moisture and not enough air. Unfortunately, rotted cuttings are usually beyond saving, so it’s best to discard them and try again with fresh material and perhaps a slightly drier approach. Yellowing leaves on a cutting before it’s rooted might mean it’s not getting enough light, or it’s just naturally shedding older leaves. Keep an eye on the overall health.
A Encouraging Closing
Propagating plants is a journey, not just a destination. Not every attempt will be a roaring success, but with Echium hypertropicum, you’re likely to find yourself with plenty of new little plants to share or admire. Be patient, enjoy the process of watching those tiny roots emerge, and celebrate each small victory. Happy propagating!
Resource:
https://identify.plantnet.org/k-world-flora/species/Echium%20hypertropicum%20Webb/data