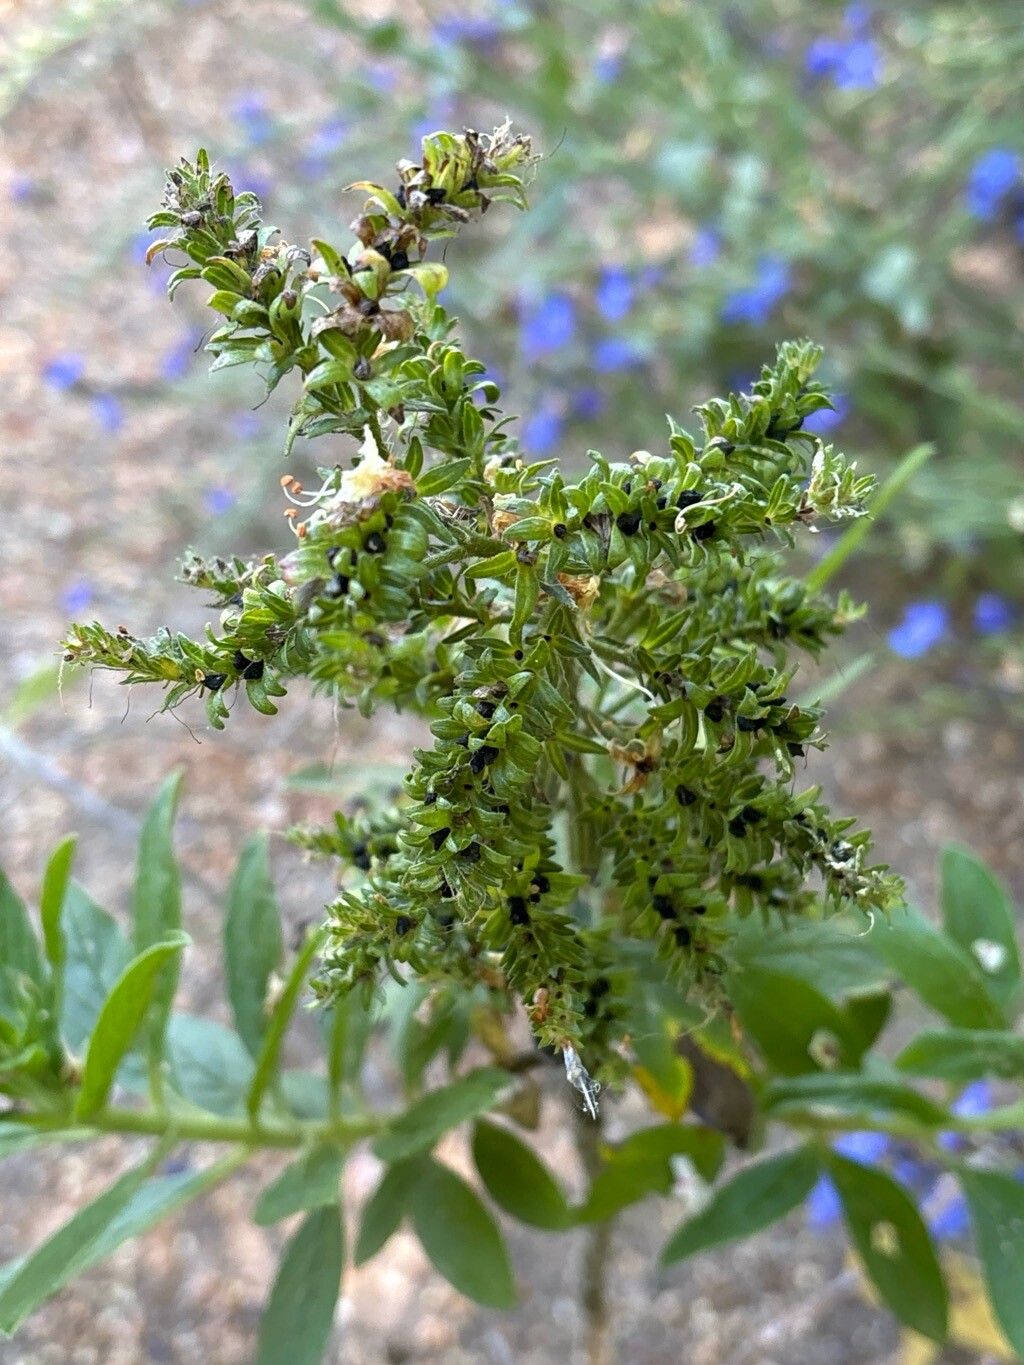
Oh, hello there! Come on in, grab a mug. Let’s chat about one of my absolute favorite plants: Echium handiense. If you’ve ever seen this gorgeous, architectural beauty, you know exactly why I’m so smitten. With its striking silver foliage and those incredible, tall spires of purple-blue flowers, it’s a real showstopper. And the best part? You can easily grow more of them yourself. Propagating these beauties is so incredibly rewarding, a little bit like bringing a piece of sunshine into your own home.
Now, are they a breeze for complete beginners? Honestly, I’d say they fall into the moderately easy category. A little patience and the right approach, and you’ll be well on your way.
The Best Time to Start
For the highest success rate with Echium handiense, your best bet is to start in late spring or early summer. This is when the plant is actively growing and has plenty of energy to put into developing new roots. You’re looking for healthy, non-flowering stems. If your Echium is just finishing up its flowering display, that’s also a prime time, as the energy will redirect to vegetative growth.
Supplies You’ll Need
Here’s what you’ll want to have on hand:
- Sharp, clean pruning shears or a sharp knife: For making clean cuts that heal faster.
- Rooting hormone powder (optional, but recommended): Especially for stem cuttings. It really gives them a boost!
- Well-draining potting mix: A blend of perlite, coarse sand, and peat moss works wonderfully. You can also find commercial cactus or succulent mixes that do the job.
- Small pots or seed trays: With drainage holes, of course!
- Watering can or spray bottle: For gentle watering.
- A sunny, bright spot: But avoid direct, scorching sun for the cuttings, especially in the initial rooting phase.
Propagation Methods
I find stem cuttings to be the most reliable way to propagate Echium handiense. They’re straightforward and give you a great success rate.
- Take Your Cuttings: With your clean pruning shears or knife, select a healthy, non-flowering stem. Cut a piece about 4-6 inches long. Make sure the cut is just below a leaf node – that’s where the roots will emerge.
- Prepare the Cuttings: Gently remove the lower leaves from the cutting. You want to expose at least a couple of leaf nodes.
- Apply Rooting Hormone (Optional): If you’re using rooting hormone, dip the cut end of the stem into the powder. Tap off any excess.
- Plant Your Cuttings: Fill your small pots with your well-draining potting mix. Make a small hole in the center of the mix with your finger or a pencil, and then gently insert the cut end of your Echium cutting. Firm the mix around the stem to keep it stable. You can plant several cuttings in one pot, giving them a little space.
- Water Gently: Water the soil lightly to settle it around the cuttings. Don’t drench it. A light misting with a spray bottle is often best to avoid dislodging the cuttings.
- Provide the Right Environment: Place the pots in a bright location, but out of intense, direct sun for the first few weeks. They appreciate warmth, so a sunny windowsill is perfect.
The “Secret Sauce” (Pro Tips)
Here are a couple of tricks I’ve learned over the years that make a difference:
- Let Cuttings “Callus Over”: Before you even plant your cuttings, let them sit out for a day or two in a dry, airy spot. This allows the cut end to form a slight scab, which helps prevent rot when you plant them. It’s like giving them a little protective bandage!
- Bottom Heat is Your Friend: If you can, place your pots on a seedling heat mat. This gentle bottom warmth encourages root development significantly, especially in cooler weather or if your home isn’t consistently warm.
Aftercare & Troubleshooting
Once your cuttings are planted, the patience game begins!
Keep the soil lightly moist but never waterlogged. The goal is to mimic their natural arid environment, but with enough humidity for them to root. You should start to see signs of new growth – tiny leaves or resistance when you gently tug on the cutting – within 4-8 weeks.
The biggest enemy here is rot. If your cuttings start to look mushy or black at the base, it’s usually a sign of too much moisture and not enough air circulation. Unfortunately, once rot sets in, it’s very difficult to save them. If you have multiple cuttings and one goes bad, remove it promptly to prevent it from affecting the others.
If you’re seeing wilting and the soil feels quite dry, it might mean they haven’t rooted yet and are just struggling to keep hydrated. Keep them consistently, lightly moist until you’re sure roots have formed.
A Encouraging Closing
So there you have it! Propagating Echium handiense is a delightful journey. Don’t be discouraged if your first few attempts aren’t perfect. Every gardener has their share of plant casualties – it’s all part of the learning process. Just be patient, observe your cuttings, and enjoy watching these magnificent plants grow from tiny cuttings into proud, blooming specimens. Happy propagating!
Resource:
https://identify.plantnet.org/k-world-flora/species/Echium%20handiense%20Svent./data