Hello fellow plant lovers! I’m so excited to chat with you today about propagating Echinopsis oxygona, also known as the Easter Lily Cactus. If you’ve ever admired these beauties with their showy, trumpet-shaped flowers, you’re in for a treat. Getting more of them to grow is surprisingly easy, which makes it a very rewarding experience, even for those just starting their plant journey. Seeing a tiny cutting transform into a thriving plant is pure magic, and with Echinopsis oxygona, you’re almost guaranteed success!
When to Get Your Hands Dirty
The best time to propagate Echinopsis oxygona is during its active growing season, which is typically spring and summer. This is when the plant has the most energy to put into developing new roots and shoots. Waiting until the plant is healthy and actively producing offsets (those little baby cacti that sprout around the base) will give you the best chance of success.
What You’ll Need to Get Started
Gathering your supplies beforehand makes the whole process smoother. Here’s what I keep on hand:
- Sharp, clean pruning shears or a sharp knife: For making clean cuts. We don’t want any jagged edges that can invite disease.
- A well-draining soil mix: A cactus and succulent mix is perfect. You can also create your own by mixing potting soil with perlite or coarse sand.
- Small pots or containers: Terracotta pots are great because they allow the soil to breathe.
- Rooting hormone (optional but recommended): This little helper can speed up the rooting process.
- Gardening gloves: If you’re a bit sensitive to prickles, these are a good idea!
- Small trowel or spoon: For scooping soil.
- Spray bottle: For light misting.
Let’s Get Propagating!
There are a couple of wonderfully simple ways to grow more Echinopsis oxygona.
From Offsets (The Easiest Way)
This is my favorite method because the plant practically does the work for you!
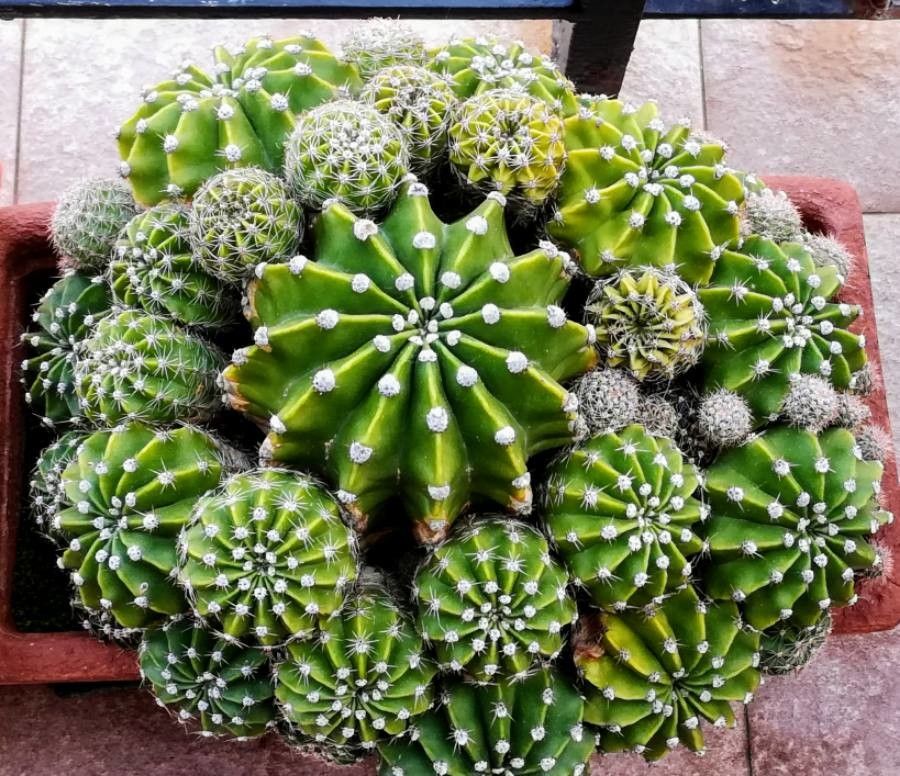
- Identify an offset: Look for those little pups that have grown from the base of your mother plant. You want one that’s a decent size, at least an inch or two tall.
- Gently detach the offset: Using your clean pruning shears or knife, carefully cut the offset away from the mother plant, making the cleanest cut possible. If an offset has roots already, that’s a bonus!
- Let it callus: This is a crucial step! Place the detached offset in a dry, bright spot (out of direct sun) for 2-3 days (or even up to a week for larger offsets). This allows the cut end to dry and form a protective scab, or callus. This prevents rot when you plant it.
- Plant it up: Once callused, you can plant your offset directly into your well-draining soil mix. You can dust the cut end with rooting hormone before planting if you choose.
- Water sparingly: Don’t drench the soil immediately. Give it a very light watering or just a good misting. You want the soil to be slightly moist, not wet.
Taking Stem Cuttings (If You Don’t Have Offsets)
If your plant hasn’t produced offsets, you can sometimes take cuttings from the main body.
- Select a healthy stem: Choose a strong, healthy segment of the cactus.
- Make a clean cut: Using your sterilized tool, make a clean cut to remove the segment.
- Callus, just like the offsets: Again, let the cut end dry out and form a callus for a few days.
- Planting and watering: Follow steps 4 and 5 from the offset method.
My “Secret Sauce” for Extra Success
While these plants are pretty forgiving, here are a couple of things I’ve learned over the years that really boost your propagation game:
- Bottom Heat is Your Friend: Cacti absolutely love a bit of warmth from below to encourage root growth. If you have a propagation mat, place your pots on it. If not, a sunny windowsill that isn’t too chilly can work.
- Don’t Drown Your Babies: The biggest mistake beginners make is overwatering. New cuttings and offsets don’t have established root systems and can easily rot in soggy soil. Err on the side of underwatering. Wait until the soil is dry to the touch before watering again.
Aftercare and What to Watch For
Once your cutting or offset is planted, patience is key!
- Rooting takes time: Don’t expect to see new growth overnight. It can take several weeks to a few months for roots to develop. You can gently tug on the plant; if there’s resistance, it’s likely rooting.
- Gradual watering: Start watering more consistently once you see signs of new growth or feel good root resistance. Water thoroughly but allow the soil to dry out between waterings.
- Watch for rot: The most common problem is rot, which shows up as a mushy, discolored base. If you see this, act fast. You might be able to salvage a healthy part of the cutting by cutting away the rotted section and letting a new piece callus before replanting.
You’ve Got This!
Propagating Echinopsis oxygona is a wonderfully accessible way to multiply your plant collection. It’s a testament to nature’s resilience and a fantastic way to deepen your connection with these spiky treasures. Be patient, enjoy the process, and soon you’ll have a whole cactus family to share! Happy propagating!
Resource: