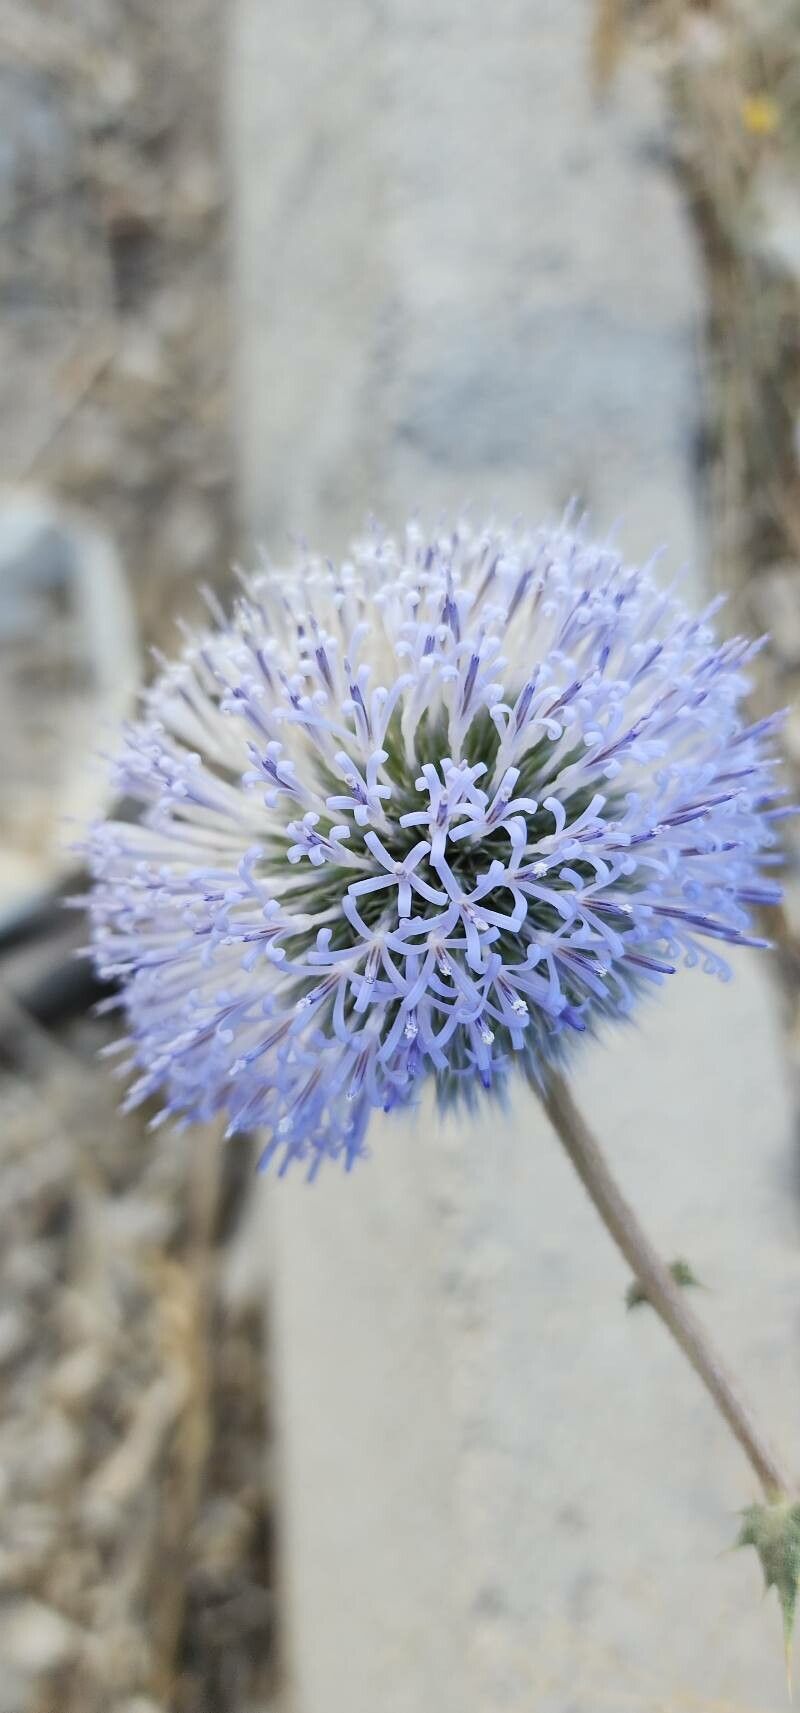
Oh, hello there! Gather ’round, because today we’re going to talk about a plant that always gets a second look in the garden: Echinops villosissimus, or what I affectionately call the Hairy Globe Thistle. With its fuzzy stems and those magnificent dusky blue globe flowers, it brings such architectural interest and a touch of wild beauty. And let me tell you, propagating these beauties yourself? It’s incredibly satisfying. Don’t let a little fuzz scare you; these are actually quite forgiving, even for newer gardeners.
The Best Time to Start
For the highest success rate with Echinops villosissimus, I find the sweet spot is late spring to early summer, just as the plant is getting into its main growth spurt. You want to work with healthy, new stems that are just starting to mature, not the really soft, brand-new shoots nor the woody, old growth.
Supplies You’ll Need
To get your propagation station set up, you’ll want a few essentials:
- Sharp Pruning Shears or a Knife: Clean cuts are key.
- A Well-Draining Potting Mix: I prefer a blend of equal parts peat moss, perlite, and sandy loam.
- Rooting Hormone (Optional but Recommended): A powder or gel can give your cuttings a real boost.
- Small Pots or Seed Trays: With drainage holes, of course!
- Water: For misting and watering.
- A Clear Plastic Bag or Propagator Lid: To create a humid microclimate.
- Labels: To keep track of what you’ve planted!
Propagation Methods
The most straightforward way to get more Hairy Globe Thistles is through stem cuttings. Here’s how I do it:
- Select Your Cuttings: Look for healthy, non-flowering stems. Aim for cuttings that are about 4-6 inches long.
- Make the Cut: Using your clean shears or knife, take a cutting just below a leaf node (where the leaves attach to the stem).
- Prepare the Cutting: Gently remove the lower leaves from the bottom half of the cutting. This prevents them from rotting once you plant it. You can leave the top few leaves.
- Apply Rooting Hormone (If Using): Dip the cut end of the stem into rooting hormone, tapping off any excess.
- Plant the Cutting: Fill your small pots with your prepared potting mix. Make a hole with your finger or a pencil, and insert the cutting, firming the soil gently around it.
- Water and Cover: Water the soil lightly. Then, cover the pot with a clear plastic bag or propagator lid. This will keep the humidity high, which is crucial for cuttings to develop roots. Place it in a warm spot with bright, indirect light.
The “Secret Sauce” (Pro Tips)
Now for a couple of little tricks I’ve learned over the years:
- Patience with the Fuzz: Those fuzzy stems are lovely, but sometimes they can trap moisture leading to rot. When you’re taking cuttings, give them a quick dusting with a fungicide powder (even a homemade one using baking soda mixed with water) before applying rooting hormone. It’s a small step that can make a big difference.
- Bottom Heat is Your Friend: If you can, place your pots on a propagator mat for gentle bottom heat. This encourages root development much faster than just relying on ambient room temperature. It’s like giving your cuttings a warm little hug to get them going.
Aftercare & Troubleshooting
Once you see new growth appearing on your cuttings – usually a sign that roots are forming – you can start to gradually acclimatize them to drier air. You can do this by opening the plastic bag or lid for a few hours each day, increasing the time over a week. Keep the soil consistently moist but not waterlogged.
The most common sign of failure is rotting. If your cutting turns mushy and black, it’s usually a sign of too much moisture and not enough airflow, or disease. Unfortunately, these are usually beyond saving, so it’s best to start again. If the cutting just shrivels and dries out, it likely didn’t get enough humidity or warmth.
A Encouraging Closing
Propagating plants is a journey of observation and a little bit of magic. Don’t get discouraged if your first few attempts aren’t a roaring success. Every gardener has had their share of cuttings that didn’t make it! Just keep trying, learn from each experience, and enjoy the process of growing your own beautiful Hairy Globe Thistles. Happy gardening!
Resource:
https://identify.plantnet.org/k-world-flora/species/Echinops%20villosissimus%20Bunge/data