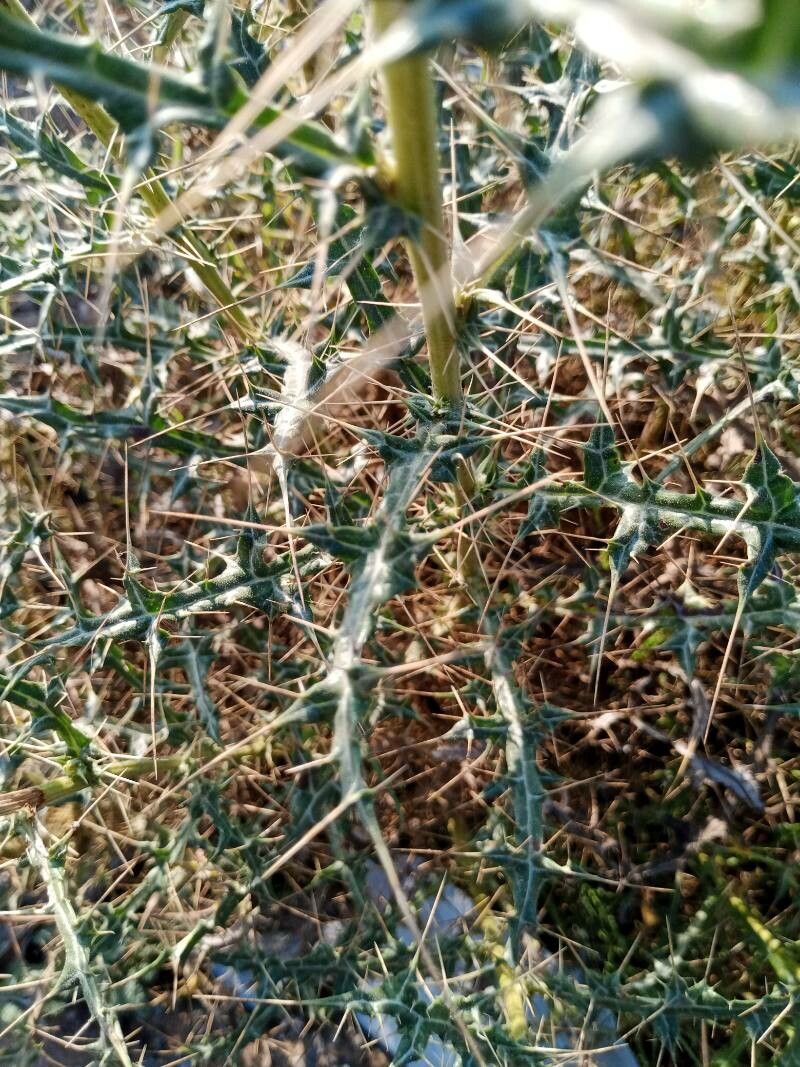
Hello, fellow garden enthusiasts! Today, I want to chat about a plant that truly captures the imagination: Echinops echinatus, or as it’s more commonly known, Himalayan Resin Plant or Indian Globe Thistle. Its spiky, ethereal blue blooms are just stunning, bringing a touch of wild beauty and architectural interest to any border. And the best part? You can easily bring more of this magic into your garden by propagating it yourself! For beginners, I’d say propagating Echinops is moderately easy. You won’t be pulling your hair out, but a little attention to detail goes a long way.
The Best Time to Start
When it comes to Echinops, I find the late spring or early summer is your sweet spot. This is when the plant is actively growing, full of vigor, and ready to unfurl new leaves and stems. Starting then gives your cuttings plenty of time to establish before the chill of autumn arrives.
Supplies You’ll Need
Gathering your supplies beforehand makes the whole process smoother. Here’s what I’ve always found helpful:
- Sharp pruning shears or a clean knife: For making precise cuts.
- Rooting hormone (optional but recommended): This gives your cuttings a helpful boost.
- Well-draining potting mix: A blend of peat moss, perlite, and a bit of compost works wonders.
- Small pots or seedling trays: Choose ones with drainage holes.
- A mister or spray bottle: For keeping things humid.
- A plastic bag or propagation dome: To create a mini-greenhouse effect.
- Labels: So you don’t forget what you planted where!
Propagation Methods
Echinops echinatus is quite amenable to a few methods, but I’ve had the most success with stem cuttings and division.
Stem Cuttings
This is my go-to for increasing my Echinops population.
- Take Cuttings: In late spring or early summer, select healthy, non-flowering stems. Cut a section about 4-6 inches long, just below a leaf node (where a leaf attaches to the stem).
- Prepare the Cuttings: Gently remove the lower leaves, leaving just a couple at the very top. This prevents them from rotting in the soil. If the stem feels very sappy, you can let it dry for a few hours until a callus forms over the cut end – this reduces the risk of rot.
- Apply Rooting Hormone: Dip the cut end of each cutting into rooting hormone powder, tapping off any excess.
- Plant the Cuttings: Fill your pots or trays with your well-draining mix. Make a hole with a pencil or your finger and insert the cutting, ensuring the nodes where you removed leaves are below the soil surface. Gently firm the soil around it.
- Water and Cover: Water thoroughly until you see it drain from the bottom. Then, cover the pots with a plastic bag or propagation dome to maintain high humidity. Place them in a bright spot, but out of direct, scorching sunlight.
Division
This is perfect if you have an established plant that’s getting a bit unwieldy.
- Dig Up the Plant: In early spring, before new growth really takes off, carefully dig up your Echinops plant.
- Separate the Roots: Gently separate the root ball into smaller sections, each with at least one healthy shoot and a good portion of roots. You might need to use a clean spade or even your hands for this.
- Replant: Plant the divisions back into fertile, well-draining soil at the same depth they were originally growing. Water them in well.
The “Secret Sauce” (Pro Tips)
Here are a few tricks I’ve learned over the years that really make a difference:
- The “No Leaf in Water” Rule (for stem cuttings): Even if you try water propagation for a few stems, make sure absolutely no leaves are submerged. They’ll rot in a heartbeat and take your whole cutting down with them.
- Bottom Heat is Your Friend: For stem cuttings, placing your pots on a seedling heat mat can significantly speed up root development. Echinops loves a bit of warmth to get things going.
- Don’t Rush the Potting Up: Be patient! It might take 4-6 weeks, sometimes longer, for your stem cuttings to develop a good root system. You’ll know they’re ready when you feel resistance when gently tugging them, or when you see new leafy growth.
Aftercare & Troubleshooting
Once you see those roots forming, it’s time to transition your new plants.
For stem cuttings, once they have a robust root system, gradually remove the plastic cover over a few days to acclimate them to lower humidity. Water them as the top inch of soil feels dry.
For divided plants, simply ensure the soil stays consistently moist but not waterlogged.
The most common issue you’ll face is rot. If a cutting turns mushy and black, unfortunately, it’s likely a goner. Overwatering is usually the culprit. Ensure your pots have excellent drainage and don’t water until the soil is starting to dry out. If you see yellowing leaves on a division, it might be adjusting to its new spot; keep an eye on it and ensure it’s getting adequate moisture.
A Gentle Closing
Propagating plants is such a rewarding endeavor. It’s a chance to connect with nature, expand your garden without spending a fortune, and share the beauty with others. Be patient with your Echinops cuttings – some will take off faster than others. Enjoy the process, celebrate every new root, and revel in the bloom of your homegrown beauties! Happy gardening!
Resource:
https://identify.plantnet.org/k-world-flora/species/Echinops%20echinatus%20Roxb./data