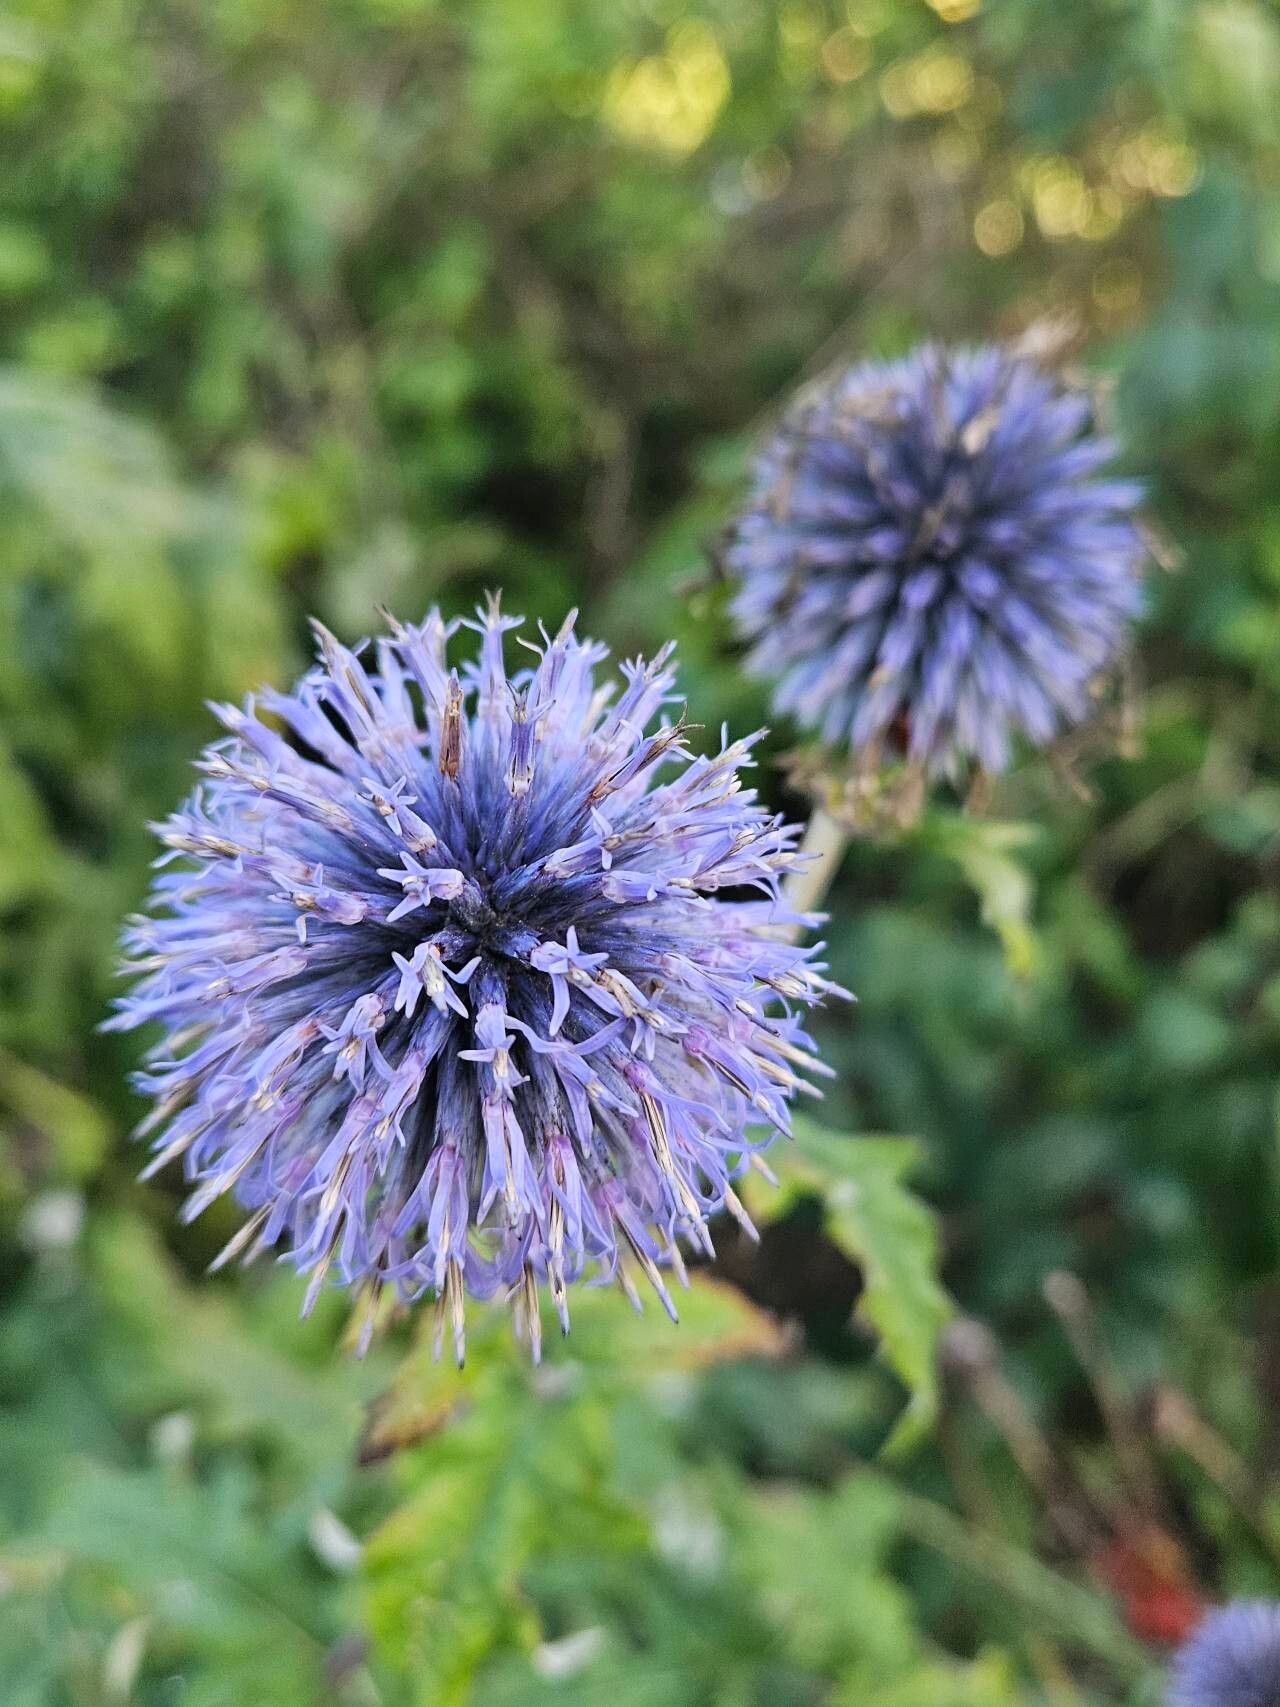
Oh, Echinops bannaticus! Isn’t it just a marvel? Those globe-shaped, electric-blue flowers are like something out of a fairy tale, and they do wonders for attracting all sorts of wonderful pollinators to the garden. If you’ve ever admired this beautiful plant, you’ll be thrilled to know that propagating it yourself is a truly rewarding endeavor. And guess what? It’s not as intimidating as you might think. In fact, I’d say Echinops bannaticus is quite forgiving, making it a fantastic choice for gardeners dipping their toes into propagation for the first time.
The Best Time to Start
I’ve found the sweet spot for propagating Echinops bannaticus is late spring to early summer. This is when the plant is actively growing, producing plenty of vigorous new shoots that are perfect for taking cuttings. Waiting until the stems have matured a bit, past the very soft, floppy stage but before they become woody, gives you the best chance of success. Getting started then means you’ll have nice, established plants ready to head into their first full growing season.
Supplies You’ll Need
Here’s a little kit I like to have on hand for this kind of work:
- Sharp pruning shears or a clean knife: For making those precise cuts without crushing the stems.
- Rooting hormone (optional but helpful): A powder or gel that encourages root development.
- Well-draining potting mix: A good starting point is a mix of peat moss, perlite, and a bit of compost. You can also use a dedicated seed-starting mix.
- Small pots or trays: Clean containers with drainage holes are a must.
- Plastic bags or a propagating dome: To create a humid environment for your cuttings.
- Watering can with a fine rose: For gentle watering.
Propagation Methods: Let’s Get Our Hands Dirty!
The most straightforward way to propagate Echinops bannaticus is through stem cuttings. It’s tried and true!
- Find a healthy, non-flowering stem. Look for a shoot that’s about 4-6 inches long.
- Make a clean cut just below a leaf node (where the leaf attaches to the stem). This is where roots are most likely to form.
- Remove the lower leaves. Gently strip off the leaves from the bottom half of the cutting. You want to avoid any leaves being submerged in soil or water later on, as this can lead to rot.
- Dip the cut end in rooting hormone (if using). Tap off any excess.
- Insert the cutting into your potting mix. Make a small hole with your finger or a pencil and gently push the stem in. Firm the soil around it.
- Water gently. Water thoroughly until the soil is moist but not waterlogged.
- Create a humid environment. Cover the pot with a clear plastic bag, secured with a rubber band, or place it under a propagating dome. This traps moisture.
- Place in bright, indirect light. Avoid direct sun, which can scorch your tender cuttings.
I’ve occasionally dabbled in water propagation with Echinops, and while it can work, I find it’s a bit more finicky. If you do try it:
- Take your cuttings as described above, but don’t use rooting hormone.
- Place the cuttings in a jar or vase filled with clean water.
- Crucially, ensure no leaves are submerged in the water. Any leaf in contact with water will likely rot.
- Change the water every few days to keep it fresh.
- Once you see healthy roots forming (usually taking a few weeks), you can then pot them up into soil.
Another excellent method, especially if your Echinops has grown a bit large and bushy, is division.
- Gently dig up the entire plant in early spring, just as new growth is appearing.
- Use your hands or a clean spade to carefully divide the root ball into smaller sections. Each section should have several healthy shoots and a good amount of root attached.
- Replant the divisions immediately into their new homes, watering them in well.
The “Secret Sauce” (Pro Tips)
You know, after years of playing with plants, a few little tricks just become second nature.
- The “Slant” Technique: When preparing your cuttings, I find making the cut at a slight slant rather than straight across can sometimes help increase the surface area for root formation by a tiny bit. It’s a small thing, but it can’t hurt!
- Bottom Heat is Your Friend: If you have a heat mat intended for seedlings, it can be a game-changer for cuttings. Placing your pots on gentle bottom heat (not scorching hot, just warm) really stimulates root development and speeds up the process significantly.
- Patience with the “Wilt”: Don’t be alarmed if your cuttings look a little droopy for the first week or two. They’re establishing themselves and can take a moment to adjust. As long as the stems are still firm and the leaves aren’t turning yellow or mushy, give them time.
Aftercare & Troubleshooting
Once you see those first little white root tips emerging from the drainage holes or your cutting starts to look perkier and new growth appears, it’s time for a little pampering.
- Gradually introduce them to the open air. If you’re using a plastic bag, slowly open it up over a few days to let them acclimate.
- Water consistently. Keep the soil evenly moist, but never soggy. It’s a delicate balance!
- Transplant them into their own pots. Once they have a decent root system, move them into larger pots filled with their permanent potting mix.
- Watch out for rot. The most common sign of failure is a mushy, black stem at the soil line. This usually means overwatering or poor drainage. If you see this, it’s sadly a goner.
- Pest alert: Keep an eye out for aphids or spider mites, especially in the enclosed humid environment. A gentle blast of water can often dislodge them.
Propagating Echinops bannaticus is a wonderful way to multiply your garden’s magic. Be patient with the process, celebrate every little milestone, and before you know it, you’ll have a whole collection of these stunning blue beauties to share with friends (or keep all to yourself – I won’t tell!). Happy gardening!
Resource: