Hello, fellow garden enthusiasts!
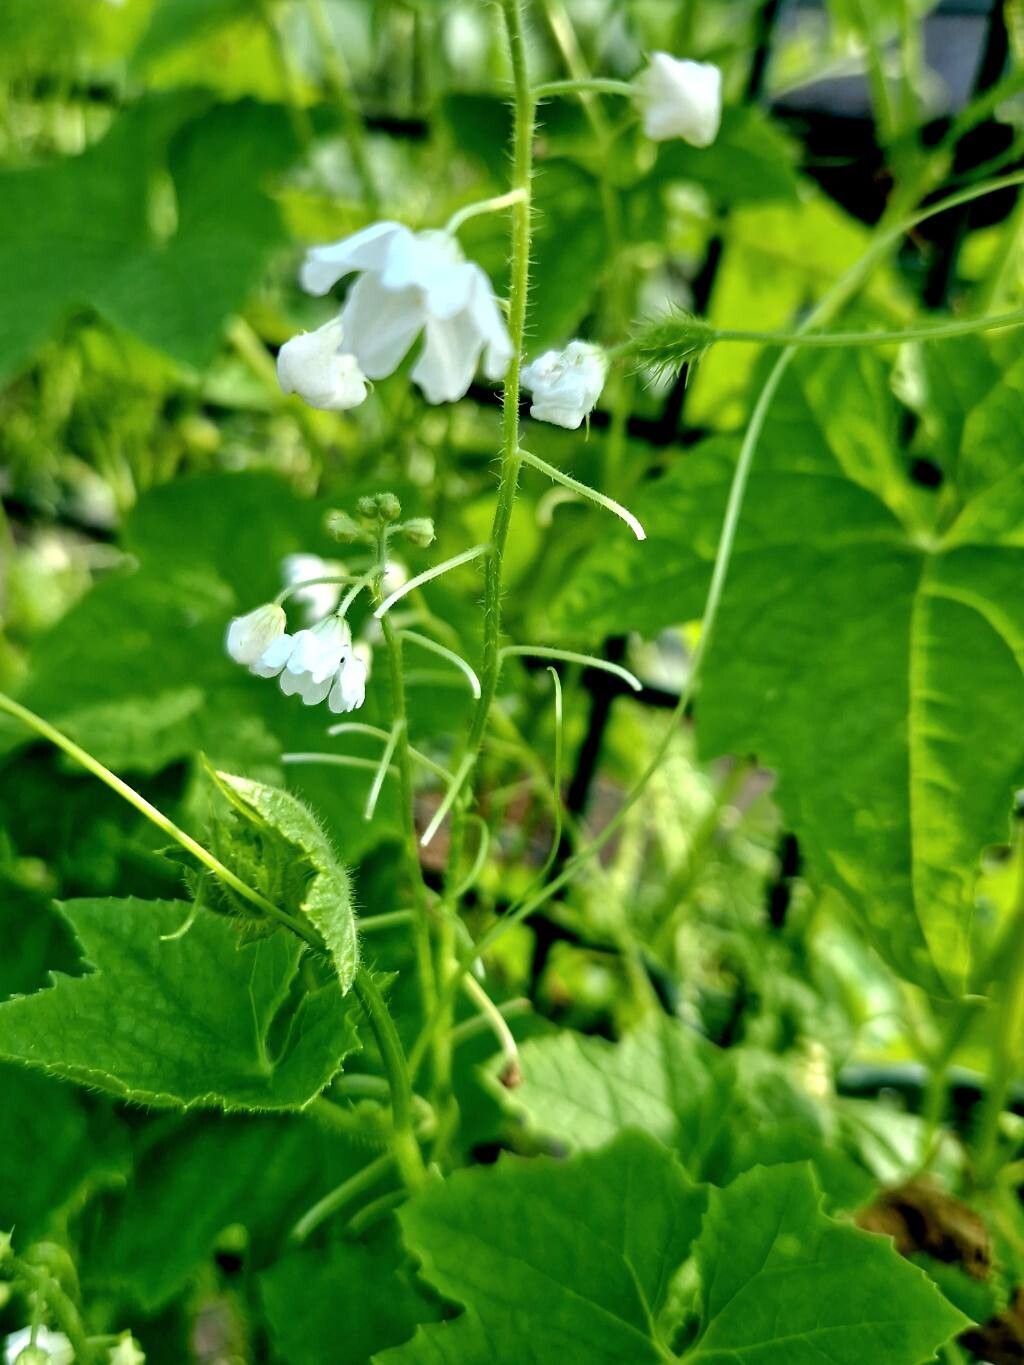
There’s something magical about creating new life from a beloved plant. Today, we’re diving into the world of Echinopepon wrightii, a fascinating vine that brings a touch of wild beauty to any garden. Its delicate, star-shaped flowers and intriguing seed pods make it a real conversation starter. Propagating it isn’t just about getting more plants; it’s about connecting with nature’s rhythm and the sheer joy of seeing something flourish under your care. For those of you who are newer to the gardening scene, don’t be intimidated! Echinopepon wrightii is generally quite cooperative, and with a little guidance, you’ll be well on your way to success.
The Best Time to Start
Timing is everything, right? For Echinopepon wrightii, think spring or early summer. This is when the plant is actively growing and has the energy to put into developing new roots. Starting cuttings when the weather is warm but not scorching hot will give your young plants the best chance to establish themselves before the real heat of summer or the chill of fall sets in. Look for fresh, healthy growth on your mature plant.
Supplies You’ll Need
Gathering your tools beforehand makes the whole process smoother. Here’s what I usually have on hand:
- Sharp pruning shears or a clean knife: For making clean cuts.
- A well-draining potting mix: I like a blend of peat moss, perlite, and a little compost. You can buy sterile seed starting mix too.
- Rooting hormone (optional but helpful): This can give your cuttings a little boost.
- Small pots or trays: Clean ones are a must to prevent disease.
- Clear plastic bags or a propagation dome: To create a humid environment.
- Watering can with a fine rose: For gentle watering.
- Labels: To keep track of what you’ve planted!
Propagation Methods
I’ve found that stem cuttings work wonders for Echinopepon wrightii. It’s my go-to method, and it’s quite straightforward.
- Take Your Cuttings: On a healthy Echinopepon wrightii vine, select a stem that has new growth but is also slightly firm, not floppy. Look for a section with at least two sets of leaves. Using your sharp shears, make a clean cut about 4-6 inches down from the tip, just below a leaf node (where the leaves attach to the stem).
- Prepare the Cuttings: Gently remove the lower leaves from the cutting, leaving only the top two or three sets. This helps prevent them from rotting in the soil. If your cuttings are very sappy, you can let them sit for an hour or two to callus over, though it’s not strictly necessary for this plant.
- Apply Rooting Hormone (Optional): If you’re using rooting hormone, dip the cut end of the stem into the powder, tapping off any excess.
- Plant Your Cuttings: Fill your small pots or trays with your prepared potting mix. Make a small hole in the center of the soil using a pencil or your finger. Insert the cut end of the stem into the hole, ensuring at least one leaf node is buried. Gently firm the soil around the stem.
- Water Gently: Water the soil thoroughly but gently so you don’t dislodge the cuttings.
The “Secret Sauce” (Pro Tips)
Here are a few tricks I’ve picked up over the years that can make a real difference:
- Don’t let the leaves touch the water: If you opt for water propagation (which I sometimes do for initial root development before potting), make absolutely sure the leaves aren’t submerged. Rot sets in fast in soggy foliage.
- Bottom heat is your friend: A gentle warmth from below can significantly speed up root formation. I often place my pots on a seed starting mat set to a low temperature. It mimics the cozy conditions of greenhouse propagation and really encourages those roots to start reaching out.
- Humidity is key, but not drowning: Once planted, pop those pots into a clear plastic bag or cover them with a propagation dome. This creates a humid microclimate, acting like a mini-greenhouse for your cuttings. Ensure there’s some air circulation to prevent fungal issues. You don’t want them to be completely sealed and steamy.
Aftercare & Troubleshooting
Patience is a gardener’s superpower, and it’s especially true when waiting for roots. Keep the soil consistently moist but not waterlogged. You’ll know your cuttings are rooting when you see new leaf growth appearing. This can take anywhere from a few weeks to a couple of months, so don’t despair if it’s not immediate.
The most common issue you might encounter is rot. If a cutting turns mushy, black, or begins to wilt dramatically despite moist soil, it’s likely rotted. This usually happens if the environment is too wet, the cuts weren’t clean, or if you’re using a soil mix that holds too much moisture. If you see signs of rot, it’s best to discard the affected cutting to prevent it from spreading to others.
If your cuttings are successful and start showing healthy new growth, you can gradually acclimate them to lower humidity. Once they have a decent root system (you might see them pushing out of the drainage holes), they are ready to be transplanted into slightly larger pots.
A Little Encouraging Closing
Propagating Echinopepon wrightii is a rewarding journey, and each successful new plant is a testament to your green thumb. Don’t be discouraged if your first attempts aren’t perfect; every gardener has lost a cutting or two. Just keep trying, observe your plants, and enjoy the process of nurturing new life. Happy gardening!
Resource: