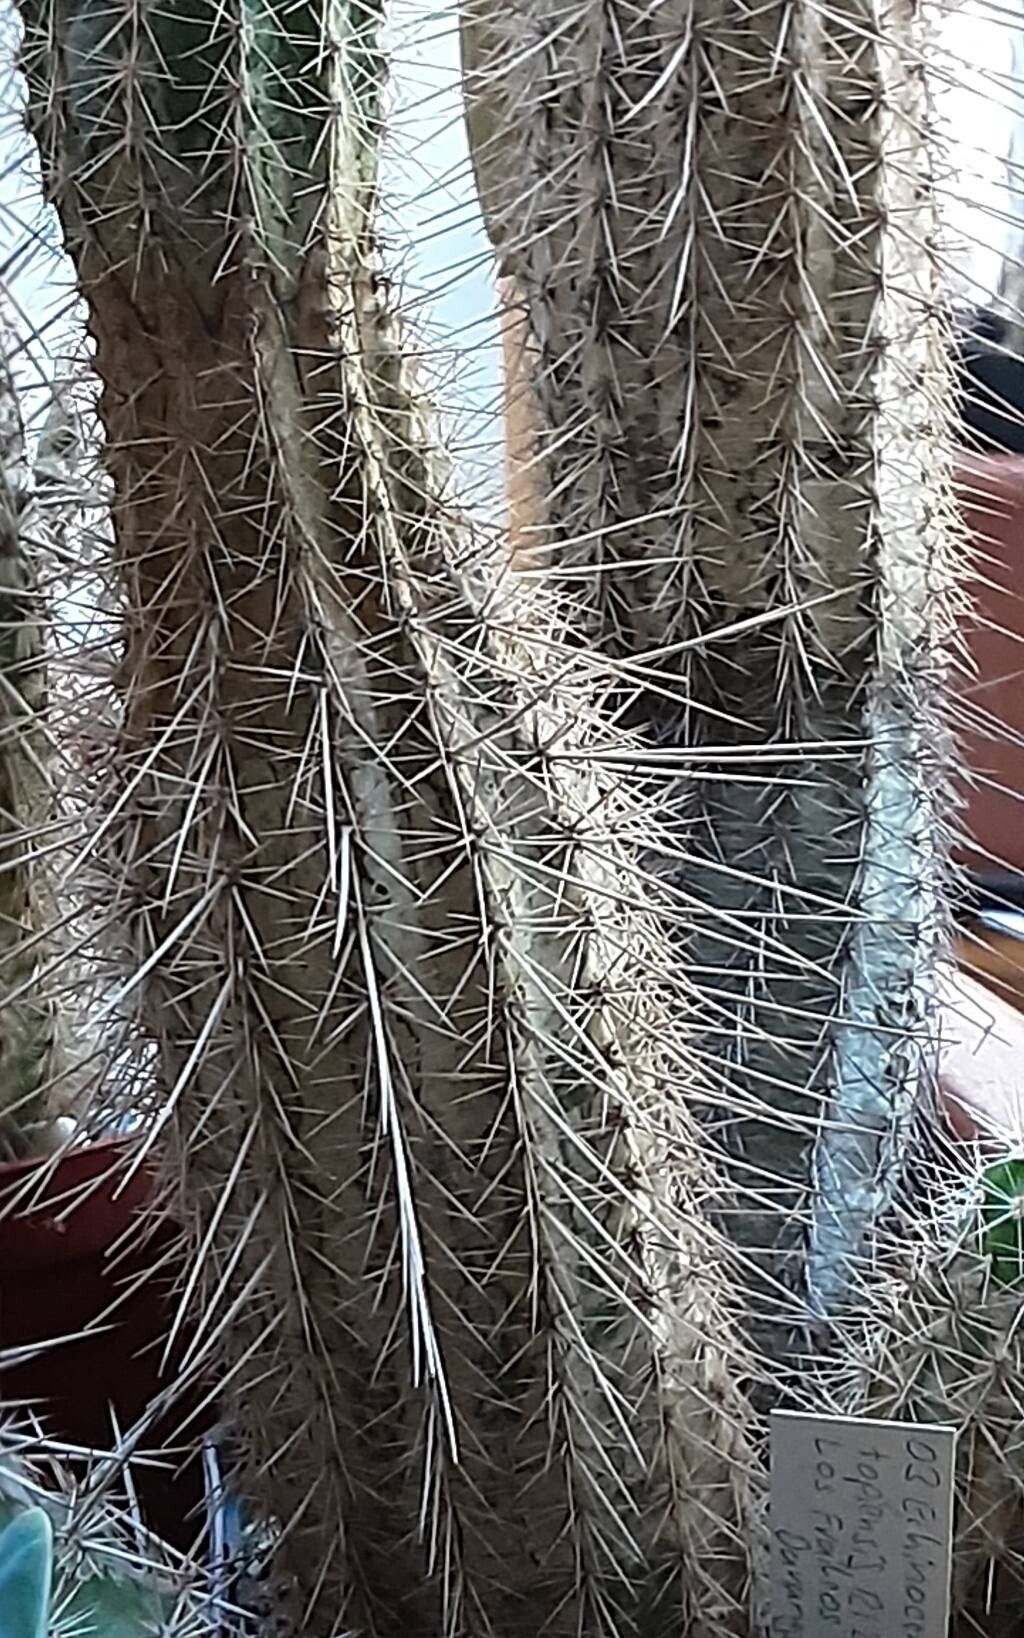
Oh, Echinocereus polyacanthus! What a joy to talk about this prickly beauty. Its vibrant flowers and fascinating form make it a real showstopper in any collection. And the best part? Bringing more of these spiny wonders into the world through propagation is incredibly satisfying. Now, I wouldn’t say it’s unachievable for a beginner, but it definitely requires a little more attention and care than some of the more common cacti. Think of it as a rewarding challenge, rather than a walk in the park.
The Best Time to Start
Honestly, most successful propagation for Echinocereus polyacanthus happens when the plant is actively growing. That sweet spot is generally late spring through early summer. You’ll see new growth appearing, and this is when the plant has the most energy to put into rooting. Waiting until the last frost has passed is key!
Supplies You’ll Need
Gathering your supplies beforehand makes the whole process so much smoother. Here’s what I usually have on hand:
- Well-draining potting mix: I use a cactus and succulent blend, often with extra perlite or pumice added for better aeration.
- Sharp, sterilized pruning shears or a clean knife: For making clean cuts. Sterilizing is crucial to prevent disease! A quick dip in rubbing alcohol does the trick.
- Rooting hormone (optional but recommended): Not strictly necessary for every cactus, but it can give your cuttings a real boost in establishing roots.
- Small pots or trays: Whatever you have that drains well. Tiny terracotta pots are lovely for this.
- Gravel or small pebbles: For top dressing. This helps keep the base of the cutting dry.
- Gloves: Unless you enjoy little prickles in your fingers!
Propagation Methods
For Echinocereus polyacanthus, taking stem cuttings is your go-to method. It’s reliable and produces lovely little plants.
- Identify a healthy stem: Look for a mature, healthy stem that looks vigorous. You’ll want a piece that’s at least a few inches long.
- Make the cut: Using your sterilized shears or knife, make a clean cut at the base of the stem you’ve chosen. Try to do this cleanly and without tearing.
- Allow the cutting to callus: This is vital! Place the cutting in a dry, well-ventilated spot for several days to a week, or even longer. The cut end needs to dry out and form a callus. This prevents rot when you plant it. You’ll see the cut surface turn a bit dry and leathery.
- Apply rooting hormone (if using): Once callused, dip the cut end into your rooting hormone powder, tapping off any excess.
- Plant the cutting: Gently press the callused end into your prepared potting mix. You want enough of the base to be in the soil to anchor it, but don’t bury it too deeply. Add a thin layer of gravel or pebbles on top as a top dressing.
- Water sparingly: At this stage, do not water excessively. I usually wait about a week after planting before giving it a very light water. The goal is to encourage roots to seek moisture, not to have soggy soil.
The “Secret Sauce” (Pro Tips)
Here are a few things I’ve learned over the years that can really make a difference:
- Patience with the callus is key: I cannot stress this enough! If you rush this step, you’re practically inviting rot. Let that wound heal properly.
- Bottom heat is a buddy: If you can, place your pots on a heat mat designed for seedlings. This gentle warmth from below mimics spring conditions and can significantly speed up root development. It’s like giving your cuttings a cozy little spa treatment.
- Don’t mist relentlessly: While some plant propagators swear by misting, for cacti like this, I find it often leads to more problems than it solves. Let the soil dry out slightly between waterings once you’ve planted.
Aftercare & Troubleshooting
Once you start to see signs of new growth – a little plumpness at the base or even a tiny new shoot appearing – it’s a good indicator that roots are forming. You can gently tug on the cutting after a few weeks; if there’s resistance, you likely have roots!
Continue to water sparingly, allowing the soil to dry out between waterings. Gradually introduce it to more light, but avoid harsh, direct sun for the first few months as it establishes.
The main enemy here is rot. You’ll see it as a mushy, dark discoloration at the base of the cutting. If you spot this, act fast. Remove the affected part with a clean knife, let the healthy portion callus again, and try replanting in entirely new, dry soil. It’s a setback, but not always the end of the line.
A Little Patience Goes a Long Way
Propagating Echinocereus polyacanthus is a journey. There will be times when one cutting takes off like a rocket, and others that seem to take their sweet time. Be patient, observe your little plants, and celebrate each success. It’s all part of the wonderful process of nurturing new life from something you already love. Happy propagating!
Resource:
https://identify.plantnet.org/k-world-flora/species/Echinocereus%20polyacanthus%20Engelm./data