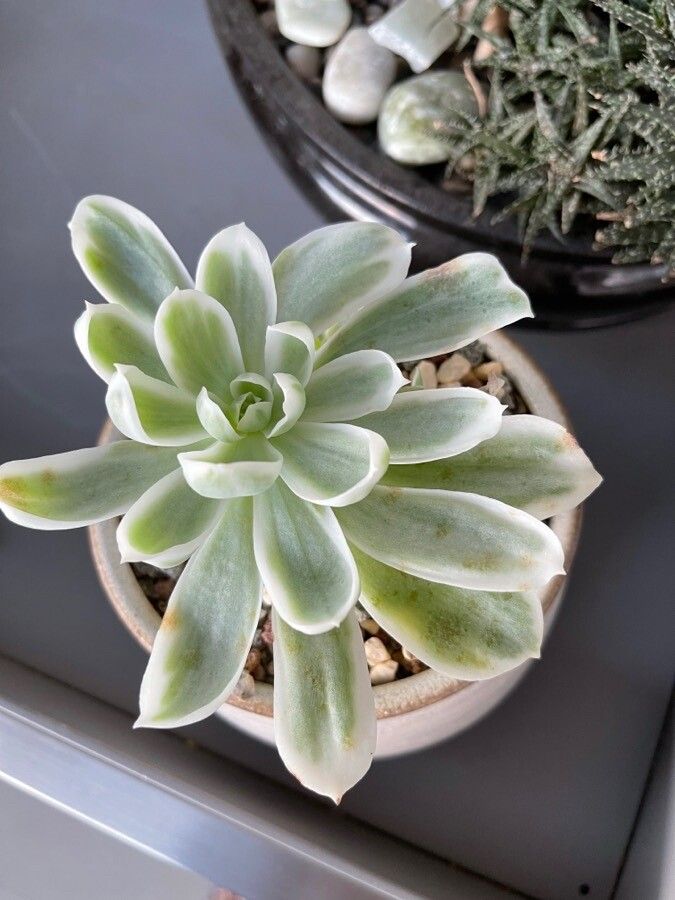
Oh, Echeveria erubescens! What a beauty. That gorgeous blush of red on its leaves, especially when it’s happy and getting plenty of sun, just makes my heart sing. And the best part? You can easily multiply these little gems yourself. If you’ve ever admired a friend’s Echeveria collection or wished you had more to fill out your own arrangements, propagating E. erubescens is incredibly rewarding. Don’t worry, it’s quite beginner-friendly – a real confidence booster for new succulent growers.
The Best Time to Start
Generally, succulents like Echeveria erubescens are most receptive to propagation during their active growing season. For most of us, this means spring and early summer. The days are getting longer and warmer, and the plant has plenty of energy to put into developing new roots and shoots. While you can try it at other times, you’ll find your success rates jump significantly when you start during these peak growth months.
Supplies You’ll Need
Here’s a little kit you’ll want to gather before you get started:
- Sharp, clean pruning shears or a sharp knife: Sanitation is key to preventing rot.
- Well-draining succulent or cactus potting mix: You can buy this pre-made or mix your own with potting soil, perlite, and coarse sand.
- Small pots or trays: Terracotta pots are my favorite because they breathe well and help keep the soil from staying too wet.
- Rooting hormone (optional but helpful): This can really speed up the process.
- Newspaper or a tray: To collect any casualties and catch excess soil.
- Watering can with a fine spout or a spray bottle: For gentle moisture.
Propagation Methods
There are a few ways to go about this, and I find two are generally the most successful and straightforward for E. erubescens.
1. Stem Cuttings
This is my go-to method for quick results.
- Select a healthy stem: Look for a stem that’s at least a few inches long. It doesn’t need to have a lot of leaves, but it should look firm and vibrant.
- Make a clean cut: Using your sterilized shears or knife, cut the stem just above a leaf node. The goal is to get a piece with a bit of stem and some leaves.
- Allow to callous: This is super important! Lay your cutting on a dry surface (like a piece of newspaper) in a warm, dry, indirectly lit spot for 2-7 days. You’ll see the cut end dry out and form a callus. This prevents rot when you plant it.
- Plant the cutting: Once calloused, you can plant the cutting into your well-draining succulent mix. You can stick the calloused end directly into the soil, or if you’re using rooting hormone, dip the end in just before planting. I usually plant it deep enough so the stem is covered, leaving the leaves above the soil.
- Water sparingly: Wait a few days after planting before giving it its first gentle watering. The goal is to keep the soil barely moist, not wet.
2. Leaf Cuttings
This method takes longer, but it’s so magical to watch a whole new plant emerge from a single leaf!
- Gently remove leaves: You want to carefully twist and pull leaves from the mother plant. Ideally, you want the entire leaf to come off, including the tiny bit of stem tissue at its base. If you just tear off a leaf, leaving a fragment of the leaf base behind on the stem, it probably won’t grow.
- Allow to callous: Just like with stem cuttings, these leaves need to callous over for a few days. Place them in a warm, dry, indirect light spot until the broken end is dry and sealed.
- Place on soil: Lay the calloused leaves on top of your well-draining succulent mix. You don’t need to bury them. You can lay them flat or slightly prop them up so the calloused end is touching the soil.
- Mist occasionally: Lightly mist the soil surface every few days, just enough to keep things from drying out completely. Don’t let water pool on the leaves.
- Be patient: This is where patience really comes in! You might see tiny roots begin to form first, then a little baby plant (a pup) will emerge from the calloused end. This can take weeks, or even months.
The “Secret Sauce” (Pro Tips)
Alright, between you and me, here are a few things I’ve learned over the years that make a difference:
- Don’t let the leaves or cuttings touch the water when propagating in water. If you decide to try water propagation (which I generally avoid for Echeverias unless the leaves are already falling off and I’m trying to revive them), it’s crucial that the cut end is in the water but the leaves are not. Any moisture sitting on the leaves is a direct invitation for rot.
- Bottom heat can be a game-changer. If you have a seedling heat mat, placing your pots or trays on top of it during propagation can significantly speed up root formation, especially if your home is a bit cooler. It mimics the warmth of spring nicely.
- “Stress” them a little before taking cuttings. This sounds counterintuitive, but honestly, when an Echeveria is slightly thirsty and not actively stretching, it often has more energy reserves to put into producing roots once it’s cut. Don’t overwater them, of course, but let them dry out completely a few times before you go snipping.
Aftercare & Troubleshooting
Once you see those little roots forming and a baby plant emerging from your leaf cutting, it’s time for a bit of a change.
- Gentle watering: Continue to water sparingly. For stem cuttings, once a good root system has developed, you can water more like you would a mature E. erubescens – letting the soil dry out completely between waterings. For leaf cuttings, keep misting their soil until the baby plant is a decent size, then gradually start watering the soil directly.
- Gradual light increase: New propagations, especially those started from leaves, are delicate. Gradually introduce them to brighter light. Direct sun too soon can scorch a tiny new plant.
- Troubleshooting rot: The most common issue you’ll face is rot. If you see mushy, brown, or black tissue on your cuttings or leaves, it’s likely rot. Often, if caught early, you can salvage it by cutting away the affected part and letting the healthy remaining piece callous again before replanting. If the entire plant or leaf is mushy, it’s probably best to start over. Make sure your soil is draining well and you aren’t overwatering!
Propagating Echeveria erubescens is a journey, and like any good garden project, it requires a little patience and a lot of love. Don’t be discouraged if some don’t make it; that’s part of the learning process. Celebrate the successes, enjoy watching those new little plants emerge, and before you know it, you’ll have a whole new array of blushing beauties to admire. Happy propagating!
Resource:
https://identify.plantnet.org/k-world-flora/species/Echeveria%20erubescens%20E.Walther/data