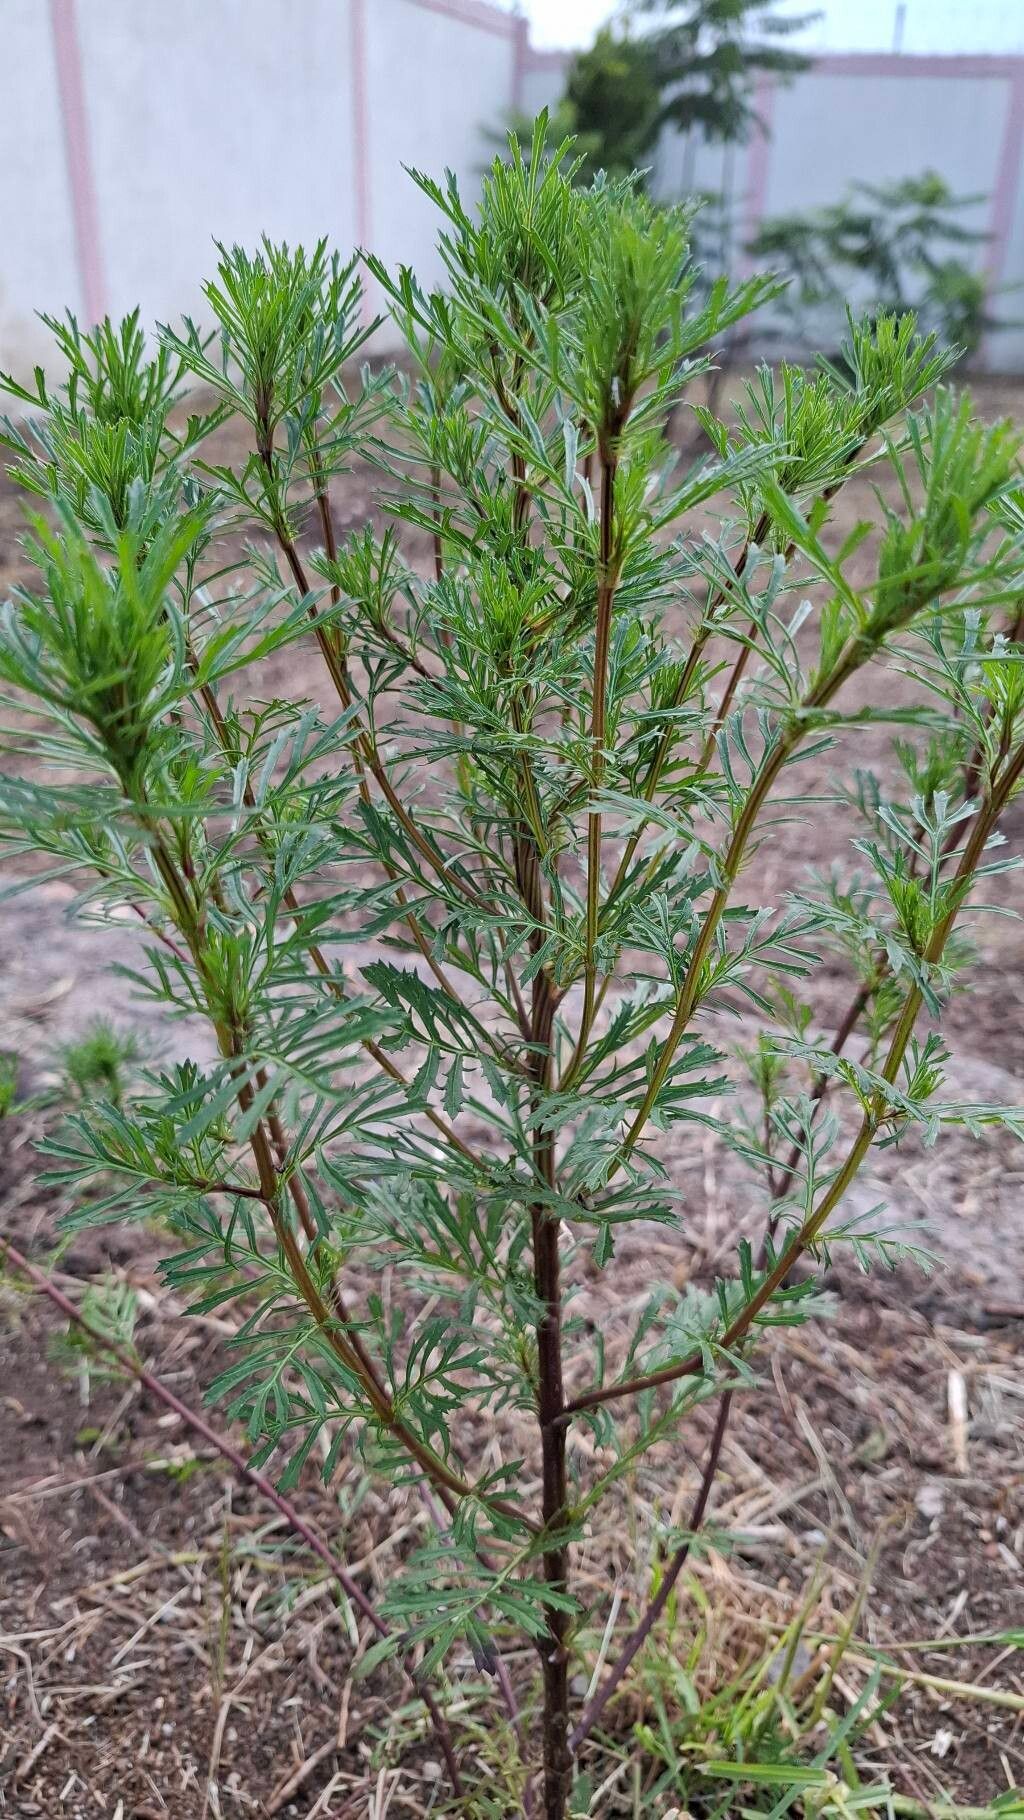
Hey there, fellow plant lovers! I’m so happy you’re here. Today, we’re diving into the wonderful world of Dyssodia papposa, often called Roughseed Fleabane. This little bloom packs a punch with its cheerful, daisy-like flowers, usually in shades of yellow or orange, and its wonderfully fragrant foliage. It’s a fantastic addition to any sunny spot in your garden, attracting pollinators and bringing a burst of color. And the best part? Propagating it is absolutely achievable, even for those just starting their green adventure!
The Best Time to Start
For the highest success rate with Dyssodia papposa, I’ve found that early spring is your golden ticket. You want to work with new, vigorous growth. Think of it as their prime time, full of energy and readiness to put down new roots. Waiting until after the last frost is a good rule of thumb.
Supplies You’ll Need
Gathering your tools beforehand makes the whole process so much smoother. Here’s what I usually have on hand:
- Sharp Pruning Shears or a Hobby Knife: Clean cuts are crucial for preventing disease.
- Rooting Hormone (Optional but Recommended): This really gives your cuttings a boost. I like to use a powder form.
- Well-Draining Potting Mix: A mix of peat moss, perlite, and a bit of sand is perfect. You can also find excellent pre-made seed starting or succulent mixes.
- Small Pots or Trays: Clean containers with drainage holes are a must.
- Watering Can with a Fine Rose Attachment: Gentle watering is key.
- Plastic Bags or Clear Domes: To create a mini-greenhouse effect.
- A Warm, Bright Spot: Out of direct, harsh sun.
Propagation Methods
Dyssodia papposa is quite amenable to a couple of methods, but my go-to is stem cuttings. It’s straightforward and yields great results.
Stem Cuttings:
- Take Your Cuttings: With your clean shears, select healthy, non-flowering stems from your parent plant. You’re looking for stems that are about 4-6 inches long. Make your cut just below a leaf node (where a leaf attaches to the stem).
- Prepare the Cuttings: Gently remove the lower leaves. You want to expose at least one or two leaf nodes. This is where the roots will emerge.
- Apply Rooting Hormone: Dip the cut end of each stem into your rooting hormone, tapping off any excess. This step is like giving your cutting a little superpower.
- Plant Your Cuttings: Fill your small pots with your well-draining mix. Make a small hole with your finger or a pencil and insert the prepared cuttings, ensuring the leaf nodes are buried in the soil. Gently firm the soil around them.
- Water Gently: Water thoroughly but gently, ensuring the soil is moist but not waterlogged.
- Create a Humid Environment: Cover the pots with a plastic bag or a clear dome. This traps humidity, which is super important for cuttings to root. Place them in a bright spot away from direct sunlight.
The “Secret Sauce” (Pro Tips)
Now, for a couple of things I’ve learned over the years that can really make a difference:
- Bottom Heat is Your Friend: If you have it, placing your pots on a heat mat designed for seedlings can significantly speed up root development. It mimics the warmth of spring soil.
- Don’t Over-Water: This is probably the biggest mistake beginners make. I always tell people, “Moist, not soggy.” Soggy soil is an invitation for rot, and we don’t want sad, rotted cuttings! Check the soil moisture regularly by just feeling it.
Aftercare & Troubleshooting
Once your cuttings have been happily sitting in their humid little homes, keep an eye out for new leaf growth. This is your sign that roots are forming!
- Transition Slowly: When you see new growth, it’s time to gradually acclimate your new plants to less humid conditions. Start by lifting the plastic bag for a few hours each day, then remove it completely.
- Continue Gentle Watering: Keep the soil consistently moist but not wet.
- Signs of Trouble: The most common issue is rot. If your cuttings turn black, mushy, or wilt dramatically despite being kept moist, it’s usually a sign of too much moisture and poor drainage, or a fungal issue. Sometimes, starting over is the best option. Also, if they look sickly and refuse to root after a few weeks, it might just not be their time or the conditions weren’t quite right. Don’t get discouraged!
A Encouraging Closing
Propagating plants is such a rewarding journey. It teaches us patience and keen observation. Don’t be afraid to experiment, and remember that every gardener, no matter how experienced, has lost a cutting or two. The joy of seeing those tiny roots emerge and watching your new Dyssodia papposa flourish is truly special. Happy propagating!
Resource:
https://identify.plantnet.org/k-world-flora/species/Dyssodia%20papposa%20(Vent.)%20Hitchc./data