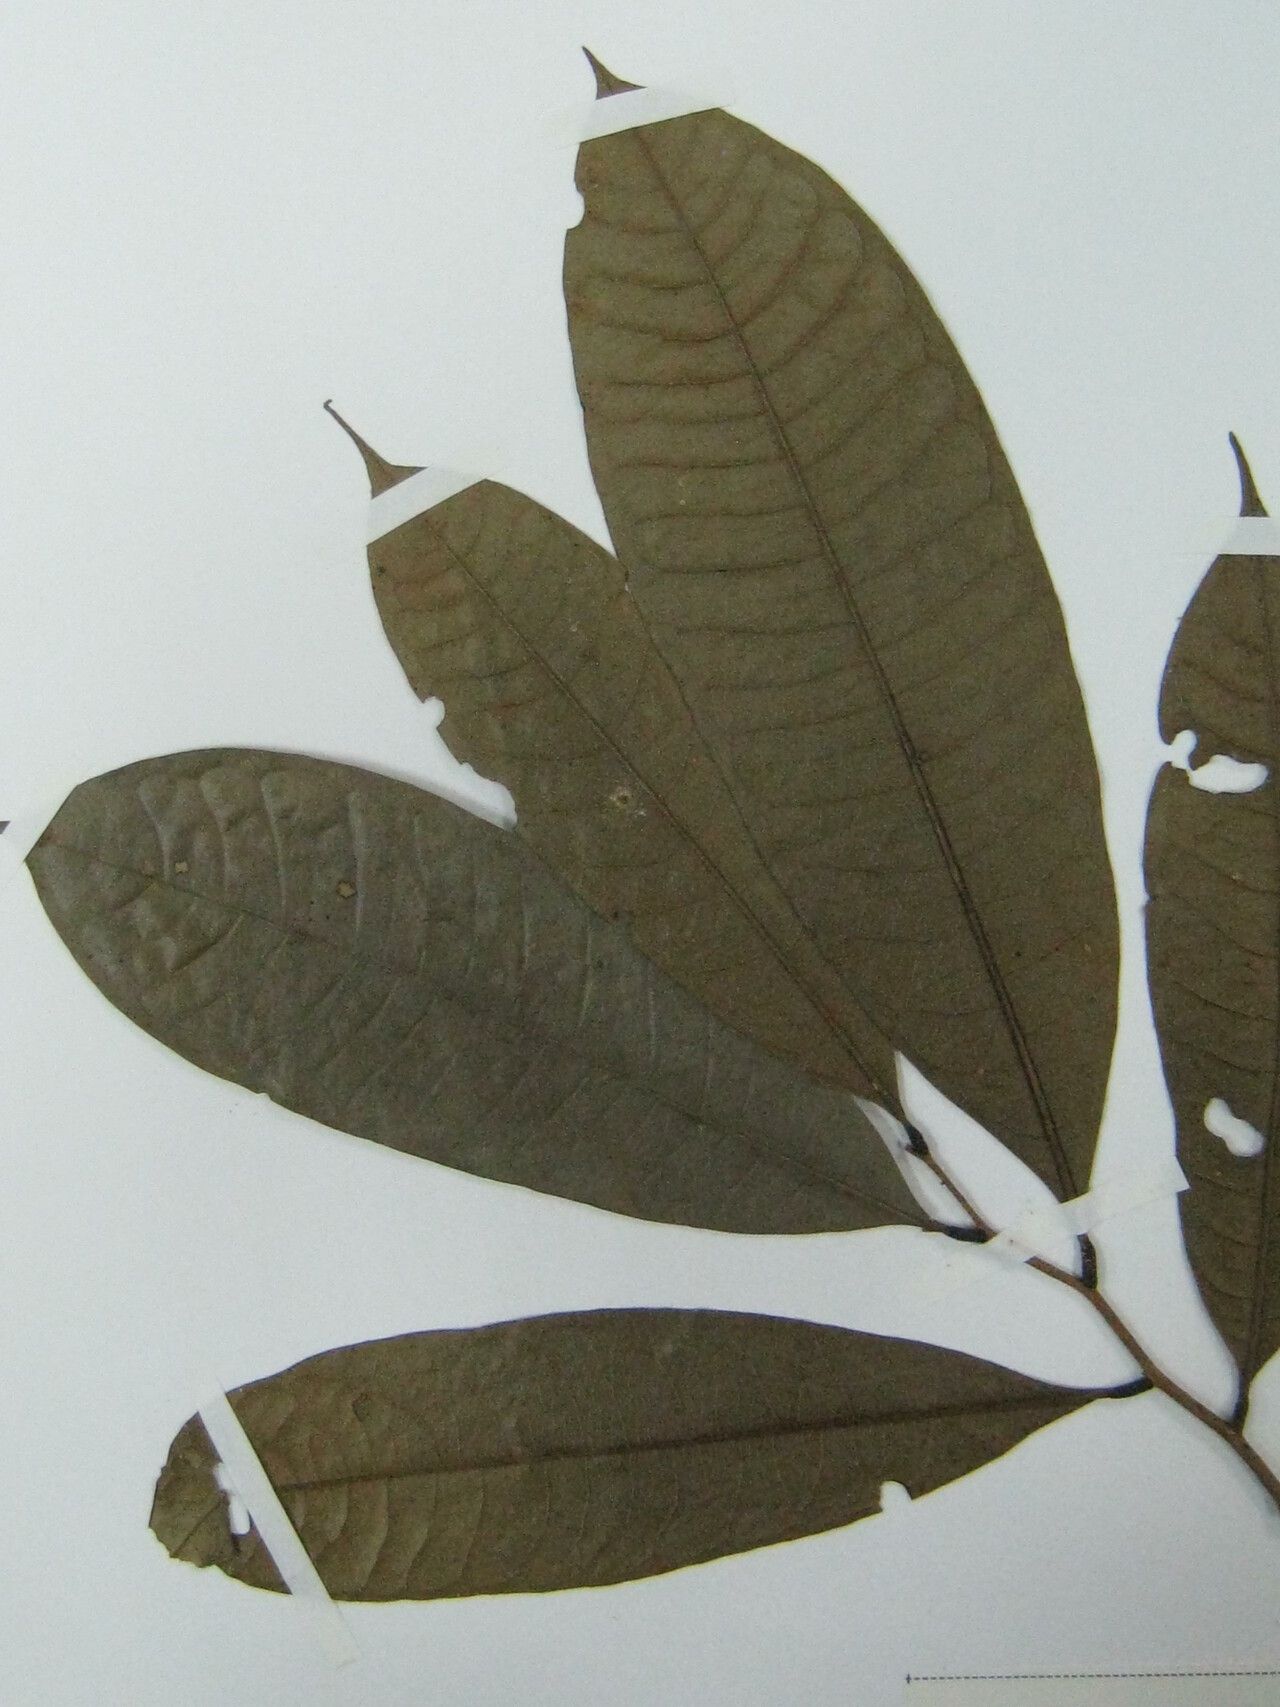
Oh, Duguetia trunciflora! Isn’t she a beauty? I’ve always been captivated by her delicate, almost otherworldly foliage. And the little blooms she sometimes blesses us with? Simply charming. If you’ve got this lovely plant gracing your space, you know exactly what I mean. The thrill of coaxing a new little Duguetia from a piece of your established one? That’s pure gardening joy, I tell you. Now, is she a walk in the park for a total beginner? Honestly, she can be a little fussy, but with a few pointers, I think you’ll find it’s well within reach.
The Best Time to Start
When I’m looking to get new plants going, I always aim for spring or early summer. This is when my Duguetias are bursting with energy and really pushing out new growth. You’ll want to select stems that are neither brand new and tender nor old and woody. Think of it as aiming for that perfect “semi-hardwood” stage – firm to the touch but still flexible.
Supplies You’ll Need
To set yourself up for success, here’s what I keep handy:
- Sharp pruning shears or a clean knife: For making clean cuts.
- Well-draining potting mix: A blend of peat moss, perlite, and a bit of slow-release fertilizer works wonders. You can also buy specific mixes for houseplants or cuttings.
- Small pots or seedling trays: Clean ones are key to preventing disease!
- Rooting hormone (optional but recommended): This really gives your cuttings a helpful boost. Look for one with indole-3-butyric acid (IBA).
- Plastic bags or a propagation dome: To keep humidity high.
- Small watering can or spray bottle: For gentle watering.
- A dibber or pencil: To make holes for your cuttings.
Propagation Methods
For Duguetia trunciflora, I’ve found stem cuttings to be my go-to method. It’s reliable and gives you a good chance of success.
- Take Your Cuttings: Using your sharp pruners or knife, select a healthy stem that’s about 4-6 inches long. Make a clean cut just below a leaf node. (That’s where the new roots will want to sprout from!)
- Prep the Cuttings: Gently remove the lower leaves from the cutting, leaving just a few at the top. This helps the plant focus its energy on rooting, not keeping a lot of leaves alive. If your cutting has any flower buds, pinch those off too.
- Apply Rooting Hormone (Optional): Dip the cut end of the stem into your rooting hormone powder. Tap off any excess.
- Plant Them Up: Fill your small pots with your well-draining potting mix. Make a small hole with your dibber or pencil for each cutting and gently insert the cut end into the soil, making sure it’s firm.
- Water Carefully: Lightly water the soil. You don’t want it to be soggy, just moist.
- Create a Humid Environment: Cover the pots with a plastic bag (you can use a skewer or two to keep it from touching the leaves) or place them under a propagation dome. This high humidity is crucial for cuttings.
The “Secret Sauce” (Pro Tips)
- Bottom Heat is Your Friend: If you have a heated propagator mat, use it! Consistently warm soil temperatures – around 70-75°F (21-24°C) – significantly speed up root development. It’s like a warm hug for your cuttings.
- Don’t Overwater, Even in Humidity: While they need humidity, soggy soil is the fastest way to invite rot. Check your soil moisture by gently poking your finger in. If it feels damp, leave it be.
- Patience, Dear Gardener: Duguetias aren’t the fastest rooters. I often tell people to be prepared to wait 6-10 weeks, sometimes even longer, before seeing signs of new growth or feeling resistance when you gently tug on the cutting.
Aftercare & Troubleshooting
Once you see signs of new leaf growth or feel a good amount of resistance when you gently tug on the cutting, congratulations! That’s your cue that roots have formed.
- Gradual Acclimation: Slowly reduce the humidity over a week or two by opening the plastic bag a bit more each day, or by gradually removing the propagation dome. This lets your new plant adjust to normal room conditions.
- Regular Watering: Continue to water when the top inch of soil feels dry. It’s still a young plant, so no dramatic drying out!
- Light: Move them to a spot with bright, indirect light.
If you notice your cuttings looking limp and mushy, or developing dark patches, that’s usually a sign of root rot. This is often caused by too much moisture and poor drainage. Unfortunately, once rot sets in, it’s hard to save them. It’s a good reminder to always err on the side of caution with watering and ensure good air circulation.
A Encouraging Closing
Propagating plants is a journey, and while not every cutting will make it, every attempt is a learning experience. Be patient with your little Duguetia trunciflora cuttings. Celebrate the small victories. And most importantly, enjoy the wonderful process of bringing more green into your life! Happy gardening!
Resource: