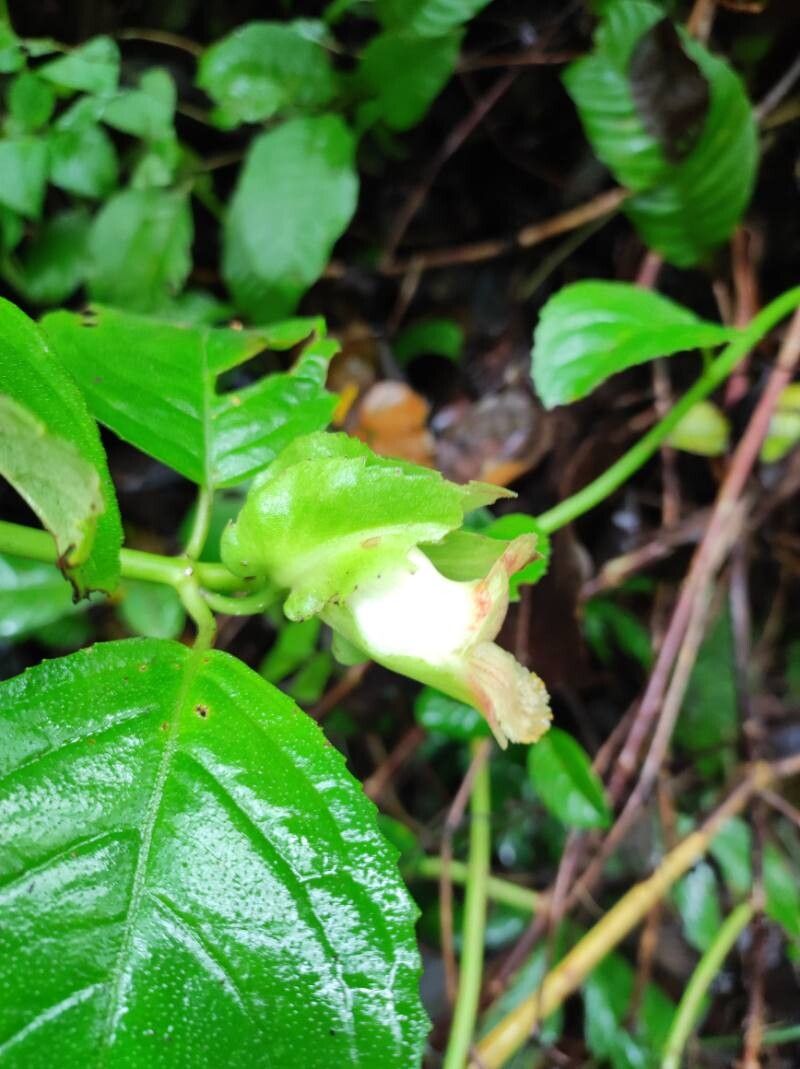
Hello, fellow plant lovers! Today, I want to talk about a plant that has truly captured my heart: Drymonia serrulata. If you’ve ever seen this beauty, you’ll know why. Its lush, often vibrantly colored foliage, and sometimes delightful blooms, bring a touch of the tropics right into our homes. And the best part? Sharing that beauty by propagating it is incredibly rewarding. For those just starting out on their plant journey, I’ll be honest, Drymonia serrulata can be a tad bit fussy, but with a little patience and these tips, you’ll be well on your way to success!
The Best Time to Start
When it comes to coaxing new life from your beloved Drymonia, timing is everything! The absolute best time to propagate is during the active growing season, which for most of us means late spring through summer. This is when the plant has plenty of energy to put into rooting. You’ll have the highest success rates when you take cuttings from healthy, vigorous stems that are actively producing new leaves. Avoid taking cuttings from plants that are stressed, dormant, or have just finished flowering.
Supplies You’ll Need
Before we get our hands dirty, let’s gather our tools. Having everything ready makes the process so much smoother!
- Sharp Pruning Shears or a Clean Knife: For making clean cuts, which is crucial for preventing disease.
- Well-Draining Potting Mix: I personally love a mix that includes perlite and orchid bark. This ensures good aeration and prevents waterlogged soil, a common enemy of delicate new roots. You can also buy pre-made mixes for houseplants or orchids.
- Small Pots or Seed Trays: Clean, small containers are best for starting cuttings. Look for ones with drainage holes, of course!
- Rooting Hormone (Optional but Recommended): This can give your cuttings a real boost, encouraging faster and stronger root development.
- Clear Plastic Bag or Dome: To create a humid environment around your cuttings.
- Water: For hydration.
- Labels and a Pen: To keep track of what you’ve planted and when!
Propagation Methods
Drymonia serrulata can be propagated through a couple of common methods. I find stem cuttings to be the most reliable and straightforward.
Stem Cuttings
- Select Your Cutting: Look for a healthy stem that has at least two or three sets of leaves. As I mentioned, the spring and summer are prime times for this.
- Make the Cut: Using your cleaned pruning shears or knife, make a clean cut just below a leaf node. A leaf node is that little bump where a leaf or branch emerges from the stem. This is where the magic happens – that’s where the roots will form!
- Prepare the Cutting: Gently remove the lower leaves, leaving just one or two at the very top. This prevents leaves from rotting once they’re in the soil or water. If the top leaves are very large, you can even cut them in half horizontally to reduce moisture loss.
- Apply Rooting Hormone (Optional): If you’re using rooting hormone, dip the cut end of the stem into the powder. Tap off any excess.
- Plant Your Cutting: Fill your small pot with your prepared, slightly dampened potting mix. Gently insert the cut end of the stem into the soil, making sure at least one leaf node is buried beneath the surface. Firm the soil gently around the stem.
- Create Humidity: Water the pot lightly. Then, cover the pot with a clear plastic bag or a propagation dome. This traps moisture and creates the humid environment that Drymonia cuttings crave. You can use a toothpick or two to prop up the bag so it doesn’t touch the leaves!
- Find a Spot: Place your potted cuttings in a bright location but out of direct sunlight. A spot on a shelf near a window that gets indirect light is perfect.
Water Propagation (A Simpler Option for Some)
While I prefer soil propagation for Drymonia, some find water propagation easier initially.
- Prepare the Cutting: Follow steps 1-3 from the stem cutting method.
- Place in Water: Put the cutting in a clean jar or glass filled with room-temperature water.
- The “Don’t Touch” Rule: This is crucial: ensure that no leaves are submerged in the water. Any leaves below the waterline will rot and can contaminate the water, harming your cutting.
- Change Water Regularly: Change the water every few days, or whenever it looks cloudy, to keep it fresh and oxygenated.
- Location: Again, place the jar in a bright spot with indirect light.
The “Secret Sauce” (Pro Tips)
After years of tinkering with these tropical beauties, I’ve picked up a few tricks that really make a difference.
- Bottom Heat is Your Friend: If you can, provide gentle bottom heat for your soil-propagated cuttings. A seedling heat mat placed under the pots can significantly speed up root development. It mimics the warmth of a tropical soil and gives those roots a real push to grow.
- Mist, Mist, Mist (but strategically): While the plastic bag helps, I sometimes like to lightly mist the leaves with water every few days as well, especially if the air in my home is quite dry. Just a gentle spray, not a deluge! This keeps the foliage plump and happy while the roots are forming.
- Patience with the Leaf Drop: Sometimes, a cutting might drop a leaf or two. Don’t panic! If the stem itself looks healthy and green, it’s often just prioritizing energy to root. If the whole stem turns mushy or black, then it’s time to give up on that particular cutting.
Aftercare & Troubleshooting
Once you see new roots emerging – a good sign is when you gently tug on the cutting and feel some resistance, or if you see roots peeking out of the drainage holes – it’s time for a little more attention.
For soil-propagated cuttings, gradually acclimate them to the normal humidity of your home. You can start by removing the plastic bag for a few hours each day, then extending that time until the bag is off completely. Continue to water as needed, keeping the soil consistently moist but not soggy.
For water-propagated cuttings, wait until you have a good network of roots, about an inch or two long, before planting them in your potting mix. Treat them as you would a newly potted soil cutting.
Signs of Failure: The most common issue is rot. If the cutting turns soft, mushy, or black, it’s likely a case of overwatering or not enough air circulation. Ensure your soil is well-draining and that you’re not drowning your cuttings. Yellowing leaves that fall off before roots form can also be a sign of not enough light or too much stress on the cutting.
A Warm Encouragement
Propagating Drymonia serrulata is a journey, and like any good garden project, it requires a bit of patience. Don’t be discouraged if your first attempt isn’t a smashing success. Each cutting is a learning opportunity. Celebrate the small victories – that first tiny root, that new leaf unfurling! Soon enough, you’ll have a whole collection of these gorgeous plants to enjoy and share. Happy growing!
Resource:
https://identify.plantnet.org/k-world-flora/species/Drymonia%20serrulata%20(Jacq.)%20Mart./data