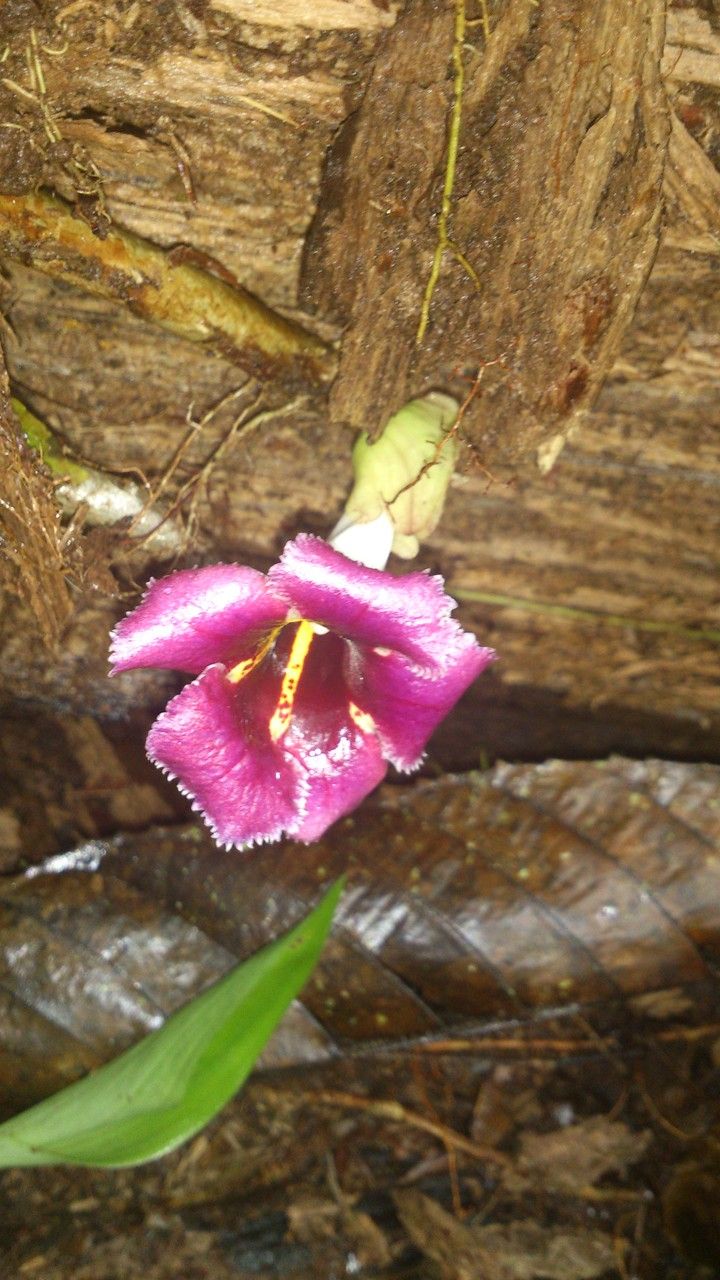
Hey there, fellow plant lovers! Today, I want to talk to you about a real gem in the Gesneriad family: Drymonia glandulosa. If you’ve ever seen one of these beauties in bloom, you know exactly why I’m smitten. Their vibrant, tubular flowers, often a cheerful orange or red, are just a showstopper. And the best part? They’re not as tricky to multiply as you might think. Propagating Drymonia glandulosa is a wonderfully rewarding process, giving you more of these gorgeous plants to share or fill your own sun-drenched corners. For beginners, I’d say it’s moderately easy – a little patience and a few key techniques, and you’ll be a pro in no time!
The Best Time to Start
When it comes to getting the most bang for your propagation buck, the active growing season is your best friend. Think late spring through summer. This is when your plant is full of vigor and has the energy to produce strong new growth, which translates into successful cuttings. You want to select stems that are healthy, firm, and have at least a few leaves. Avoid anything that looks leggy or has just flowered.
Supplies You’ll Need
Gathering your tools beforehand makes the whole process much smoother. Here’s what I usually have on hand:
- Sharp pruning shears or a clean blade: For making clean cuts.
- Rooting hormone (optional but recommended): A gentle dip can really give your cuttings a boost. Look for one formulated for stem cuttings.
- Well-draining potting mix: I like a blend of peat moss, perlite, and a little bit of orchid bark. It’s good to have something that doesn’t hold too much moisture.
- Small pots or a propagation tray: Clean pots are a must!
- Plastic bag or propagation dome: To create a humid environment.
- Water: For misting and, if you choose that route, for a preliminary soak.
- Spray bottle: For misting.
Propagation Methods
There are a couple of ways to get more Drymonia glandulosa plants, but my go-to method is stem cuttings.
Stem Cuttings:
- Taking the Cutting: With your clean shears, select a healthy, non-flowering stem. Aim for a cutting that’s about 4-6 inches long and has at least two sets of leaves. Make a clean cut just below a leaf node (where a leaf attaches to the stem). These nodes are where the magic happens – where roots will emerge.
- Preparing the Cutting: Gently remove the lower leaves from the cutting, leaving just the top two or three sets. This prevents them from rotting in the soil.
- Rooting Hormone (Optional): If you’re using rooting hormone, dip the cut end of the stem into the powder. Tap off any excess.
- Planting: Make a hole in your prepared potting mix with a pencil or your finger. Gently insert the cutting, ensuring the node where you removed the leaves is buried. Firm the soil around the stem.
- Creating Humidity: Lightly water the soil. Then, mist the leaves of the cutting. Cover the pot with a plastic bag, securing it with a rubber band, or place it under a propagation dome. This creates a humid microclimate, which is crucial for successful rooting.
- Placement: Place the pot in a bright, indirect light location. Avoid direct sun, as it can scorch the tender cuttings.
The “Secret Sauce” (Pro Tips)
Now, for a couple of little tricks that have really made a difference for me:
- Bottom Heat is Your Friend: Drymonia glandulosa absolutely loves a little warmth from below. Placing your pots on a heating mat specifically designed for plants can significantly speed up root development. It mimics the warm soil conditions they’d find in their native habitat.
- Don’t Drown Them: When you water, aim to keep the soil consistently moist, but not soggy. Overwatering is one of the quickest ways to spell doom for your cuttings, leading to rot. A good trick is to water until it drains from the bottom, then let the surface start to dry out a bit before watering again.
- Watch the Leaves: If you’re doing water propagation (which I find a bit trickier for Drymonia but possible), a crucial tip is to never let the leaves touch the water. Only the cut stem should be submerged. Leaves in the water will quickly rot and can take the whole cutting down with them.
Aftercare & Troubleshooting
Once you start seeing new growth, it’s a great sign that roots are forming! This usually takes anywhere from 4-8 weeks. You can gently tug on the cutting – if there’s resistance, you’ve got roots!
Continue to keep the soil moist and the humidity high. When the new plant seems robust enough to handle less humidity (you’ll see its growth spurting, not just struggling a bit), you can gradually acclimate it by opening the bag or dome a little more each day. Once it’s looking strong, you can transplant it into its own small pot.
Troubleshooting time! The most common issue is rot. If your cutting turns mushy, black, or smells funny, it’s likely rotted. This is usually due to overwatering or poor air circulation. If you see this happening, unfortunately, it’s time to start again, paying close attention to soil moisture and ventilation. Sometimes, fungal infections can also set in if conditions are too damp and stagnant. Good airflow helps prevent this.
A Encouraging Closing
Watching a new plant emerge from a tiny cutting is one of the most satisfying garden experiences, isn’t it? Be patient with your Drymonia glandulosa cuttings. Give them time, the right conditions, and a touch of warmth, and you’ll be rewarded with gorgeous new plants. Enjoy the process – the tinkering, the waiting, and finally, the success! Happy propagating!
Resource:
https://identify.plantnet.org/k-world-flora/species/Drymonia%20glandulosa%20Kriebel/data