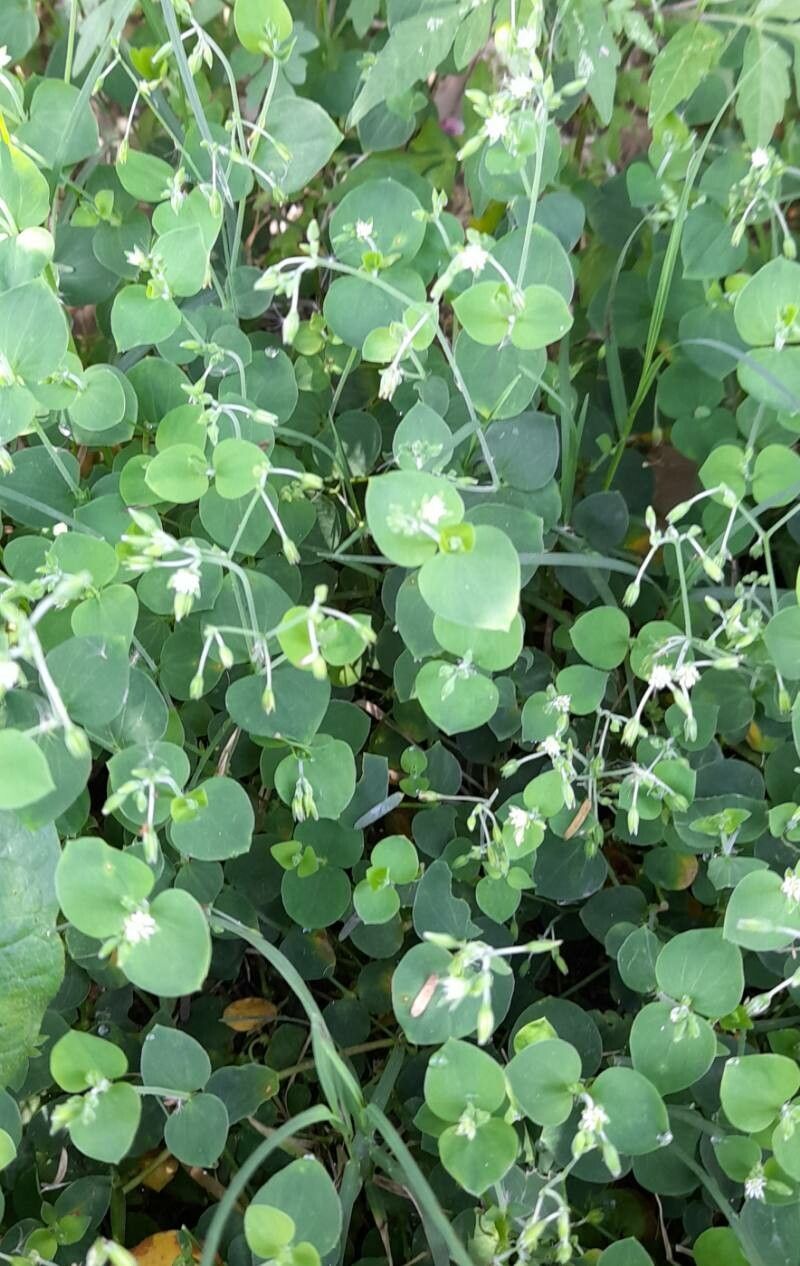
Oh, hello there! Pull up a chair, let’s chat plants. Today, we’re diving into the wonderful world of propagating Drymaria cordata. You know, that charming little groundcover with the heart-shaped leaves that can just transform a shady corner into something truly special? Its delicate beauty is quite something, and honestly, multiplying it is incredibly satisfying. Think of it as sharing little pieces of sunshine with your garden, or even with friends!
Now, I know I have a soft spot for it, but I can tell you, Drymaria cordata is a delightful plant for beginners to tackle. Its eagerness to root makes it a wonderfully rewarding experience for anyone just starting their propagation journey.
The Best Time to Start
For the absolute highest success rate with Drymaria cordata, I always recommend starting in late spring or early summer. This is when the plant is actively growing and buzzing with energy. You’ll be able to find nice, healthy stems that are neither too soft and new nor too woody. Honestly, you can get away with it at other times, but this period just seems to give them the best boost.
Supplies You’ll Need
Gathering your tools beforehand makes the whole process so much smoother. Here’s what you’ll want to have on hand:
- Sharp pruning shears or a clean knife: For making those crucial, clean cuts.
- A good potting mix: I like a blend that’s light and drains well. A mix of equal parts peat moss or coco coir and perlite works beautifully. You can also add a bit of compost.
- Small pots or seed trays: Clean ones are essential to prevent disease.
- Rooting hormone (optional but helpful): A powder or gel can speed things up.
- A watering can with a fine rose or a spray bottle: For gentle watering.
- Plastic bags or a humidity dome: To keep things moist while the cuttings establish.
Propagation Methods
Drymaria cordata is quite forgiving, and I usually find success with a couple of methods.
Stem Cuttings: My Go-To
This is my absolute favorite because it’s so effective and you can get multiple plants from just one parent.
- Select your stems: Look for healthy, non-flowering stems that are about 3-4 inches long. Gently bend a stem; if it snaps cleanly, it’s likely a good candidate. If it just bends, it might be too soft.
- Make the cut: Using your clean shears or knife, make a clean cut just below a leaf node. A leaf node is where a leaf attaches to the stem. This is where the magic of rooting happens!
- Prepare the cuttings: Remove the bottom leaves from the cutting, leaving just a couple at the top. This prevents them from rotting when you stick them in the soil.
- Apply rooting hormone (optional): If you’re using it, dip the cut end of the stem into the rooting hormone, tapping off any excess.
- Plant your cuttings: Fill your small pots with your prepared potting mix. Gently push the cut end of the stem about an inch deep into the soil. Make sure at least one leaf node is buried.
- Water gently: Water the soil lightly so it’s moist but not soggy.
- Create humidity: Place the pots inside a plastic bag or cover them with a humidity dome. This is crucial for keeping the cuttings from drying out while they develop roots. You can prop up the bag with a few sticks if needed so it doesn’t touch the leaves.
Water Propagation: The See-Through Method
This one is fun because you can actually watch the roots grow!
- Select and prepare cuttings: Follow steps 1 and 2 from the stem cuttings method.
- Place in water: Put the cuttings in a jar or glass of clean water. Make sure no leaves are submerged; they will rot quickly in water. Just the leaf nodes should be in the water.
- Change the water: Change the water every few days to keep it fresh and prevent bacterial growth.
- Wait for roots: Within a few weeks, you should start to see tiny white roots emerging from the leaf nodes. Once the roots are about an inch long, you can pot them up into your prepared potting mix, just like you would with the stem cuttings.
The “Secret Sauce” (Pro Tips)
After years of playing in the dirt, a few little tricks really do make a difference.
- Bottom heat is your friend: If you can, placing your pots on a gentle heat mat can significantly speed up root development, especially if your home is on the cooler side. It mimics that lovely warmth of spring.
- Patience with the roots: Don’t be tempted to tug on your cuttings to see if they have roots! They are delicate. Instead, look for new leaf growth. That’s usually a very good sign that roots are forming and the plant is happy.
- Air circulation is key: While you want to maintain humidity, don’t seal them up too tightly all the time. Once or twice a day, lift the plastic bag or dome for a few minutes to allow for some air circulation. This helps prevent fungal issues.
Aftercare & Troubleshooting
Once you see those lovely new roots – hooray!
- Transition gradually: If your cuttings were in a plastic bag, gradually acclimate them to normal room humidity by opening the bag a little more each day over a week before removing it completely.
- Watering: Continue to keep the soil consistently moist but not waterlogged. As the plant grows and becomes more established, you can let the top inch of soil dry out slightly between waterings.
- Light: Place your newly potted plants in a bright, indirect light location. Avoid direct sun, which can scorch those tender young leaves.
Troubleshooting: The most common issue you might encounter is rot. This usually happens if the cuttings are too wet, the soil doesn’t drain well, or there’s a lack of air circulation. If you see stems turning mushy and dark, it’s best to discard that cutting and try to identify what went wrong. Sometimes, it’s just a matter of adjusting your watering or ensuring better drainage.
A Encouraging Closing
Propagation is a journey, and every plant you successfully nurture from a tiny cutting is a little triumph. Be patient with your Drymaria cordata, offer it a little warmth and consistent moisture, and you’ll be rewarded with a garden full of its sweet, heart-shaped leaves. Enjoy the process, and most importantly, enjoy your beautiful, new plants! Happy propagating!
Resource: