Hello, fellow plant enthusiasts! If you’ve ever marveled at the delicate beauty and sticky allure of Drosera montana, you know it’s a plant that captures the imagination. These tiny, dew-kissed carnivores are truly special. Propagating them yourself can feel like unlocking a little bit of botanical magic. While Drosera montana isn’t the absolute easiest plant to start from scratch, with a little care and understanding, it’s definitely achievable for keen beginners. The reward of watching a tiny new plant unfurl is immense!
The Best Time to Start
For Drosera montana, the sweet spot for propagation is usually in late spring or early summer. This is when the plant is in its most active growth phase. You’ll see new growth emerging, and the plant has plenty of energy to put into developing those precious baby plants. Trying to propagate when the plant is resting, perhaps in the depths of winter, will likely lead to disappointment.
Supplies You’ll Need
Here’s a quick rundown of what you’ll want to have on hand:
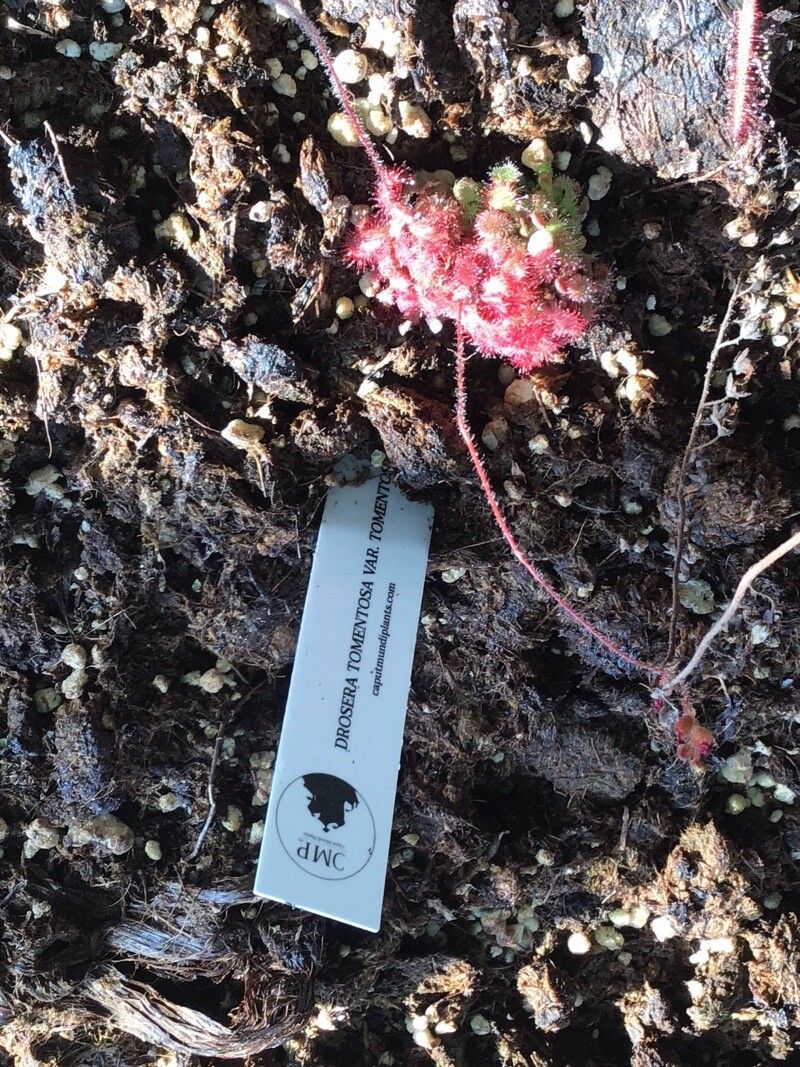
- Carnivorous Plant Potting Mix: A good blend of sphagnum peat moss and perlite (or silica sand) is crucial. Avoid standard potting soil as it retains too many nutrients and will kill your Drosera.
- Sharp Pruning Shears or a Clean Blade: For taking cuttings. Sterilize them with rubbing alcohol to prevent disease.
- Distilled Water, Rainwater, or Reverse Osmosis (RO) Water: Tap water is a big no-no due to its mineral content.
- Small Pots or Propagation Trays: Clean containers will house your new babies.
- Optional: Humidity Dome or Plastic Bag: To maintain high humidity.
- Optional: Bottom Heat Mat: This can speed up root development.
Propagation Methods
Drosera montana can be propagated in a couple of ways, but for this species, leaf cuttings are generally the most successful and straightforward.
-
Taking Leaf Cuttings:
- Locate a healthy leaf: Look for a mature, healthy leaf that is not too old or damaged. Sometimes, the newer leaves are a bit too tender, so aim for something in the middle.
- Make a clean cut: Using your sterilized shears or blade, carefully make a clean cut as close to the base of the leaf stalk as possible. You want to get a tiny bit of the white tissue at the base – this is where the magic happens!
- Prepare the cutting: Gently inspect your cutting. You don’t need to do much, but ensure the dew is still glistening on the trap when you start.
-
Water Propagation (with caution for this species):
- Prepare your tray: Fill a shallow tray or small pot with your carnivorous plant soil mix. It should be moist but not waterlogged.
- Place the cutting: Lay the leaf cutting onto the surface of the soil, with the dew-covered side facing upwards. Crucially, try to ensure the end of the leaf stalk is just barely touching or nestled into the damp soil.
- Maintain humidity: You can cover the pot with a clear plastic bag or place it inside a larger container with a lid to create a humid environment. A humidity dome is also excellent.
- Keep it moist: The soil needs to stay consistently damp but never soggy. I usually keep a shallow layer of distilled water in the tray beneath the pot to help maintain that moisture.
- Patience is key: Roots will start to appear from the cut end in a few weeks, followed by tiny new plantlets.
The “Secret Sauce” (Pro Tips)
Here are a few things I’ve learned over the years that can make a big difference:
- Don’t let the dew touch standing water: When laying your leaf cuttings on soil, you want that beautiful dew to be present, but if you’re water propagating in a tray, make sure the leaf itself isn’t sitting directly in the water. Only the cut end should be making contact to encourage rooting without rot.
- Bottom heat works wonders: If you have a little space, placing your propagation tray on a seedling heat mat set to a gentle warmth (around 70-75°F) can really encourage faster root development. It mimics the conditions many carnivorous plants love.
- Use the “living leaf” method: Sometimes, instead of fully removing the leaf, I’ll carefully detach it almost entirely but leave it attached at one very small point. This can give the cutting more energy from the parent plant initially, and often results in a higher success rate for particularly fussy plants.
Aftercare & Troubleshooting
Once you see tiny roots and new growth emerging from your cuttings, the hardest part is over!
- Gradual acclimatization: Slowly start to introduce your new Drosera montana to slightly less humid conditions. Remove the plastic bag or dome for increasing periods each day.
- Continue with pure water: Always use distilled, rainwater, or RO water.
- Light: Provide bright, indirect light initially. As the plant grows, it will tolerate more direct sun, but avoid scorching it.
- Troubleshooting: The most common issue is rot. If your cutting turns black and mushy, it’s likely due to too much moisture and not enough airflow, or tap water minerals. Unfortunately, these are usually lost causes, but don’t be discouraged! Try again with a fresh cutting and ensure good ventilation. Another sign of stress can be brown or wilted leaves, which might indicate the environment is too dry or the light is too intense.
A Encouraging Closing
Propagating Drosera montana is a journey, and like all good gardening endeavors, it teaches you patience. Don’t be disheartened if your first few attempts don’t yield success. Keep observing, keep learning, and keep trying. Each tiny new plant you nurture into existence is a testament to your dedication and a beautiful addition to your collection. Happy growing!
Resource:
https://identify.plantnet.org/k-world-flora/species/Drosera%20montana%20A.St.-Hil./data