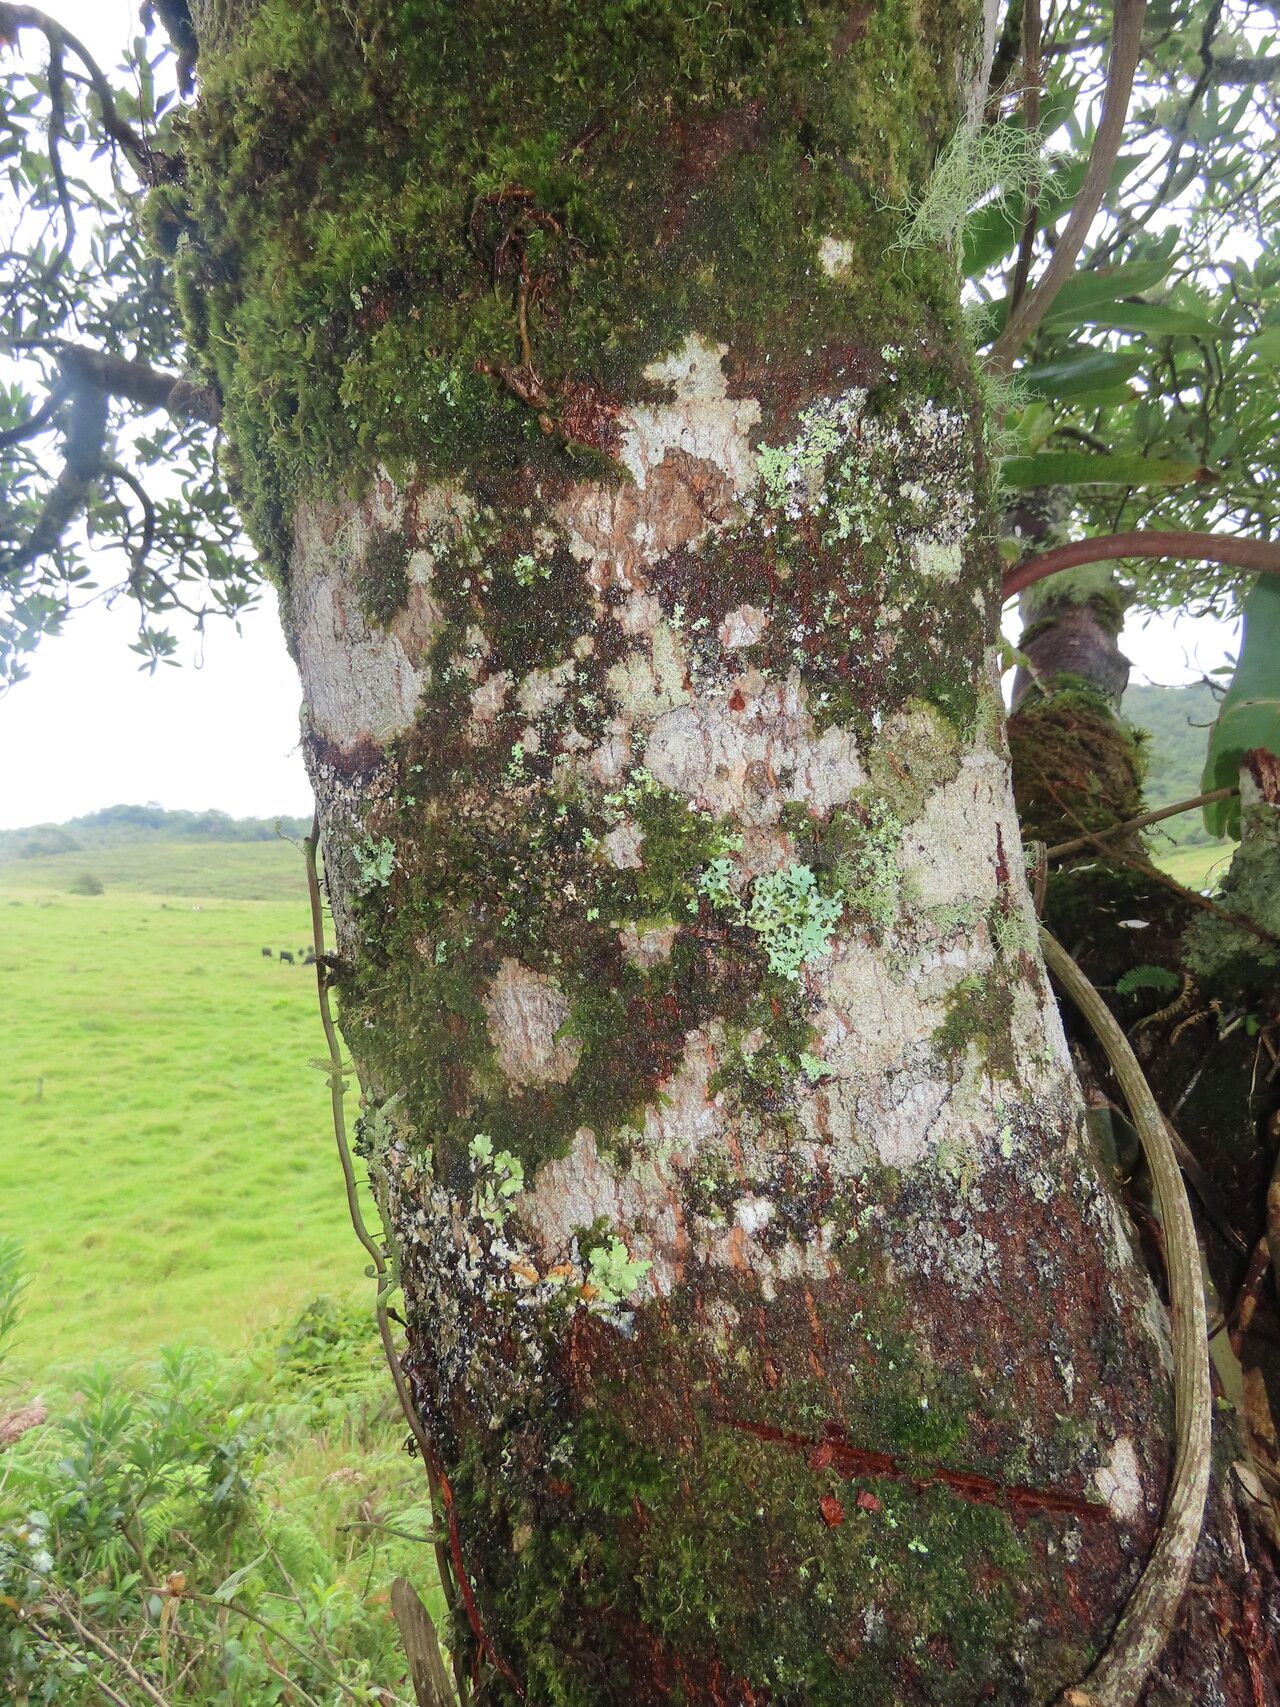
Ah, Drimys granadensis! If you’ve ever seen this beauty, you know why I’m so fond of it. Its glossy, dark green leaves and fragrant, star-shaped flowers are a true delight. It’s a bit of a gem, and propagating your own makes it even more special. Think of it as cloning a piece of your own garden’s magic! Now, for beginners, I’d say Drimys granadensis can be a little tricky. It’s not as straightforward as a pothos, but with a bit of care and attention, it’s definitely achievable. That’s what we’re here for!
The Best Time to Start
My favorite time, and the one where I’ve seen the most success, is late spring or early summer. This is when the plant is actively growing, full of vigor, and has plenty of energy to put into developing new roots. You want to take cuttings when the stems are semi-hardwood. This means they’re not brand new and floppy, but not old and woody either. They should snap cleanly when bent, rather than just bending over.
Supplies You’ll Need
Here’s a little arsenal to get you going:
- Sharp pruning shears or a clean, sharp knife: For taking clean cuts.
- Rooting hormone powder or gel: This really gives your cuttings a boost.
- Small pots or propagation trays: Clean ones are essential!
- A well-draining potting mix: I like a blend of equal parts perlite and peat moss, or a good quality seed starting mix. You want something that holds moisture but doesn’t get waterlogged.
- Plastic bags or a propagation dome: To create a humid environment.
- A small watering can or mister: For gentle watering.
Propagation Methods
We’ll focus on the most reliable method for Drimys granadensis: stem cuttings.
- Select and Cut Your Cuttings: Head out to your mature plant and look for those semi-hardwood stems. Aim for cuttings that are about 4 to 6 inches long. Make a clean cut just below a leaf node. A leaf node is where a leaf attaches to the stem – this is where those magical roots will emerge.
- Prepare the Cuttings: Gently remove the lower leaves from your cuttings, leaving just a few at the top. This reduces moisture loss and prevents leaves from rotting in the medium. If you have any flower buds, it’s a good idea to pinch them off as they divert energy away from root development.
- Apply Rooting Hormone: Dip the cut end of each cutting into your rooting hormone. Tap off any excess. This step is crucial for encouraging root formation.
- Plant Your Cuttings: Fill your pots or trays with your prepared potting mix. Make a small hole in the center of the mix with your finger or a pencil. Gently insert the cut end of the cutting into the hole, making sure at least one leaf node is buried. Firm the soil gently around the cutting.
- Create a Humid Environment: This is key! Water the soil gently until it’s moist but not soggy. Then, cover the pots with plastic bags, making sure the foliage doesn’t touch the plastic. Alternatively, use a propagation dome. This traps humidity, mimicking the conditions the cutting needs to thrive before it has roots. Place the pots in a location with bright, indirect light.
The “Secret Sauce” (Pro Tips)
Over the years, I’ve learned a few little tricks that can really make a difference:
- Bottom Heat is Your Friend: If you can provide a little gentle warmth from below, it significantly speeds up root development. A seedling heat mat is perfect for this. Just make sure the temperature doesn’t get too hot – cozy, not scorching!
- Don’t Overwater, But Keep it Consistently Moist: This is a balancing act. The soil should feel like a wrung-out sponge – moist but not sodden. If you see condensation build up heavily inside the plastic, you can ventilate for a few hours. If the soil looks dry, give it a light mist.
- Be Patient and Observe: This is perhaps the most important tip of all. Drimys granadensis can be a slow starter. Don’t be discouraged if you don’t see roots immediately. Check gently for resistance when you very lightly tug on a cutting. If it pulls away easily, it hasn’t rooted. You might also start to see new leaf growth at the top – a sign of success!
Aftercare & Troubleshooting
Once your cuttings have developed a decent root system (you might see them peeking out of the drainage holes, or they’ll resist gentle tugging), it’s time for them to become independent little plants!
Acclimatize them slowly. Gradually remove the plastic cover for longer periods each day over a week or so. Continue to water as needed, letting the top inch of soil dry out between waterings. Once they’re fully acclimatized, you can transplant them into individual pots with a slightly richer potting mix, if you wish.
Now, what if things go wrong? The most common issue is rot. This usually happens from overwatering or poor drainage. If your cutting looks mushy, smells off, or has blackening stems, it’s likely rotted. Unfortunately, there’s not much you can do for a rotted cutting. Your best bet is to discard it and try again, focusing on keeping the soil only lightly moist and ensuring good airflow. If a cutting fails to root after several months, it’s also time to let it go.
A Encouraging Closing
Propagating plants is all about embracing the process, the learning, and yes, even the occasional setback. Don’t be afraid to experiment! Every plant and every situation is a little different. Keep practicing, observe your cuttings closely, and celebrate those successes. Soon, you’ll have a whole new generation of these gorgeous Drimys granadensis to enjoy and share. Happy gardening!
Resource:
https://identify.plantnet.org/k-world-flora/species/Drimys%20granadensis%20L.f./data