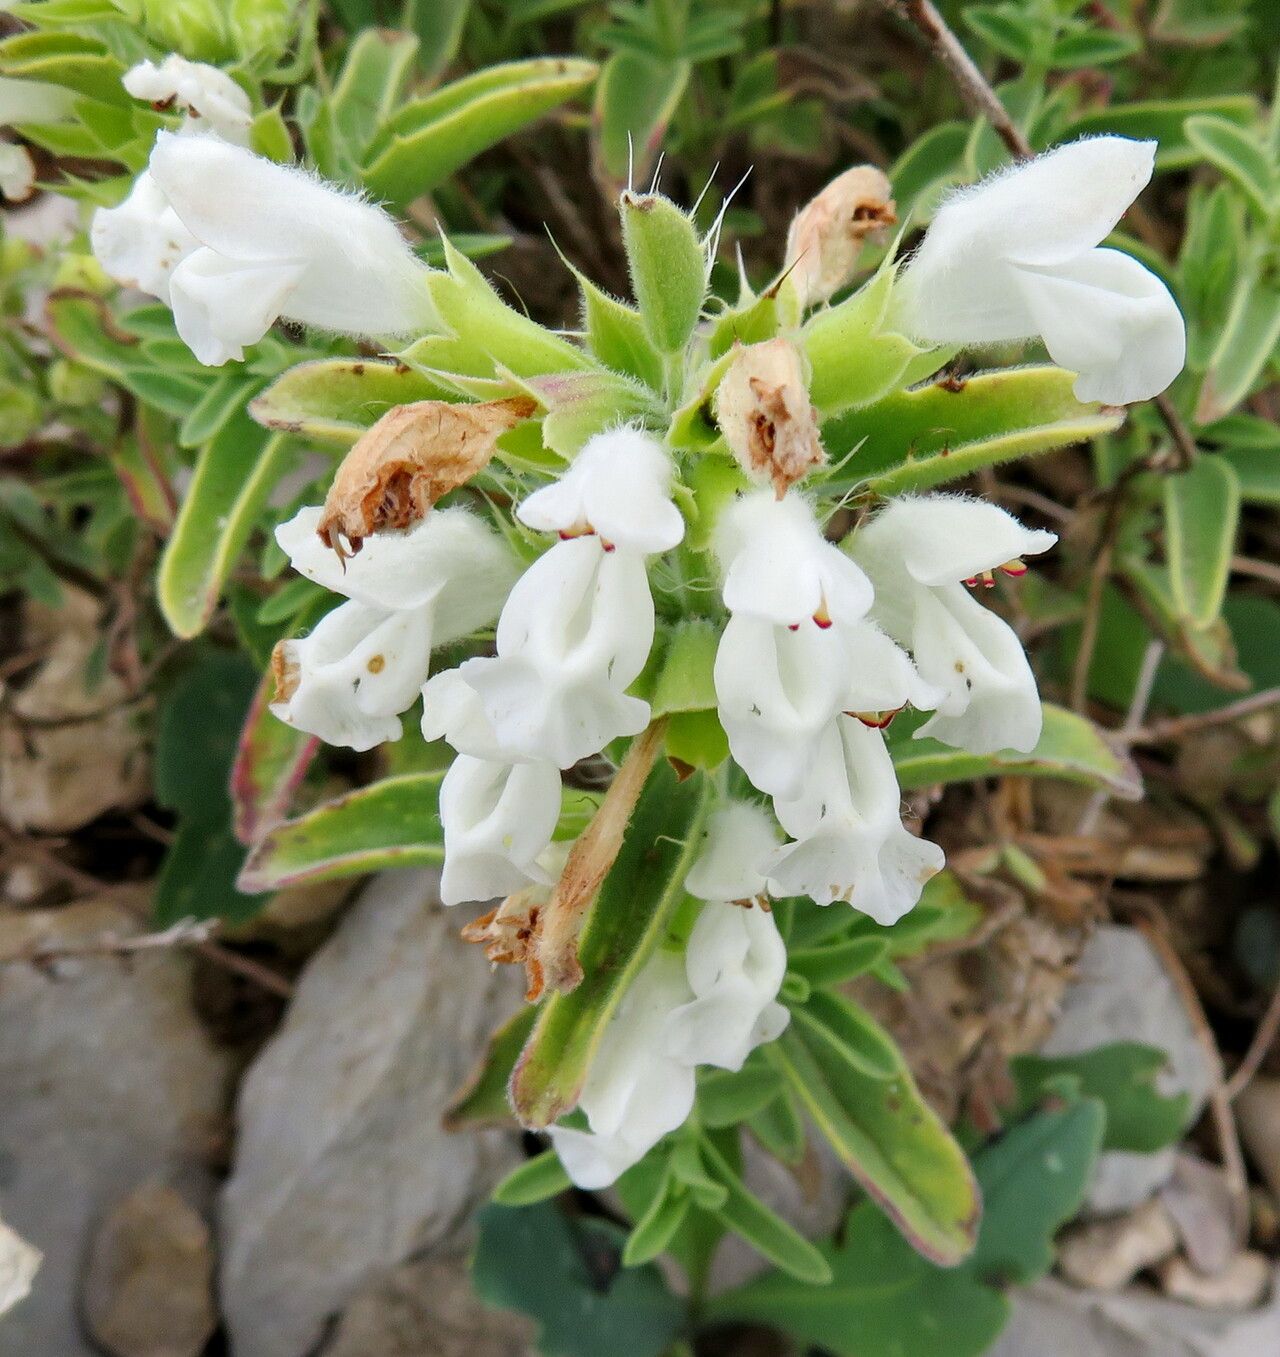
Oh, hello there! Grab your mug, and let’s chat about a truly delightful plant: Dracocephalum renati. If you’ve ever seen its charming, velvety foliage and delicate, almost otherworldly blooms, you know exactly why it’s such a gem. Propagating it yourself is like creating more of that garden magic, and believe me, it’s a wonderfully rewarding journey. For beginners? I’d say it’s not too tricky, but it does require a bit of attention to detail. Don’t let that scare you; we’ll walk through it together!
The Best Time to Start
Timing is everything in the garden, isn’t it? For Dracocephalum renati, the sweet spot for propagation is late spring to early summer. This is when the plant is actively growing and has plenty of energy to put into developing those new roots. Look for healthy, vigorous stems that haven’t yet flowered. They’ll have the best chance of success.
Supplies You’ll Need
Gathering your tools is half the fun, like preparing for a creative project. Here’s what you’ll want on hand:
- Sharp Pruning Shears or a Clean Knife: For making clean cuts. A dull tool can bruise the stem, making it harder to root.
- Well-Draining Potting Mix: I like a blend that’s roughly 50% peat or coco coir and 50% perlite or coarse sand. This ensures good aeration and prevents soggy roots.
- Small Pots or Seedling Trays: Whatever you have that’s clean and ready for your new babies.
- Rooting Hormone (Optional but Recommended): A powder or gel can give your cuttings a helpful boost.
- A Spray Bottle: For misting your cuttings and keeping the humidity up.
- Plastic Bags or a Clear Dome: To create a mini-greenhouse effect.
Propagation Methods
Let’s get our hands dirty! I find stem cuttings to be the most reliable method for Dracocephalum renati.
Stem Cuttings:
- Take Your Cuttings: Select healthy, non-flowering stems from your mature plant. Using your clean shears or knife, cut sections that are about 4-6 inches long. Make the cut just below a leaf node (where a leaf grows from the stem). This is where the magic happens, where roots prefer to form.
- Prepare the Cuttings: Gently remove the lower leaves from the cutting, leaving just a couple of leaves at the very top. This prevents them from rotting when they’re in the soil. If your cuttings are very large, you can even pinch off the top set of leaves to reduce water loss.
- Apply Rooting Hormone: Dip the cut end of each stem into your rooting hormone. Tap off any excess. This little bit of help can significantly speed up the rooting process.
- Plant Your Cuttings: Fill your small pots or trays with your well-draining potting mix. Make a small hole with your finger or a pencil, and gently insert the cutting, ensuring the nodes where you removed the leaves are buried. Firm the soil gently around the stem.
- Water Lightly: Water your freshly planted cuttings thoroughly but gently. You want the soil to be moist, not soggy.
- Create a Humid Environment: This is crucial! Place the pots inside a clear plastic bag or cover them with a clear dome. The goal is to trap humidity around the cuttings. Ensure the leaves don’t touch the sides of the plastic bag if possible; this can encourage rot.
The “Secret Sauce” (Pro Tips)
Now for a few of my little tricks that have helped me over the years.
- Bottom Heat is Your Friend: If you have a seedling heat mat, placing your pots on it can make a HUGE difference. It encourages root development from below, giving your cuttings that extra push.
- Don’t Be Afraid to Prune the Parent Plant: Taking cuttings actually encourages your Dracocephalum renati to branch out and produce more blooms. So, think of it as a win-win!
- Patience with the “No Signs of Life”: Sometimes, cuttings look like nothing is happening for weeks. I’ve had them sit there, and then suddenly, tiny new leaves will unfurl. Don’t give up too soon!
Aftercare & Troubleshooting
Once you start seeing signs of new growth – little leaves emerging or the cuttings resisting a gentle tug – that’s your cue that roots are forming!
- Acclimatize Them Slowly: Now, you need to gradually introduce your new little plants to less humid conditions. Begin by opening the plastic bag or dome for a few hours each day, slowly increasing the time until you can remove it completely.
- Continue Watering Gently: Keep the soil consistently moist but not waterlogged.
- Watch for Rot: This is the most common problem. If your cuttings turn mushy and black, it’s usually a sign of overwatering or poor drainage. If you catch it early, you might be able to save a section by cutting above the rot. Make sure your soil is always well-draining.
- Leggy Growth: If your cuttings are stretching towards the light, it just means they need more intense light. Move them to a brighter spot.
A Encouraging Closing
Propagating Dracocephalum renati is a wonderful way to multiply your garden’s charm. There will be moments of doubt, and maybe a few cuttings that don’t make it, but that’s all part of the learning process. Be patient, enjoy the quiet observation, and celebrate every tiny new leaf. Happy propagating!
Resource:
https://identify.plantnet.org/k-world-flora/species/Dracocephalum%20renati%20Emb./data