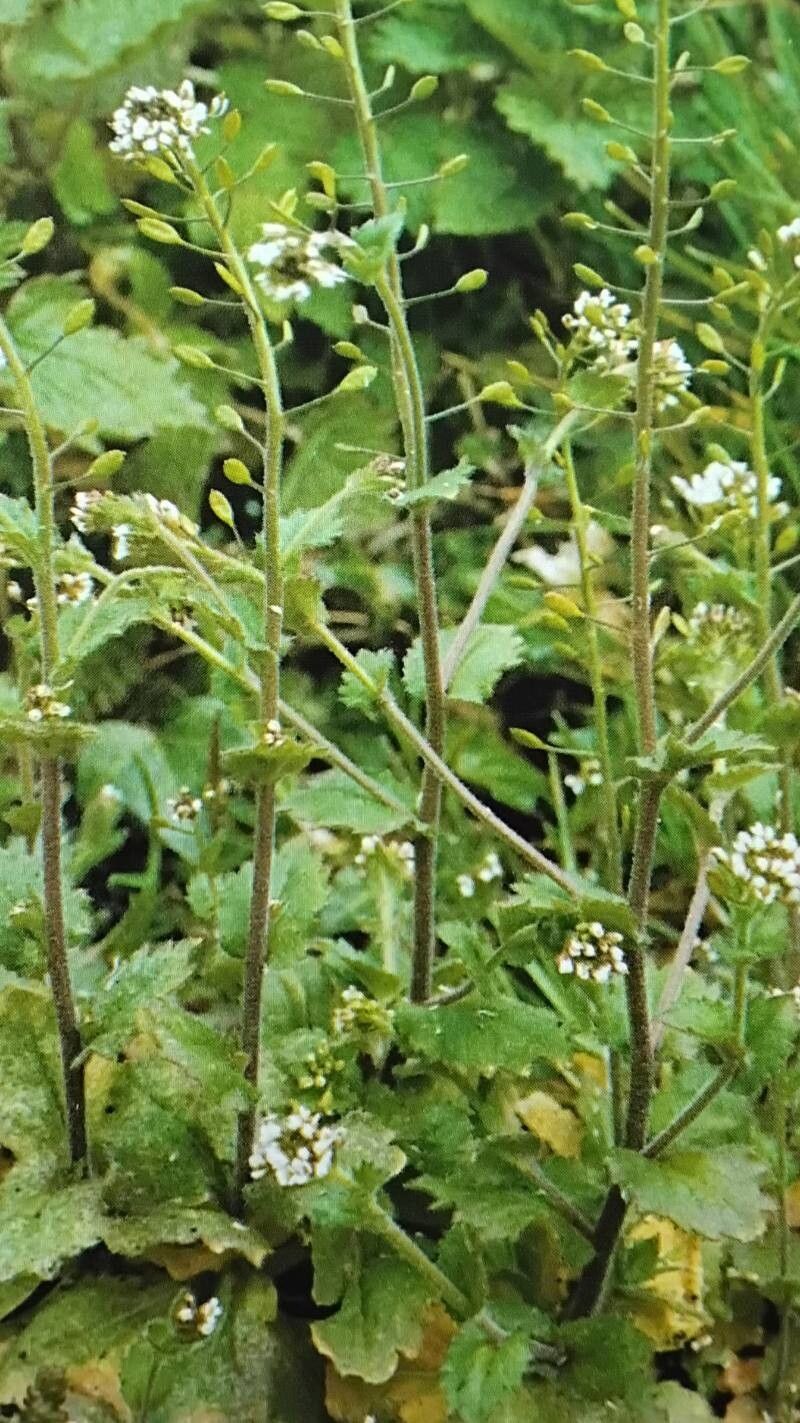
Oh, Draba muralis! What a delightful treat for the garden. If you haven’t had the pleasure, imagine clusters of tiny, star-shaped white flowers gracing your rock garden or spilling over a wall, looking like miniature clouds of snow. It’s truly charming, and the best part? You can easily bring more of that delicate beauty into your life by propagating it!
Now, I know some plants can be a bit finicky to propagate, but Draba muralis is one of those generous souls. If you’re just dipping your toes into the world of plant propagation, this is a fantastic one to start with. It’s generally quite forgiving and gives you a great sense of accomplishment without too much fuss.
The Best Time to Start
For Draba muralis, the sweet spot for propagation is definitely late spring to early summer, after it has finished its main flowering flush. This is when the plant is actively growing and has plenty of energy to put into developing new roots. Starting at this time means your new cuttings will have a good long growing season ahead of them to establish themselves.
Supplies You’ll Need
Here’s what you’ll want to have on hand to give your Draba the best chance at rooting:
- Sharp pruning shears or a clean knife: For taking clean cuts.
- Small pots or seed trays: With good drainage holes are crucial.
- A well-draining potting mix: I like a blend of equal parts seed-starting mix and perlite or horticultural grit. This prevents waterlogging, which is a killer for many young plants.
- Rooting hormone (optional but recommended): A powder or gel can give cuttings an extra boost. Get one specifically for herbaceous cuttings.
- A spray bottle: For misting.
- Plastic bags or a propagation dome: To create a humid environment.
- Labels and a marker: To keep track of your efforts!
Propagation Methods
Draba muralis is most commonly and successfully propagated from stem cuttings. It’s really quite straightforward!
-
Take Your Cuttings: In late spring or early summer, select healthy, non-flowering shoots from your mature plant. Using your clean pruners or knife, cut stems that are about 3-4 inches long. Try to take them from the current season’s growth. Remove any leaves from the bottom half of the cutting.
-
Prepare the Cuttings: If you’re using rooting hormone, dip the cut end of each stem into the hormone powder or gel. Tap off any excess. This step isn’t strictly necessary for Draba muralis as it’s pretty eager to root, but it can certainly speed things up.
-
Plant Your Cuttings: Fill your small pots or trays with your prepared, moistened potting mix. Make a small hole in the soil with your finger or a pencil. Insert the prepared cuttings into the holes, ensuring the part that was buried is the bottom half where you removed the leaves. Firm the soil gently around the base of each cutting.
-
Create Humidity: This is key! Water the soil gently but thoroughly. Then, cover the pots with a plastic bag or a propagation dome. This creates a mini-greenhouse effect, keeping the humidity high, which helps the cuttings from drying out before they can develop roots. If you’re just using a plastic bag, you might need to prop it up with twigs so it doesn’t touch the leaves.
-
Placement: Place the pots in a bright spot, but out of direct, scorching sunlight. A windowsill that gets bright, indirect light is usually perfect.
The “Secret Sauce” (Pro Tips)
Here are a couple of things I’ve learned over the years that can really make a difference:
- Bottom Heat is Your Friend: If you have a heated propagator mat, ever so gently warming the base of your pots can significantly speed up root formation. It mimics the warmth of the soil after a good spring rain and signals to the plant that it’s time to get to work. Just keep it toasty, not hot!
- Don’t Let the Leaves Touch the Water (in the soil): While you want humidity, if the leaves are constantly sitting in damp soil or, worse, water pooling at the base, you’re inviting fungal diseases. Make sure your mix is airy and that any water drains away freely. If you’re doing a water propagation method (which I find a bit trickier for Draba as they can get leggy), ensure only the stem touches the water, not the leaves.
Aftercare & Troubleshooting
Once you see new signs of growth – tiny new leaves unfurling at the tip or a slight resistance when you gently tug on a cutting – this means roots are forming! This usually takes 3-6 weeks.
- Acclimatize: Gradually remove the plastic cover over a few days to let the new plants adjust to normal humidity levels.
- Watering: Keep the soil consistently moist but not waterlogged. Water when the top inch of soil feels dry to the touch.
- Transplanting: Once your new Draba has a good root system and is strong enough to handle, you can transplant them into their own small pots with a slightly richer potting mix.
Common signs of failure? The most frequent culprit is rot. If your cuttings turn mushy and brown, or if you see mold growing, it’s usually a sign of too much moisture and not enough air circulation for the cutting to handle. If this happens, discard the affected cuttings and start again, ensuring your mix is drier and you have good ventilation. Sometimes, cuttings just don’t take, and that’s part of learning. Don’t get discouraged!
A Little Patience Goes a Long Way
Propagating Draba muralis is such a rewarding experience. It’s a chance to multiply the joy of those delicate blooms and share them with friends. Be patient with your little cuttings, give them the right conditions, and trust in their natural ability to grow. Happy propagating!
Resource:
https://identify.plantnet.org/k-world-flora/species/Draba%20muralis%20L./data