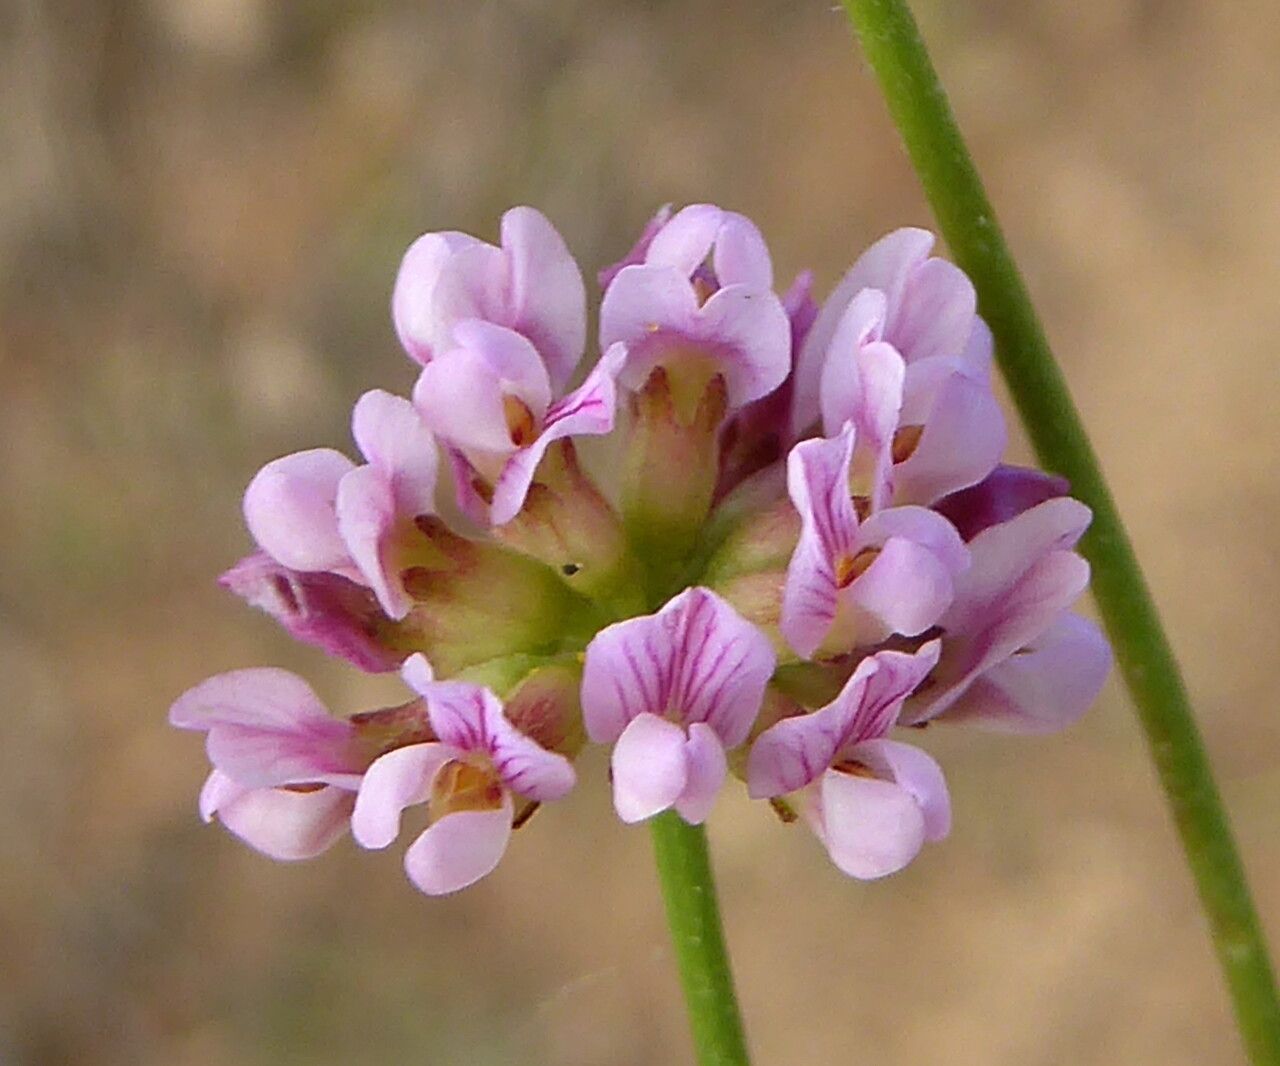
Hello fellow plant lovers! Today, we’re diving into the wonderful world of propagating Dorycnopsis gerardi. If you’ve ever admired its delicate, almost ethereal blooms and wondered if you could coax more of these beauties into your garden, you’re in the right place. Getting more Dorycnopsis from an existing plant is a deeply satisfying endeavor, like sharing a secret with nature. While not the absolute easiest plant for a complete novice, with a little patience and these straightforward steps, you’ll be well on your way to a whole new collection.
The Best Time to Start
For the highest success rate with Dorycnopsis gerardi, I find late spring to early summer is your sweet spot. This is when the plant is actively growing and has plenty of energy to dedicate to new growth. Look for healthy, non-flowering stems. These are typically younger, more vigorous shoots that will root more readily. Avoid taking cuttings from overly woody or stressed-looking stems; they’re less likely to take.
Supplies You’ll Need
Before we get our hands dirty, let’s gather our tools:
- Sharp, clean pruning shears or a sharp knife: Precision is key to making clean cuts without crushing delicate tissues.
- Rooting hormone (optional but recommended): A little boost can significantly improve your chances of success, especially for slightly tougher-to-root plants.
- Potting mix: A light, well-draining mix is crucial. I like a blend of 50% peat moss or coco coir and 50% perlite or coarse sand. You can also find pre-made succulent or cactus mixes that work well.
- Small pots or trays: Clean containers with drainage holes are a must. Small plastic nursery pots are perfect.
- Watering can or spray bottle: Gentle watering is essential.
- Plastic bag or propagation dome: This helps maintain humidity around your cuttings.
Propagation Methods
Dorycnopsis gerardi is most reliably propagated from stem cuttings. It’s a straightforward process that yields great results.
Stem Cuttings
- Select your stem: Choose a healthy, new stem that’s about 4-6 inches long.
- Make the cut: Using your sharp pruning shears or knife, make a clean cut just below a leaf node. A leaf node is where a leaf attaches to the stem – this is where roots will emerge.
- Prepare the cutting: Gently remove the lower leaves from the stem, leaving just a few at the top. This prevents them from rotting in the soil.
- Apply rooting hormone (optional): Dip the cut end of the stem into rooting hormone, tapping off any excess.
- Plant your cutting: Fill your clean pot with your prepared potting mix. Make a small hole in the center with your finger or a pencil.
- Insert the cutting: Place the cut end of the stem into the hole, ensuring the lowest leaf nodes are buried. Gently firm the soil around the stem.
- Water gently: Water the soil thoroughly but allow excess water to drain away.
- Create a humid environment: Place the potted cutting inside a plastic bag, creating a little greenhouse effect. You can also use a propagation dome. Ensure the leaves don’t touch the sides of the bag if possible.
The “Secret Sauce” (Pro Tips)
Here are a few tricks I’ve learned over the years that can really give your Dorycnopsis cuttings an edge:
- Don’t overcrowd: Give each cutting its own pot or plenty of space in a larger tray. This prevents competition for resources and reduces the risk of fungal diseases spreading.
- Bottom warmth is your friend: If you have a heat mat designed for seedlings, placing your pots on it can significantly speed up root development. It mimics the warmth of spring soil.
- Patience is a virtue (especially with this one): Don’t be tempted to tug on your cuttings to check for roots too early. It can take several weeks, sometimes even a couple of months, before you see visible signs of new growth. Resist the urge!
Aftercare & Troubleshooting
Once your cuttings have hopefully developed roots (you might see new leaf growth or feel a bit of resistance when gently tugging), it’s time for a little extra care.
- Acclimatize: Gradually remove the plastic bag or dome over a week or two. Start by opening it for a few hours each day, then for longer periods. This helps the new plant adjust to the drier air of your home.
- Light: Place your new Dorycnopsis in bright, indirect light. Avoid direct, scorching sun, which can be too harsh for delicate new growth.
- Watering: Water when the top inch of soil feels dry. Avoid overwatering, as this is the most common cause of failure.
- Troubleshooting: The most common issue you’ll encounter is rot. If your cutting turns mushy, black, or slimy, it’s likely succumbed to rot. This is often due to overwatering, poor drainage, or insufficient air circulation. If you see signs of rot, sadly, it’s best to discard the affected cutting and start fresh, perhaps with a different stem or by adjusting your watering schedule. Yellowing leaves can sometimes indicate underwatering or a lack of nutrients, but for brand new cuttings, it’s more likely related to the shock of propagation.
A Little Encouragement
Propagating plants is a journey, and every gardener, no matter how experienced, loses a cutting now and then. Don’t be discouraged if your first attempt isn’t a runaway success. Just learn from it, adjust your approach, and try again. The joy of watching a tiny cutting transform into a thriving plant is truly one of the greatest rewards of this hobby. So go ahead, grab those shears, and get ready to multiply your Dorycnopsis gerardi magic! Happy gardening!
Resource:
https://identify.plantnet.org/k-world-flora/species/Dorycnopsis%20gerardi%20(L.)%20Boiss./data