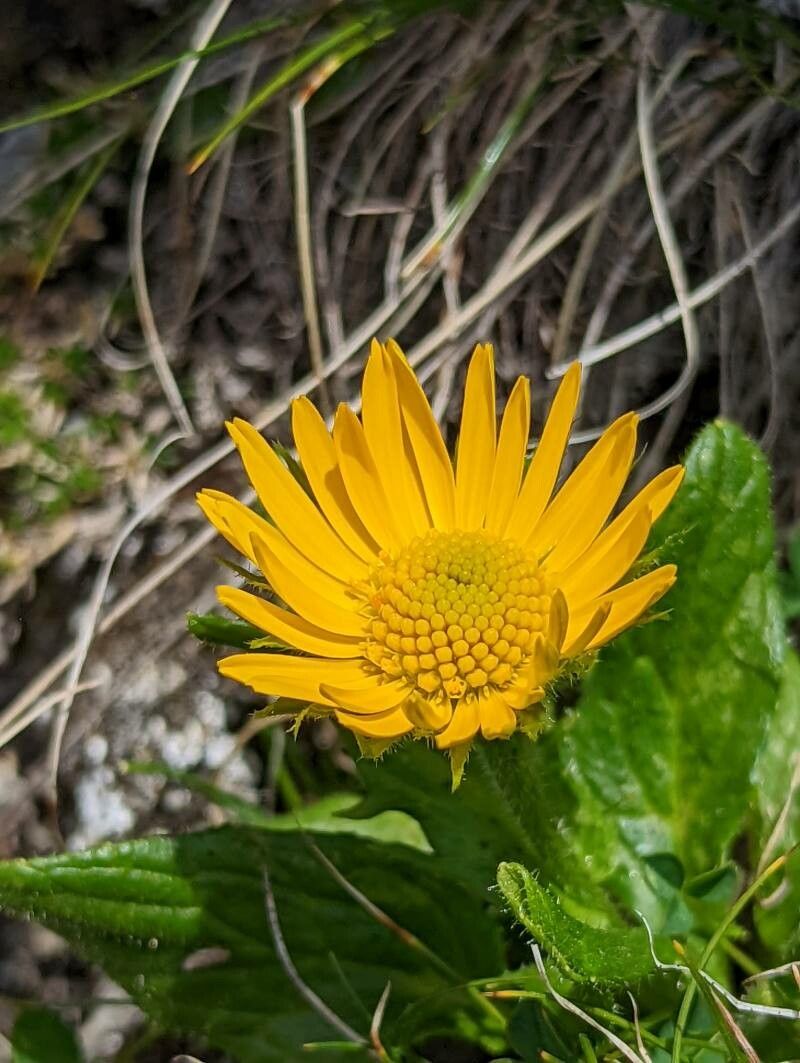
Oh, Doronicum glaciale! What a cheerful sight. Those bright, daisy-like flowers have a way of bringing pure sunshine to even the shadiest corners of the garden. I’ve found them to be such a rewarding plant to grow, and there’s a special kind of satisfaction in creating more of them yourself. If you’re new to propagation, I think you’ll find Doronicum glaciale to be a fairly easy one to get started with. It’s a forgiving plant, and that always makes the learning curve a bit gentler.
The Best Time to Start
For me, the sweet spot for propagating Doronicum glaciale is in the late spring or early summer, right after the plant has finished its main flush of blooms. You’re looking for vigorous, healthy growth. The plant is actively putting energy into new shoots at this time, which gives your cuttings the best chance to get going.
Supplies You’ll Need
Here’s what I usually gather before I get my hands dirty:
- Sharp pruning shears or a clean knife: For making those precise cuts.
- Rooting hormone (optional but recommended): A little boost can make a big difference.
- Well-draining potting mix: I like a blend of equal parts peat moss (or coco coir) and perlite.
- Small pots or trays: With drainage holes, of course!
- A plastic bag or propagation dome: To create a humid environment.
- Watering can or spray bottle: For gentle hydration.
Propagation Methods
There are a couple of ways I like to propagate Doronicum glaciale, and depending on what you have available, one might suit you better than the other.
Division
This is by far the easiest and most straightforward method with Doronicum glaciale.
- Dig up the plant: In the late spring or early summer, carefully excavate the whole plant. Loosen the soil around the base and lift it out.
- Identify the divisions: Gently shake off excess soil. You’ll see that the plant naturally forms clumps with multiple crowns. Look for where these clumps are clearly separated.
- Separate the divisions: Using your hands or a clean trowel, gently pull or cut apart the root ball into smaller sections. Each section should have at least one healthy root system and a few emerging shoots or stems.
- Replant: Immediately replant your divisions into their new homes. Give them a good watering.
Stem Cuttings
This method takes a bit more patience but is incredibly rewarding.
- Take cuttings: Using your sharp shears, take 4-6 inch cuttings from healthy stems. Make your cut just below a leaf node (where a leaf attaches to the stem). Remove the lower leaves, leaving just the top couple of leaves.
- Apply rooting hormone: If you’re using rooting hormone, dip the cut end of each stem into the powder. Tap off any excess.
- Plant the cuttings: Fill your small pots with your well-draining potting mix. Make a small hole with your finger or a pencil, and gently insert the cut end of each cutting. Firm the soil around it.
- Create humidity: Water the soil gently until it’s moist but not waterlogged. Then, cover the pot with a plastic bag or place it under a propagation dome. This will trap moisture and create a mini-greenhouse effect.
The “Secret Sauce” (Pro Tips)
Here are a few things I’ve learned over the years that really help:
- Don’t crowd your cuttings: Give each stem cutting a little space. Overcrowding can lead to fungal issues and prevent good airflow. If you’re doing stem cuttings, aim for at least 2 inches between each one in the pot.
- Bottom warmth helps: If you’re doing stem cuttings and have a bit of a cooler spot, consider placing your pots on a heat mat designed for seedlings. This gentle warmth encourages root development from underneath, giving those little rooties a nudge.
- Be patient with divisions: When you divide, try not to be too aggressive. If some roots tear, that’s okay. Just ensure each piece you replant has a decent root system and a bit of top growth to work with.
Aftercare & Troubleshooting
Once your divisions are replanted or your cuttings have rooted (you’ll see new growth after a few weeks), it’s time to transition them.
For divisions, just keep them well-watered, especially during the first few weeks as they re-establish.
For stem cuttings, once you see new leaves emerging and they feel firm when gently tugged, you can start to acclimatize them to drier air. Gradually open the plastic bag a little each day over a week, or lift the dome for increasing periods. Once they’re out of the humid environment, treat them like tiny versions of the parent plant – keep the soil consistently moist and provide bright, indirect light.
The most common issue you’ll face is rot. If you see your cuttings or divisions looking limp, blackening, or mushy, it’s usually a sign of too much moisture and not enough airflow. In this case, try to drain excess water and ensure good ventilation. Sometimes, if it’s early enough, taking a fresh cutting from a healthy part of the stem can save the day.
A Encouraging Closing
Growing more Doronicum glaciale from your existing plants is a wonderfully satisfying process. It connects you more deeply with your garden and its rhythms. Don’t get discouraged if a few don’t make it – that’s just part of the learning journey. Embrace the experimentation, celebrate your successes, and enjoy the beauty of your ever-expanding sunny patch. Happy gardening!
Resource:
https://identify.plantnet.org/k-world-flora/species/Doronicum%20glaciale%20(Wulfen)%20Nyman/data