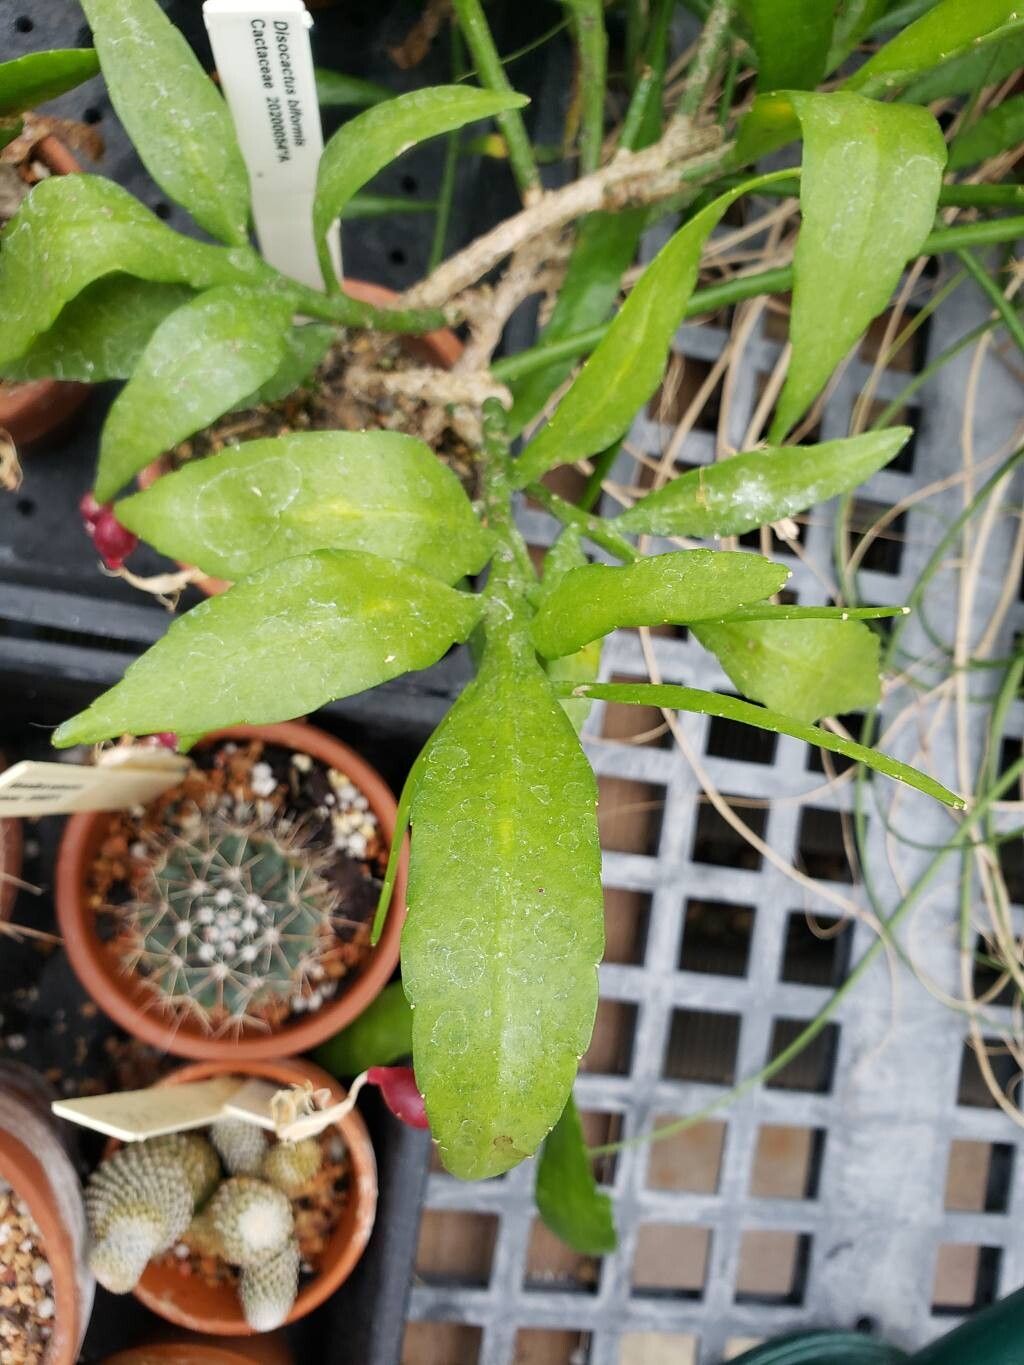
Oh, hello there! Come on in, pull up a chair. I’ve got my (slightly muddy) gardening gloves off, and I’m just buzzing to chat about one of my favorite plants: Disocactus biformis. Also known as the “butterfly cactus” for its delicate, flattened stems that flutter like wings, this epiphytic cactus is a real jewel. Its beautiful, often fragrant, blooms are a reward in themselves, but the joy of coaxing new life from an existing plant? That’s a whole other level of garden magic. You might be wondering if it’s a tricky plant to get started. Honestly, Disocactus biformis is quite forgiving. It’s a wonderful choice even if you’re just dipping your toes into the world of propagation.
The Best Time to Start
I always find that late spring or early summer is the sweet spot for propagating Disocactus biformis. This is when the plant is actively growing, full of vigor, and ready to put its energy into making roots. Waiting until after the main flowering season is also a good bet, as the plant will have less stress and be focused on vegetative growth. Avoid propagating during the cooler, dormant months; the cuttings just won’t have that same get-up-and-go.
Supplies You’ll Need
Gathering your tools beforehand makes the whole process so much smoother. Here’s what I usually have on hand:
- Sharp, clean pruning shears or a knife: For making neat cuts that heal well. Sterilize them with rubbing alcohol to prevent any nasty bugs or diseases from spreading.
- Well-draining potting mix: I blend my own with equal parts perlite and a good quality cactus/succulent mix. You want something airy that won’t hold too much moisture.
- Small pots or seed trays: Terracotta pots are lovely because they breathe, but plastic is fine too. Just make sure they have drainage holes!
- Rooting hormone (optional but recommended): This isn’t strictly necessary for Disocactus biformis, but I find it gives the cuttings a definite boost and speeds up the rooting process. Look for one with IBA.
- Watering can or spray bottle: For gentle watering.
- A small trowel or dibber: For making holes in the soil.
- Labels and a marker: To keep track of what you’ve planted and when.
Propagation Methods
The most straightforward and effective way to propagate Disocactus biformis is through stem cuttings. It’s really quite simple, and you’ll be amazed at how quickly it works.
- Take Your Cuttings: Choose a healthy, mature stem. Look for one that’s at least a few inches long and feels firm. Using your sterilized shears or knife, make a clean cut where the stem joins the main plant. Try to take a cutting with at least one or two segments.
- Allow to Callus: This is a crucial step! Do not plant your cutting immediately. Lay the cutting in a dry, well-ventilated spot, out of direct sunlight, for 2-5 days. You want the cut end to dry out and form a callus. This prevents rot when you plant it. It’ll look a bit shriveled at the cut end – that’s exactly what you want!
- Potting Up: Once callused, you can plant your cutting. If you’re using rooting hormone, dip the callused end into the powder. Then, gently insert the callused end about an inch into your prepared potting mix. I like to make a little pilot hole with a dibber so I don’t scrape off all the rooting hormone.
- Watering Carefully: Water the soil very lightly around the base of the cutting. You don’t want to saturate it. A gentle misting is often enough to get things started.
Alternatively, though less common for Disocactus, you might notice that sometimes a segment can break off. If this happens, you can treat it just like a cutting: let it callus and then pot it up.
The “Secret Sauce” (Pro Tips)
Over the years, I’ve learned a few little tricks that seem to make a world of difference.
- Bottom Heat is Your Friend: If you have the means, placing your pots on a gentle seedling heat mat can significantly speed up root development. It mimics the warmth of spring and encourages those roots to start exploring the soil. Just make sure the heat isn’t too intense – no scorching!
- Don’t Overwater! I Cannot Say This Enough: This is the golden rule for just about all cacti and succulents, and Disocactus is no exception. Too much moisture is the fastest way to kill a new cutting. Err on the side of dryness. Allow the soil to dry out almost completely between waterings, especially in the initial stages.
- A Little Light, But No Direct Sun: While the parent plant might enjoy some bright, indirect light once established, your new cuttings need gentler conditions. Place them in a bright spot that avoids direct, harsh sunlight for the first few weeks. Too much sun can scorch their delicate new growth before they’ve even gotten their roots settled.
Aftercare & Troubleshooting
Once you start seeing signs of new growth – little buds or tiny stems emerging from your cutting – that’s your cue that roots are forming! Don’t get too excited and replant just yet. Continue to water very sparingly. You can gradually increase watering frequency as the plant establishes itself, but always let the soil dry out between waterings.
The most common problem you’ll encounter is rot. If your cutting looks mushy, turns black, or smells unpleasant, it’s usually a sign of too much moisture and a fungal infection. Unfortunately, if rot sets in, it’s often difficult to save. Your best bet is to remove the affected part immediately, let any healthy remaining piece callus for an extended period, and try again. Sometimes, a bit of a soft stem is just a sign of stress, but watch it closely!
A Encouraging Closing
Propagating plants is a journey, and it’s always a little thrilling to see those first roots appear. Be patient with your Disocactus biformis cuttings. Some might take a little longer than others to get going. Enjoy the process, celebrate each tiny new leaf, and soon you’ll have a whole new collection of these beautiful butterfly cacti to share or admire. Happy propagating!
Resource:
https://identify.plantnet.org/k-world-flora/species/Disocactus%20biformis%20(Lindl.)%20Lindl./data