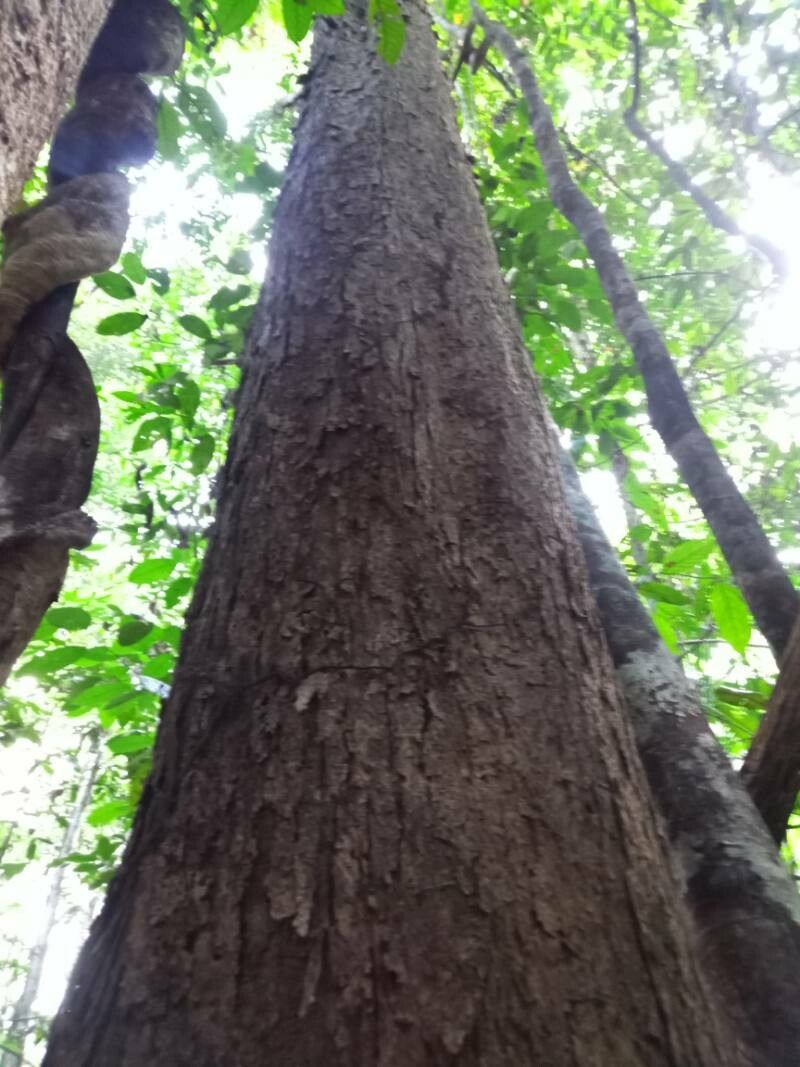
It’s wonderful to connect with you fellow plant enthusiasts! Today, I want to talk about a truly special tree – Dipterocarpus lowii. Isn’t it a beauty? Its majestic form and gorgeous, often fragrant, flowers make it a prized specimen in any garden that has the space. For those of us who love a touch of the exotic, bringing one of these giants into our lives, or simply expanding our collection, is incredibly satisfying. Now, truth be told, propagating Dipterocarpus lowii isn’t quite as simple as popping a begonia cutting into a jar of water. It requires a bit more patience and attention, but the rewards are absolutely worth it! Don’t let that deter you; with a little guidance, you can absolutely succeed.
The Best Time to Start
When I’m looking to propagate Dipterocarpus lowii, I always aim for the late spring or early summer. This is when the plant is in a period of active growth after the cooler months. You’ll want to look for semi-hardwood cuttings, meaning they should be firm but not yet woody and brittle. If you can bend a stem slightly without it snapping, it’s usually a good candidate. Avoid taking cuttings from very soft, new growth or old, woody stems.
Supplies You’ll Need
Here’s a quick rundown of what you’ll want to have on hand:
- Sharp, clean pruning shears or a knife: Crucial for making clean cuts to minimize damage and disease.
- Rooting hormone: This is a must-have for encouraging strong root development. Look for one with IBA (indole-butyric acid).
- Well-draining potting mix: A good blend of peat or coco coir, perlite, and a little horticultural grit works wonders. You want the mix to hold moisture but not become waterlogged.
- Small pots or seedling trays: Clean ones are key to preventing pests and diseases.
- Plastic bags or a propagator: To create a humid environment around your cuttings.
- Water spray bottle: For misting your cuttings and keeping them hydrated.
- Optional: Bottom heat mat: This can significantly speed up root formation, especially in cooler environments.
Propagation Methods
For Dipterocarpus lowii, stem cuttings are generally the most successful method. Here’s how I do it:
- Select your cutting: From a healthy, actively growing stem, choose a section that’s about 6-8 inches long. Make sure it has at least a couple of sets of leaves.
- Prepare the cutting: Using your clean shears, make a clean cut just below a leaf node. This is where the roots will most readily form.
- Remove lower leaves: Gently strip off the leaves from the bottom half of your cutting. If the remaining leaves are very large, you can carefully cut them in half to reduce water loss through transpiration.
- Apply rooting hormone: Dip the cut end of the stem into your rooting hormone powder, tapping off any excess.
- Plant the cutting: Make a hole in your prepared potting mix with a pencil or your finger. Insert the cutting into the hole, ensuring the hormone-coated end is making good contact with the soil. Gently firm the soil around the base of the cutting.
- Create humidity: Water the pot gently to settle the soil. Then, cover the pot with a clear plastic bag or place it in a propagator. Make sure the plastic doesn’t touch the leaves of the cutting itself. If it does, you can prop it up with small stakes.
- Placement: Place your potted cutting in a bright spot out of direct sunlight. If you’re using a bottom heat mat, place the pot on it now.
The “Secret Sauce” (Pro Tips)
Here are a couple of tricks I’ve learned over the years that can make a real difference:
- Don’t let the leaves touch the water: If you’re using a spray bottle to mist, be diligent. Any leaves resting in standing water can quickly lead to rot and fungal issues. Keep them elevated and dry.
- Consider a hormone soak: Instead of just dipping, sometimes I like to let the base of my cuttings soak in a diluted rooting hormone solution for a few hours before planting. I find this gives them an extra boost.
- Patience is your superpower: Dipterocarpus lowii can be a slow starter. Don’t be discouraged if you don’t see roots emerge for several weeks, or even a couple of months. Keep the humidity up and the soil consistently moist, but not soggy.
Aftercare & Troubleshooting
Once you start to see new leaf growth on your cutting, that’s a fantastic sign you’ve got roots! You can gently tug on the cutting to feel for resistance – if it feels firm and doesn’t pull out easily, roots are forming.
Gradually acclimate your new plant to lower humidity by opening the plastic bag or propagator for short periods each day over a week or two. Once it’s properly established, you can carefully transplant it into its own small pot.
The most common issue you’ll encounter is rot. If you notice the stem turning black or mushy, it’s usually a sign of too much moisture and poor air circulation. In this case, sadly, the cutting is likely lost. Always err on the side of slightly drier soil rather than overly wet.
A Encouraging Closing
Propagating Dipterocarpus lowii is a journey, my friends. It’s a chance to connect with nature on a deeper level and to witness the miracle of new life. Be patient with yourself and with your cuttings. Celebrate every little sign of progress, and don’t be afraid to experiment. The joy of nurturing a new plant from a tiny cutting is truly unmatched. Happy propagating!
Resource:
https://identify.plantnet.org/k-world-flora/species/Dipterocarpus%20lowii%20Hook.f./data