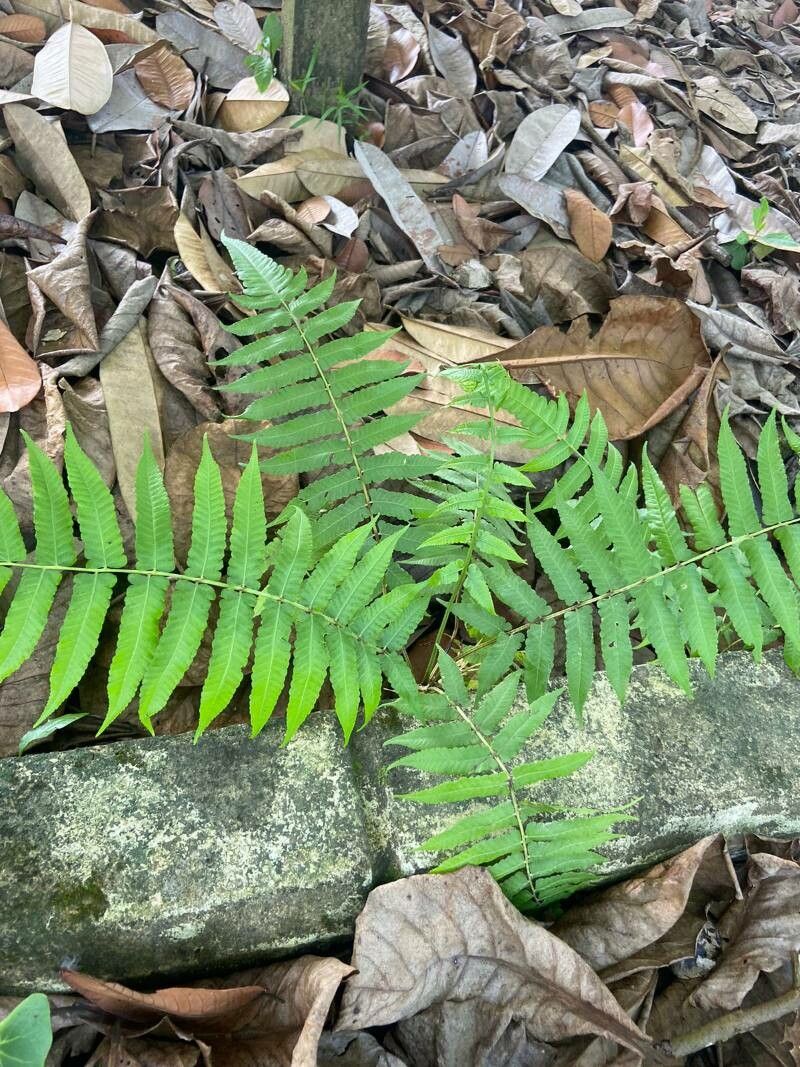
Hello there, fellow green thumbs! If you’ve ever admired the lush, vibrant fronds of Diplazium esculentum, also known as the Edible Fern or Pako fern, you’re not alone. This beautiful fern brings a touch of the tropics to any shady corner, and its edible shoots are a delightful bonus for the adventurous cook. Honestly, I find propagating Diplazium esculentum to be a wonderfully rewarding experience, and while it might sound a little intimidating at first, I promise it’s quite achievable, even for beginners!
The Best Time to Start
For the most success, I like to begin propagating my Diplazium esculentum in the late spring or early summer. This is when the plant is actively growing and has plenty of energy to put into new roots. You’ll notice the fronds are unfurling with gusto, and this is the perfect moment to get a new plant started.
Supplies You’ll Need
Here’s what you’ll want to have on hand:
- Sharp Pruning Shears or a Clean Knife: For clean cuts that heal well.
- Well-Draining Potting Mix: A good blend for ferns is essential. I usually go for a mix of peat moss, perlite, and a bit of compost, aiming for something that holds moisture but doesn’t get waterlogged. You can also find commercially available fern mixes.
- Small Pots or Propagation Trays: Anything that can hold your chosen medium.
- Optional: Rooting Hormone: While not always necessary for Diplazium, it can give a little boost.
- Optional: Clear Plastic Bag or Humidity Dome: To create a mini greenhouse effect.
- Watering Can with a Fine Rose: For gentle watering.
Propagation Methods
Diplazium esculentum is quite forgiving, and the easiest method I’ve found is division. This involves splitting up an established plant into smaller, viable sections.
Here’s how to do it:
- Gently Excavate: Carefully remove your mature Diplazium esculentum from its pot. If it’s in the ground, dig around it, being mindful of the roots.
- Assess the Rhizomes: Look for the thick, fleshy underground stems (rhizomes). You’ll often see where the plant is naturally dividing or has multiple crowns.
- Make the Cut (or Pull Apart): Using your sharp pruning shears or knife, carefully divide the rhizomes. You want each division to have at least one or two healthy fronds and a good portion of root system. Sometimes, you can gently tease the plant apart with your hands if the rhizomes are soft and fleshy.
- Potting Up: Plant each division into its own pot filled with your prepared potting mix. Ensure the rhizome is just covered by the soil, and the base of the fronds is at soil level.
- Water In: Water gently but thoroughly.
The “Secret Sauce” (Pro Tips)
Here are a couple of things I’ve learned over the years that really make a difference:
- Don’t Be Afraid to Be a Little Ruthless: When dividing, it can be tempting to keep every tiny piece. But honestly, focusing on larger, healthy divisions greatly increases your chances of success. A strong start is key!
- Mimic the Tropics with Humidity: Diplazium loves a humid environment. After potting up your divisions, lightly mist the fronds and then cover the pots loosely with a clear plastic bag or pop on a humidity dome. This helps prevent the foliage from drying out while the roots establish. Make sure the fronds don’t touch the plastic, as this can encourage rot.
Aftercare & Troubleshooting
Once your divisions are potted, keep them in a bright, indirect light location. Avoid direct sun at all costs; it will scorch those delicate new fronds. Water when the top inch of soil feels dry to the touch. You don’t want them sitting in soggy soil, but they shouldn’t dry out completely either.
If you see yellowing or wilting fronds, don’t panic immediately. This can be transplant shock. Give it a week or two. However, if you notice mushy, brown stems at the soil line, that’s a sign of rot, and unfortunately, that division might be too far gone. This usually happens from overwatering or poor drainage. Ensure your potting mix is airy, and be mindful of your watering schedule.
Soon, you’ll start to see new growth emerging from the crown of your divisions. This is the most exciting part! It means your new Diplazium esculentum is settling in and ready to thrive.
A Encouraging Closing
Don’t get discouraged if your first attempt isn’t perfect. Gardening is a journey, and every plant you nurture teaches you something new. Be patient with your new ferns, give them the right conditions, and you’ll soon be rewarded with beautiful, lush fronds and perhaps even some delicious edible shoots. Happy propagating!
Resource:
https://identify.plantnet.org/k-world-flora/species/Diplazium%20esculentum%20(Retz.)%20Sw./data