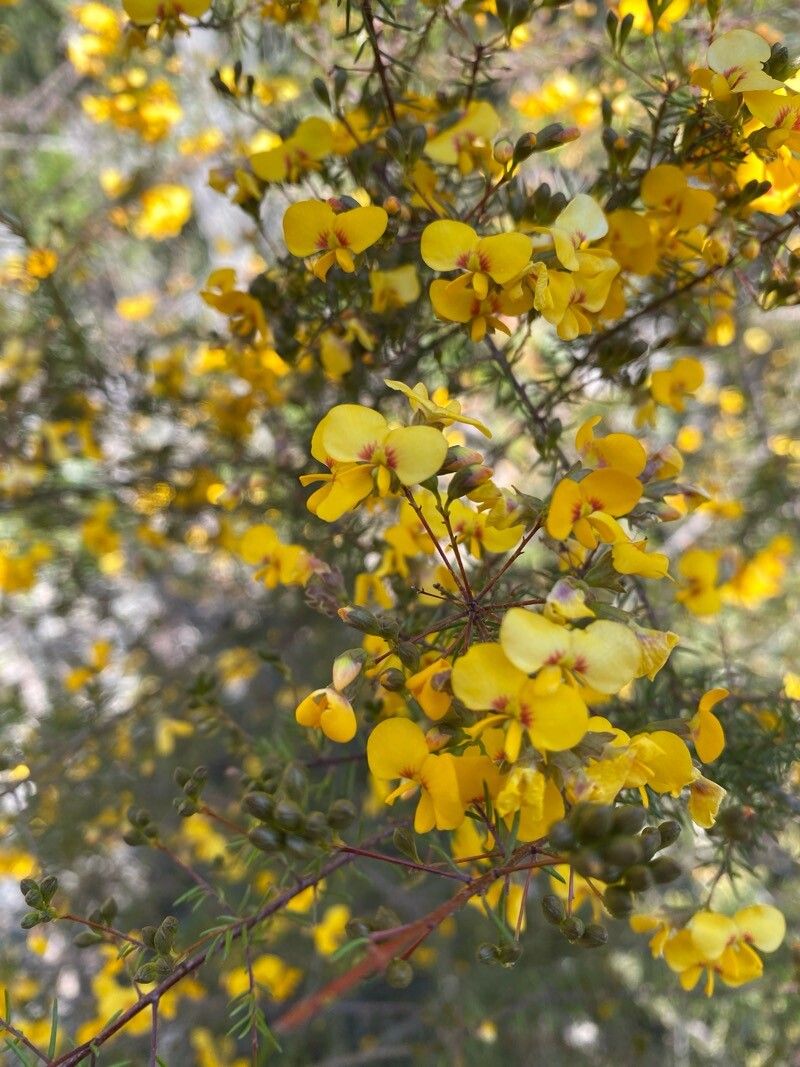
Hello there, fellow garden enthusiasts! I’m so excited to chat with you today about a truly delightful Australian native: Dillwynia glaberrima, commonly known as Swamp Heath or Leafy Parrot Pea. If you’re looking for a plant that brings a splash of cheerful color and attracts beneficial pollinators to your garden, this is it! Its delicate, pea-like flowers, often in vibrant shades of orange and red, are just a joy to behold. Propagating Dillwynia glaberrima is incredibly rewarding. Seeing a tiny cutting transform into a thriving plant is one of those magic moments that makes gardening so special. Now, for beginners, I’d say it’s moderately easy. It’s not quite as effortless as some succulents, but with a little patience and a few key steps, you’ll be successful.
The Best Time to Start
For the highest success rate with Dillwynia glaberrima, your best bet is late spring or early summer. This is when the plant is actively growing, and the new, non-woody stems have plenty of energy to develop roots. Look for healthy, vigorous growth. Avoid trying to propagate from old, woody stems, as these are much less likely to strike.
Supplies You’ll Need
Always have your tools ready before you begin! It makes the whole process smoother.
- Sharp pruning shears or a clean knife: For taking cuttings. Sterilize them between plants if you’re working with more than one.
- Rooting hormone (optional but recommended): A powder or gel that encourages root development.
- Well-draining potting mix: A good blend would be potting soil mixed with perlite or coarse sand (about a 50/50 ratio). You want to avoid anything that holds too much moisture.
- Small pots or propagation trays: Clean pots are a must to prevent disease.
- Plastic bags or a propagation dome: To create a humid microclimate.
- Labels and a marker: To keep track of what you’ve planted and when.
- Watering can with a fine rose: For gentle watering.
Propagation Methods
I find the most reliable method for Dillwynia glaberrima is through stem cuttings. It’s straightforward and gives you a great chance of success.
Stem Cuttings:
- Select your stems: As I mentioned, look for the new, semi-hardwood growth. You want stems that are about 10-15 cm long. Gently bend a stem; if it snaps cleanly, it’s usually a good sign. If it just bends without breaking, it’s likely a bit too soft.
- Make the cut: Using your sterilized pruners or knife, take cuttings from healthy, established plants. Make the cut just below a leaf node (where the leaf attaches to the stem). This area is rich in hormones that promote rooting.
- Prepare the cuttings: Remove the lower leaves from the bottom half of the cutting. You want to expose the nodes, as this is where roots will form. If the remaining leaves are very large, you can trim them in half to reduce water loss through transpiration.
- Apply rooting hormone (optional): Dip the cut end of the stem into rooting hormone, tapping off any excess. It’s like giving your cutting a little boost!
- Plant the cuttings: Fill your small pots or trays with your prepared, well-draining potting mix. Make a small hole in the center using a pencil or your finger and gently insert the cutting. Firm the soil gently around the base.
- Water gently: Water thoroughly to settle the soil around the cutting.
The “Secret Sauce” (Pro Tips)
Here are a few little tricks I’ve learned over the years that really make a difference:
- Avoid waterlogging at all costs! This is crucial for preventing rot. Soggy soil is the enemy of healthy cuttings. If you’re unsure about your watering, err on the side of slightly too dry.
- Bottom heat is your friend. Placing your pots on a heated propagation mat can significantly speed up root development. It mimics the warmth of spring and encourages those roots to get going. Just a gentle warmth is needed.
- Don’t disturb! Resist the urge to tug on your cuttings to see if they have roots. This can break delicate new roots. Be patient!
Aftercare & Troubleshooting
Once your cuttings are planted, it’s time for some tender loving care.
- Create humidity: Cover the pots with a clear plastic bag or place them under a propagation dome. This creates a mini-greenhouse effect, keeping the humidity high and preventing the cuttings from drying out. Ensure the leaves don’t touch the plastic if possible; you can use stakes to prop it up.
- Place in bright, indirect light: Find a spot that gets plenty of light but avoid direct, hot sun, which can scorch the delicate cuttings. An east-facing window is often perfect.
- Water sparingly: Only water when the surface of the soil feels dry to the touch. Remember, we want slightly moist, not wet.
- Check for roots: Roots typically form within 4-8 weeks, but be patient! You can gently tug on a cutting; if there’s resistance, it’s likely rooted. You might also see new growth emerging from the tip.
Common problems? The most frequent issue you’ll encounter is rot. This usually happens if the soil is too wet or the humidity is too high without enough air circulation. If you see a cutting turning black and mushy, it’s best to discard it to prevent it from affecting others. If things seem to be progressing slowly, don’t despair. Some plants just take their sweet time.
Propagating Dillwynia glaberrima is such a rewarding journey. It’s about patience, observation, and a little bit of faith in nature. Enjoy the process, celebrate each little success, and soon you’ll have a whole collection of these delightful shrubs to brighten your garden. Happy propagating!
Resource:
https://identify.plantnet.org/k-world-flora/species/Dillwynia%20glaberrima%20Sm./data