Hello, fellow plant lovers! It’s so good to have you here. Today, we’re diving into a truly special plant, one that brings a touch of the tropics right into our gardens (or homes!): Dillenia triquetra. If you’ve ever admired its vibrant, bell-shaped flowers and glossy foliage, you might be wondering if you can create more of these beauties. The answer is a resounding yes, and I’m here to guide you through it.
Why Propagate Dillenia Triquetra?
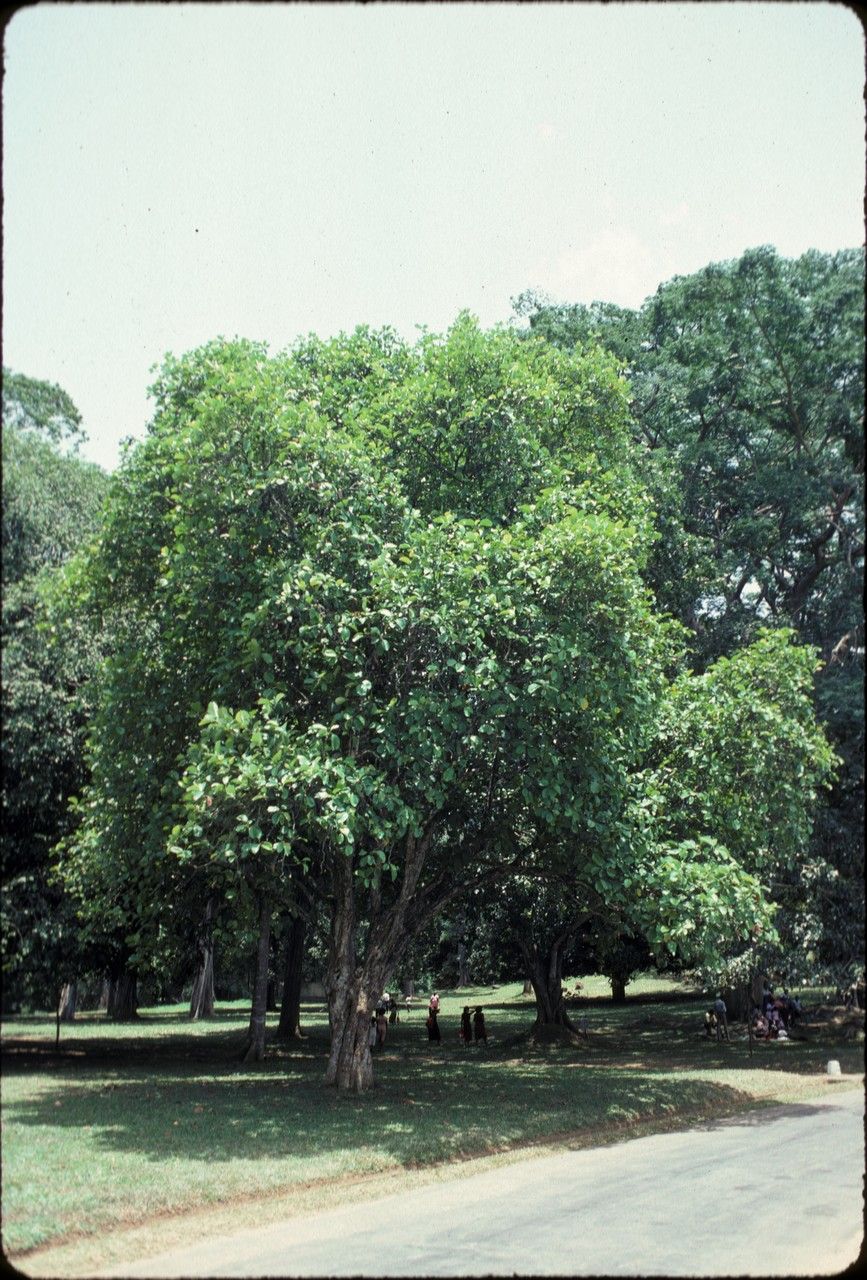
Dillenia triquetra, or the Three-Ribbed Dillenia, is a stunner. Its large, cheerful yellow flowers are a magnet for pollinators, and its architectural form adds a lovely structure to any landscape. Plus, there’s a certain magic in taking a piece of a beloved plant and coaxing it into a new life of its own. It’s incredibly rewarding, and while it might have a slight reputation for being a bit particular, I find it’s quite manageable once you understand its needs. Don’t let that deter you; we’ll get through it together.
The Best Time to Start
From my experience, late spring to early summer is your sweet spot for propagating Dillenia triquetra. This is when the plant is actively growing and has plenty of energy to put into root development. You’re looking for soft woody growth – not brand new, floppy shoots, but not old, hard growth either. Think of it as “just right,” like a well-baked cookie.
Supplies You’ll Need
Before we get our hands dirty, let’s gather our essentials:
- Sharp Pruning Shears or a Knife: Cleanliness is key here to prevent disease.
- Potting Mix: A well-draining seed-starting mix is ideal. You can also create your own by mixing equal parts peat moss (or coco coir), perlite, and coarse sand.
- Small Pots or Trays: Clean pots with drainage holes are a must.
- Rooting Hormone (Optional but Recommended): A powdered or liquid rooting hormone can give your cuttings a significant boost.
- Clear Plastic Bag or Dome: To create a humid microclimate.
- Watering Can or Spray Bottle: For gentle watering.
- Labels: To remind yourself what you’ve planted!
Propagation Methods
Dillenia triquetra is best propagated through stem cuttings. It’s the most reliable method I’ve found.
Step-by-Step Stem Cuttings:
- Take Your Cuttings: On a healthy Dillenia triquetra plant, select a stem that’s about 4-6 inches long. Using your clean shears or knife, make a cut just below a leaf node (where a leaf attaches to the stem). Remove the lower leaves, leaving just a few at the top.
- Prepare the Cutting: If you’re using rooting hormone, dip the cut end of the stem into the powder (tap off any excess) or follow the product’s instructions for liquid hormone.
- Plant Your Cuttings: Moisten your potting mix in the small pots. Make a small hole in the center of the mix with your finger or a pencil. Insert the cut end of the Dillenia cutting into the hole, ensuring the leaf nodes you removed are covered by the soil. Gently firm the soil around the stem.
- Create Humidity: Place the potted cuttings in a tray and cover them with a clear plastic bag or a propagation dome. This traps moisture and prevents the cuttings from drying out.
- Placement: Find a bright spot that receives indirect light. Avoid direct sunlight, as it can scorch the delicate cuttings.
The “Secret Sauce”
Here are a couple of tricks I’ve learned over the years that can really make a difference:
- The Bottom Heat Trick: Place your pots on a heating mat designed for seedlings. This gentle warmth encourages root development from below, giving your cuttings a head start. It’s like giving them a warm hug from the roots up!
- Patience with the Leaves: When you’re preparing your cuttings, make sure no leaves are touching the soil or sitting in any water that may collect at the bottom of the pot. This is a common culprit for rot. Trim them off if necessary.
Aftercare & Troubleshooting
Once your cuttings are potted, the real waiting game begins!
- Watering: Keep the soil consistently moist but not waterlogged. Check the moisture level by gently poking your finger into the soil. Mist the leaves occasionally if the humidity seems low, even with the cover on.
- Ventilation: Once a day, lift the plastic bag or dome for a few minutes to allow for fresh air circulation. This helps prevent fungal diseases.
- Checking for Roots: After 4-8 weeks, you can gently tug on a cutting to test for resistance. If it feels firmly rooted, it’s ready for the next step! You might also see new growth appearing, which is a great sign.
- Signs of Trouble: The biggest enemy of cuttings is rot. If you see your cuttings turning black and mushy, it’s usually due to too much moisture and not enough air circulation. Unfortunately, a rotted cutting is usually a goner. Don’t despair; just try again! Wilting can also occur if the cutting is drying out too quickly, so ensure that humidity is maintained.
Keep Planting, Keep Growing!
Propagating Dillenia triquetra is a journey, and like all good gardening adventures, it requires a little patience and a lot of love. Don’t be discouraged if your first attempt isn’t a runaway success. Each cutting you take, each plant you nurture, teaches you something new. Take a deep breath, enjoy the process of nurturing these new lives, and soon you’ll have your own mini Dillenia forest to share! Happy gardening!
Resource:
https://identify.plantnet.org/k-world-flora/species/Dillenia%20triquetra%20(Rottb.)%20Gilg/data