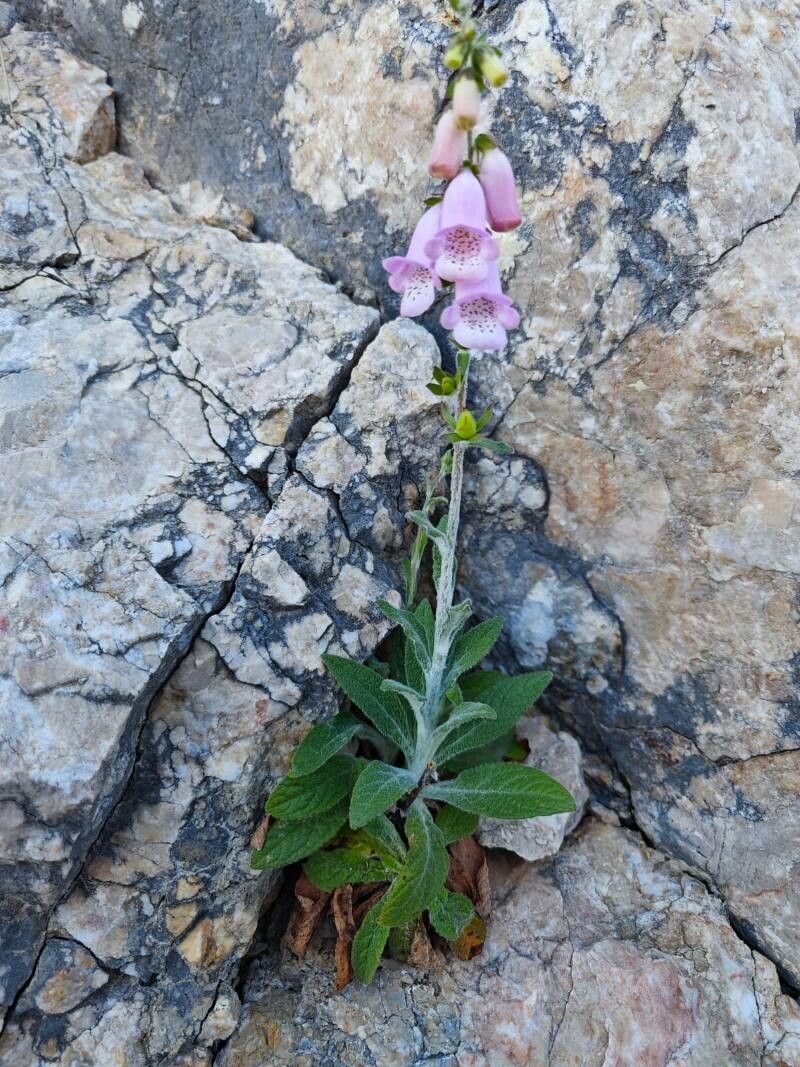
Oh, Digitalis minor! Isn’t it just a delight? Those delicate, foxglove-like blooms, often in softer shades than its larger cousins, bring such a charming cottage garden feel to any space. For me, propagating these beauties is one of those deeply satisfying gardening tasks. It’s like multiplying a little bit of magic you already love. And the good news? If you’re just dipping your toes into propagation, Digitalis minor is a pretty forgiving friend to start with.
The Best Time to Start
When I’m looking to get more Digitalis minor plants, my go-to time is late spring to early summer. This is when the plant is actively growing and has plenty of energy. You’re looking for soft, new growth – not the woody, established stems. That fresh, pliable material roots the best. I usually wait until after the first flush of flowering has finished, but before the plants start to look a bit tired and spent.
Supplies You’ll Need
Before we get our hands dirty, let’s gather our tools. Think of this as preparing your gardening toolkit:
- Sharp pruning shears or a clean, sharp knife: For making clean cuts.
- Seed-starting mix or a well-draining potting mix**: I often mix my own with equal parts peat moss, perlite, and a bit of compost.
- Small pots or trays: Clean ones are essential to prevent disease.
- Rooting hormone (optional but recommended): This gives your cuttings a helpful boost. I like the powder form.
- A clear plastic bag or a propagation dome: For creating a humid environment.
- Water mister or spray bottle: For keeping things moist.
- Labels: Trust me, you’ll thank yourself later!
Propagation Methods
Here at my place, I find two methods work wonderfully for Digitalis minor.
Stem Cuttings
This is my favorite way to multiply Digitalis minor. It’s incredibly rewarding to see those tiny roots form!
- Take Cuttings: Select healthy, non-flowering stems about 4-6 inches long. Make a clean cut just below a leaf node (where a leaf joins the stem).
- Prepare Cuttings: Gently remove the lower leaves from the cutting, leaving just a few at the top. If the leaves are very large, you can even cut them in half to reduce water loss.
- Apply Rooting Hormone (Optional): Dip the cut end of the stem into rooting hormone, tapping off any excess. This step definitely speeds things up for me.
- Plant Cuttings: Fill your clean pots with your prepared potting mix. Make a small hole with a pencil or your finger and insert the cutting, burying the leaf nodes. Gently firm the soil around the stem.
- Water and Cover: Water the soil thoroughly until it’s evenly moist but not soggy. Place the pots inside a clear plastic bag or cover them with a propagation dome. This creates a humid microclimate, which is crucial for rooting.
- Provide Light: Place the pots in a bright location with indirect sunlight. A windowsill that doesn’t get harsh direct sun is perfect.
Division
If you already have a mature Digitalis minor plant, you can often divide its root ball to create new ones. This is best done in early spring, just as new growth is appearing.
- Gently Excavate: Carefully dig up the entire plant, trying to disturb the roots as little as possible.
- Inspect the Roots: Shake off excess soil to get a good look at the root system. You should be able to see distinct crowns or clumps of new shoots.
- Divide the Plant: Using your hands or a clean trowel, carefully pull the plant apart into smaller sections. Make sure each section has roots and at least one healthy shoot.
- Replant Immediately: Plant the divided sections into new pots or directly into the garden, spacing them appropriately. Water them in well.
The “Secret Sauce”
Now, for a couple of tricks I’ve learned over the years that make a big difference:
- Bottom Heat is Your Friend: Especially with stem cuttings, I find placing the pots on a heat mat designed for seedlings can dramatically speed up root formation. It mimics the warmth of spring soil and gives those roots the signal to get growing. Just a gentle warmth is all you need!
- Don’t Let Those Leaves Touch the Water: If you opt for water propagation (which I find a bit trickier with Digitalis minor but it can work!), make sure only the stem is submerged. If any leaves are in the water, they will rot, drawing energy away from root development. Keep them high and dry, above the waterline.
Aftercare & Troubleshooting
Once you start seeing tiny white roots emerging from the drainage holes or the plant looking more vigorous, it’s time for a little special treatment.
Gradually acclimate your new plants to normal humidity by opening the plastic bag or propagation dome for increasing periods over a few days before removing it entirely. Continue to keep the soil consistently moist but not waterlogged. I use a gentle liquid fertilizer, diluted to half strength, once you see good leaf growth.
The most common issue you’ll encounter is rot. If your cuttings turn black and mushy, or if a divided plant wilts dramatically and doesn’t recover, it’s usually a sign of too much moisture and poor air circulation. Make sure your soil drains well, and don’t be tempted to overwater.
A Encouraging Closing
Propagating Digitalis minor is a journey, not a race. Be patient with your new little plants, give them a little love and the right conditions, and before you know it, you’ll have little clusters of these delightful blooms to share with friends or tuck into new spots in your own garden. Enjoy the process; it’s one of gardening’s greatest rewards!
Resource:
https://identify.plantnet.org/k-world-flora/species/Digitalis%20minor%20L./data