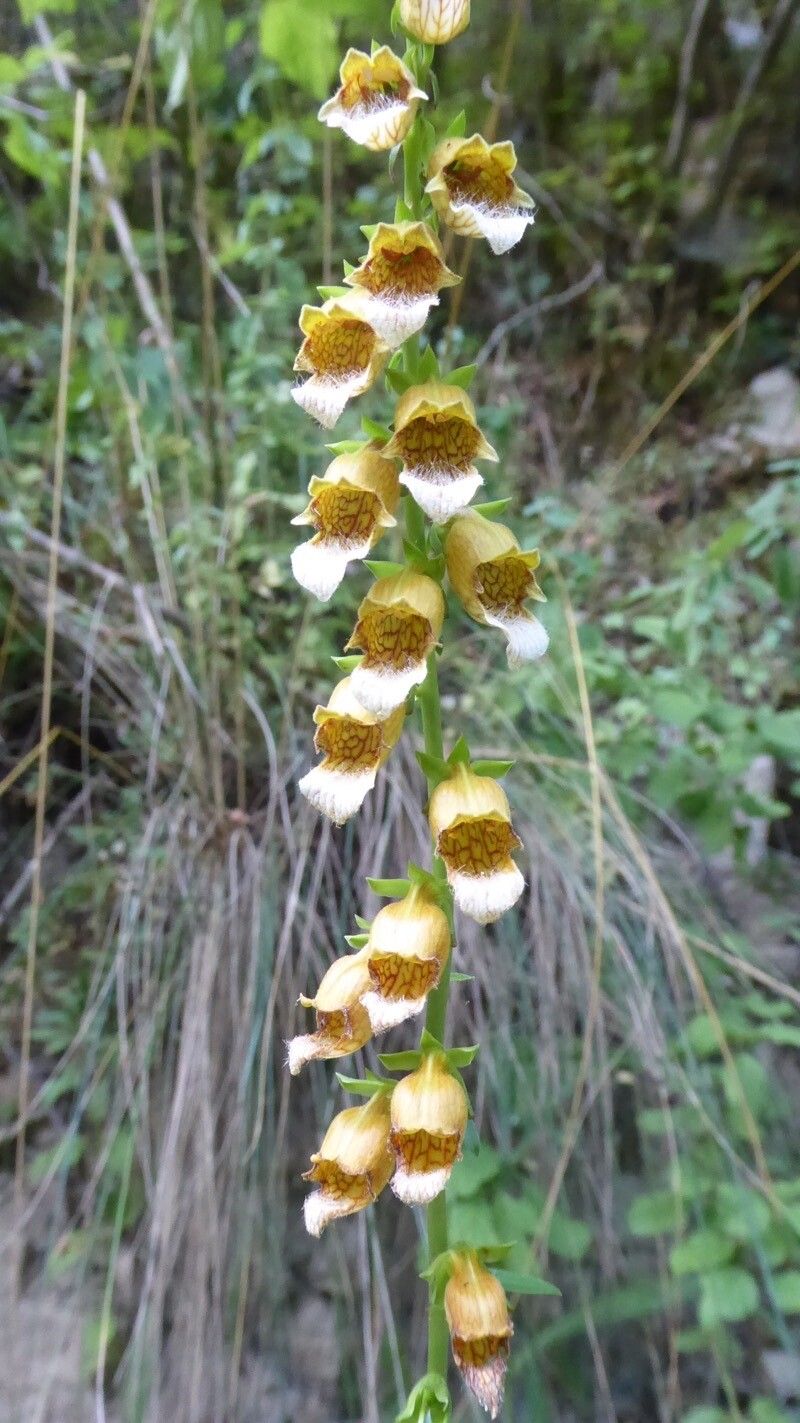
Ah, Digitalis laevigata! You know, I always admire this particular foxglove. It’s a bit more refined than some of its showier cousins, with those elegant, pale yellow-green bells and a wonderfully subtle charm. Growing them from seed can be a delightful journey, but there’s something even more satisfying about coaxing new life from an existing plant. Propagating it yourself? That’s where the real magic happens, making it a truly rewarding endeavor for any gardener. And for those of you just dipping your toes into propagation waters, I’d say Digitalis laevigata is a moderately easy plant to work with. A little patience goes a long way!
The Best Time to Start
When I’m looking to grow more Digitalis laevigata, my go-to time is usually late spring to early summer. After the plant has finished its initial blooming flush, it’s often putting out new, vigorous growth. This is the perfect moment to take cuttings. You can also look at dividing established clumps in early spring, just as the new shoots are emerging, but I find cuttings give me more control and often a higher success rate for this specific foxglove.
Supplies You’ll Need
Before we get our hands dirty, let’s gather our tools. Having everything ready makes the process so much smoother:
- Sharp pruning shears or a clean knife: Essential for making clean cuts.
- Well-draining potting mix: I like a blend of equal parts peat moss, perlite, and compost. You can also use a seed-starting mix.
- Rooting hormone (optional, but recommended for cuttings): A powder or gel will help encourage root development.
- Small pots or trays: Clean ones are a must to prevent disease.
- Plastic bags or a humidity dome: To maintain moisture around the cuttings.
- Watering can or spray bottle: For gentle watering.
- Labels: To keep track of what you’ve planted and when.
Propagation Methods
Let’s get down to business! I usually focus on stem cuttings for Digitalis laevigata as it’s quite reliable.
Stem Cuttings
- Select your stock plant: Look for healthy, non-flowering shoots that are about 4-6 inches long. The stems should be firm but not woody.
- Make your cut: Using your clean shears or knife, take a cutting just below a leaf node (where a leaf joins the stem). This is where the plant has a concentration of growth hormones.
- Prepare the cutting: Gently remove the lower leaves from the bottom half of the cutting. You want to expose the leaf nodes where roots will form. Leave 2-3 sets of leaves at the top.
- Dip in rooting hormone (if using): Lightly moisten the cut end and dip it into your rooting hormone powder or gel. Tap off any excess.
- Plant your cuttings: Fill your small pots with your prepared potting mix. Make a small hole with a pencil or your finger and insert the cutting, ensuring the bottom leaf nodes are buried. Gently firm the soil around the cutting.
- Water and cover: Water the soil gently. Then, cover the pot with a plastic bag or place it under a humidity dome. You want to create a mini-greenhouse effect.
Division (for established clumps)
If you have a mature Digitalis laevigata that’s looking a bit sad in the middle or just getting too large, division is a good option.
- Dig up the plant: In early spring, carefully dig up the entire clump.
- Separate the roots: Gently tease apart the root ball into several smaller sections. Each section should have some healthy roots and at least one shoot.
- Replant: Plant each division back into the ground or into pots with fresh soil. Water well.
The “Secret Sauce” (Pro Tips)
Here are a few things I’ve learned over the years that can really boost your success:
- Don’t let the leaves touch the water: If you’re doing water propagation (which I’m less fond of for foxgloves, as they can rot easily), ensure the cut end is submerged, but keep the leaves above the water line. Rot is the enemy here!
- Bottom heat is your friend: For stem cuttings, placing your pots on a heat mat designed for seedlings can significantly speed up root formation. It mimics the warmth of spring soil and really encourages those roots to get going.
- Air circulation is crucial: While you need high humidity, too much stagnant air with no circulation can lead to fungal issues. If you’re using a plastic bag, open it up for a few minutes each day to allow for some fresh air exchange.
Aftercare & Troubleshooting
Once you see new growth emerging from your cuttings – usually a sign that roots are forming – it’s time to transition them.
- Acclimatize: Gradually remove the plastic bag or humidity dome over a week to help the new plants get used to the drier air.
- Watering: Keep the soil consistently moist but not waterlogged. Overwatering is the quickest way to lose a new cutting.
- Harden off: Before planting them out in the garden, gradually expose them to outdoor conditions over a week or two.
- Signs of trouble: The most common issue you’ll encounter is rot. If the stem turns black and mushy, it’s likely gone. This is usually due to too much moisture, poor drainage, or a lack of air circulation. If your cuttings simply refuse to root after several weeks, they might not have been vigorous enough to begin with, or the conditions weren’t quite right. Don’t be discouraged; just try again!
Propagating Digitalis laevigata is a wonderfully hands-on way to expand your garden. It takes a bit of patience, a dollop of care, and the willingness to learn from each attempt. So go ahead, get your hands in the soil, and enjoy the satisfaction of nurturing these beautiful plants into existence. Happy gardening!
Resource:
https://identify.plantnet.org/k-world-flora/species/Digitalis%20laevigata%20Waldst.%20&%20Kit./data