Hello there, fellow plant pals! It’s so wonderful to have you join me here today. We’re going to dive into the delightful world of Dieffenbachia parlatorei, a plant that truly brightens any corner with its showy, variegated leaves. If you’ve ever admired those stunning specimens at the nursery, you’ll be thrilled to know that creating your own is totally achievable.
Meet Your New Friend: Dieffenbachia Parlatorei
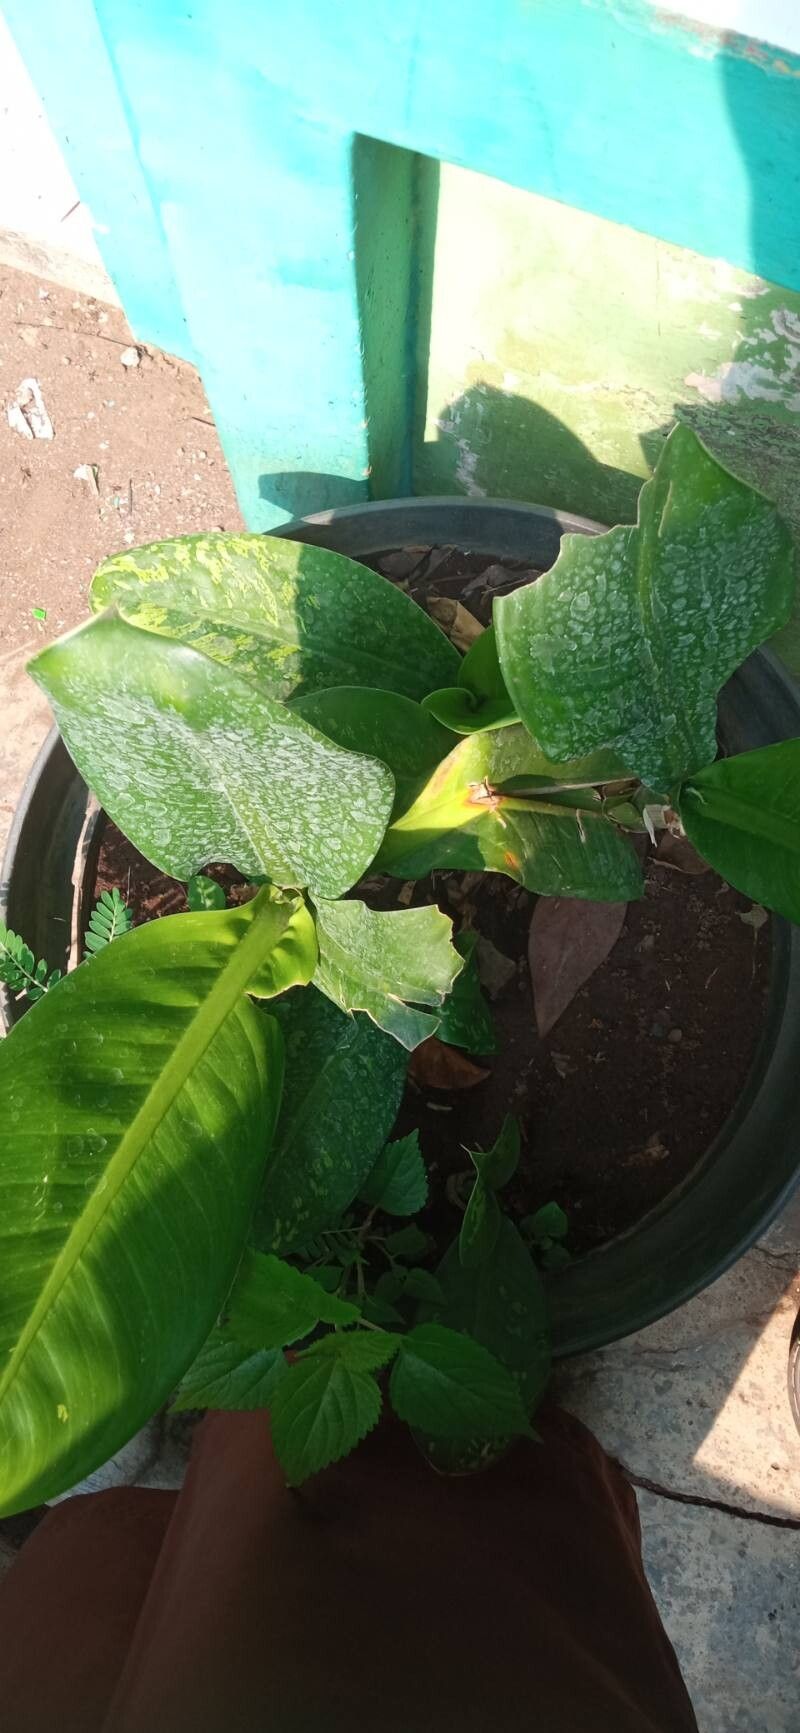
Dieffenbachia parlatorei, often called “Dumb Cane” (though I prefer to think of it as “Chatty Cane” because it’ll fill your home with green conversation!), is a fantastic choice for adding a tropical vibe indoors. Its bold foliage, often splashed with creamy white or chartreuse patterns, provides structure and visual interest. And guess what? Propagating it is surprisingly rewarding, making it a wonderful project for both seasoned gardeners and enthusiastic beginners. You’ll feel a real sense of accomplishment watching a tiny cutting transform into a thriving new plant.
When to Get Growing: The Best Time to Start
The sweet spot for propagating Dieffenbachia parlatorei is during its active growing season. For most of us, this means spring and summer. When the plant is putting on new growth, it has more energy to dedicate to rooting and establishing itself. Trying to propagate in the dead of winter, when growth slows down, will likely lead to slower success or even disappointment. So, let’s wait for that warm sunshine!
Your Propagation Toolkit
Before we get our hands dirty, let’s gather our supplies. Having everything ready makes the process so much smoother.
- Sharp Pruning Shears or a Clean Knife: A clean cut is crucial for preventing disease.
- Well-Draining Potting Mix: I like a blend of equal parts potting soil and perlite or orchid bark. This ensures good aeration and prevents soggy roots.
- Small Pots or Containers: Think nursery pots or even clean yogurt containers with drainage holes.
- Rooting Hormone (Optional but Recommended): This isn’t strictly necessary for Dieffenbachia, but it can give your cuttings a little boost. Look for a powder or gel.
- Clear Plastic Bag or Propagator: This helps maintain humidity around the cuttings.
- Water: For the water propagation method.
- Spray Bottle with Water: For misting.
Bringing New Plants to Life: Propagation Methods
Dieffenbachia parlatorei is quite forgiving and can be propagated through a couple of easy methods.
Stem Cuttings
This is my go-to method for this plant!
- Identify a Healthy Stem: Look for a mature stem on your Dieffenbachia. You want a section that has at least two or three growth nodes. Nodes are those little bumps or rings on the stem where leaves or aerial roots emerge.
- Make the Cut: Using your sharp, clean pruners or knife, make a cut just below a node. You can take cuttings that are several inches long; the larger they are, the quicker they tend to establish. If your stem is very tall, you can cut it into multiple sections, each with at least one node.
- Prepare the Cutting: Remove any lower leaves that would be below the soil line or in the water. This prevents them from rotting. If your cutting is particularly leggy, you can trim off some of the larger leaves to reduce water loss.
- Apply Rooting Hormone (Optional): Dip the cut end of the stem into rooting hormone, tapping off any excess.
- Planting Time: Fill your small pots with your well-draining potting mix. Gently insert the cut end of the stem about an inch or two into the soil, ensuring at least one node is buried. You can plant multiple cuttings in one pot, spaced a few inches apart.
- Water In: Water the soil thoroughly but gently.
- Create a Humid Environment: Place the pots inside a clear plastic bag, tented loosely over the pot, or use a propagator. This traps humidity, which is vital for cuttings before they develop roots. You can also place the pots in a brightly lit spot.
Water Propagation
This method is incredibly satisfying to watch!
- Follow Steps 1-3 above for preparing your stem cuttings.
- Place in Water: Find a clean jar or vase and fill it with room temperature water. Place your stem cuttings into the water, ensuring that no leaves are submerged. The nodes should be in the water, as this is where roots will emerge.
- Find a Sunny Spot: Place the container in a location with bright, indirect light.
- Change the Water Regularly: Refresh the water every few days, or whenever it starts to look cloudy. This prevents bacterial growth and keeps the water oxygenated.
The “Secret Sauce”: My Insider Tips
Over the years, I’ve learned a few tricks that make a big difference.
- Bottom Heat is Your Best Friend: If you’re serious about speedy rooting, especially with stem cuttings, place your pots on a propagator mat or a warm surface. A gentle warmth from below—around 70-75°F (21-24°C)—mimics spring soil temperatures and really encourages root development. Just make sure it’s not too hot!
- Don’t Rush the Repotting: For water propagation, it’s tempting to pot up as soon as you see tiny white roots. I prefer to wait until the roots are at least an inch or two long, and ideally have started to branch a little. This gives them a stronger start in the soil. For stem cuttings in soil, resist the urge to pull them out and check for roots too often! Wait at least 4-6 weeks before gently tugging to feel for resistance.
Life After Rooting: Aftercare & Troubleshooting
Once you see those beautiful new roots developing, it’s time for a little extra care.
- For Water Cuttings: When roots are well-established, gently plant them into your well-draining potting mix. Just like with the original cuttings, give them a good watering and place them in a humid environment (like in a loosely tented plastic bag) for a week or two until they adjust.
- For Soil Cuttings: Once your cuttings have established roots (you’ll feel resistance when you gently tug), you can begin to gradually acclimate them to normal room humidity. Start by opening the plastic bag for a few hours each day, then remove it entirely. Water when the top inch of soil feels dry.
- Common Pitfalls: The most common issue is rot. If you see your stem cuttings turn mushy and black, or if leaves start to yellow and fall off quickly, it’s usually a sign of too much moisture and not enough air circulation. Make sure your soil is draining well and don’t overwater. In water propagation, if the stems turn black or slimy, discard them and start with fresh cuttings.
Grow on, Green Thumbs!
Propagating Dieffenbachia parlatorei is a journey filled with anticipation and the joy of creation. Don’t get discouraged if your first attempt isn’t perfect. Gardening is all about learning and experimenting. Be patient, pay attention to your new plants, and enjoy the process of watching them grow. Happy propagating, and I can’t wait to see your leafy babies thrive!
Resource: