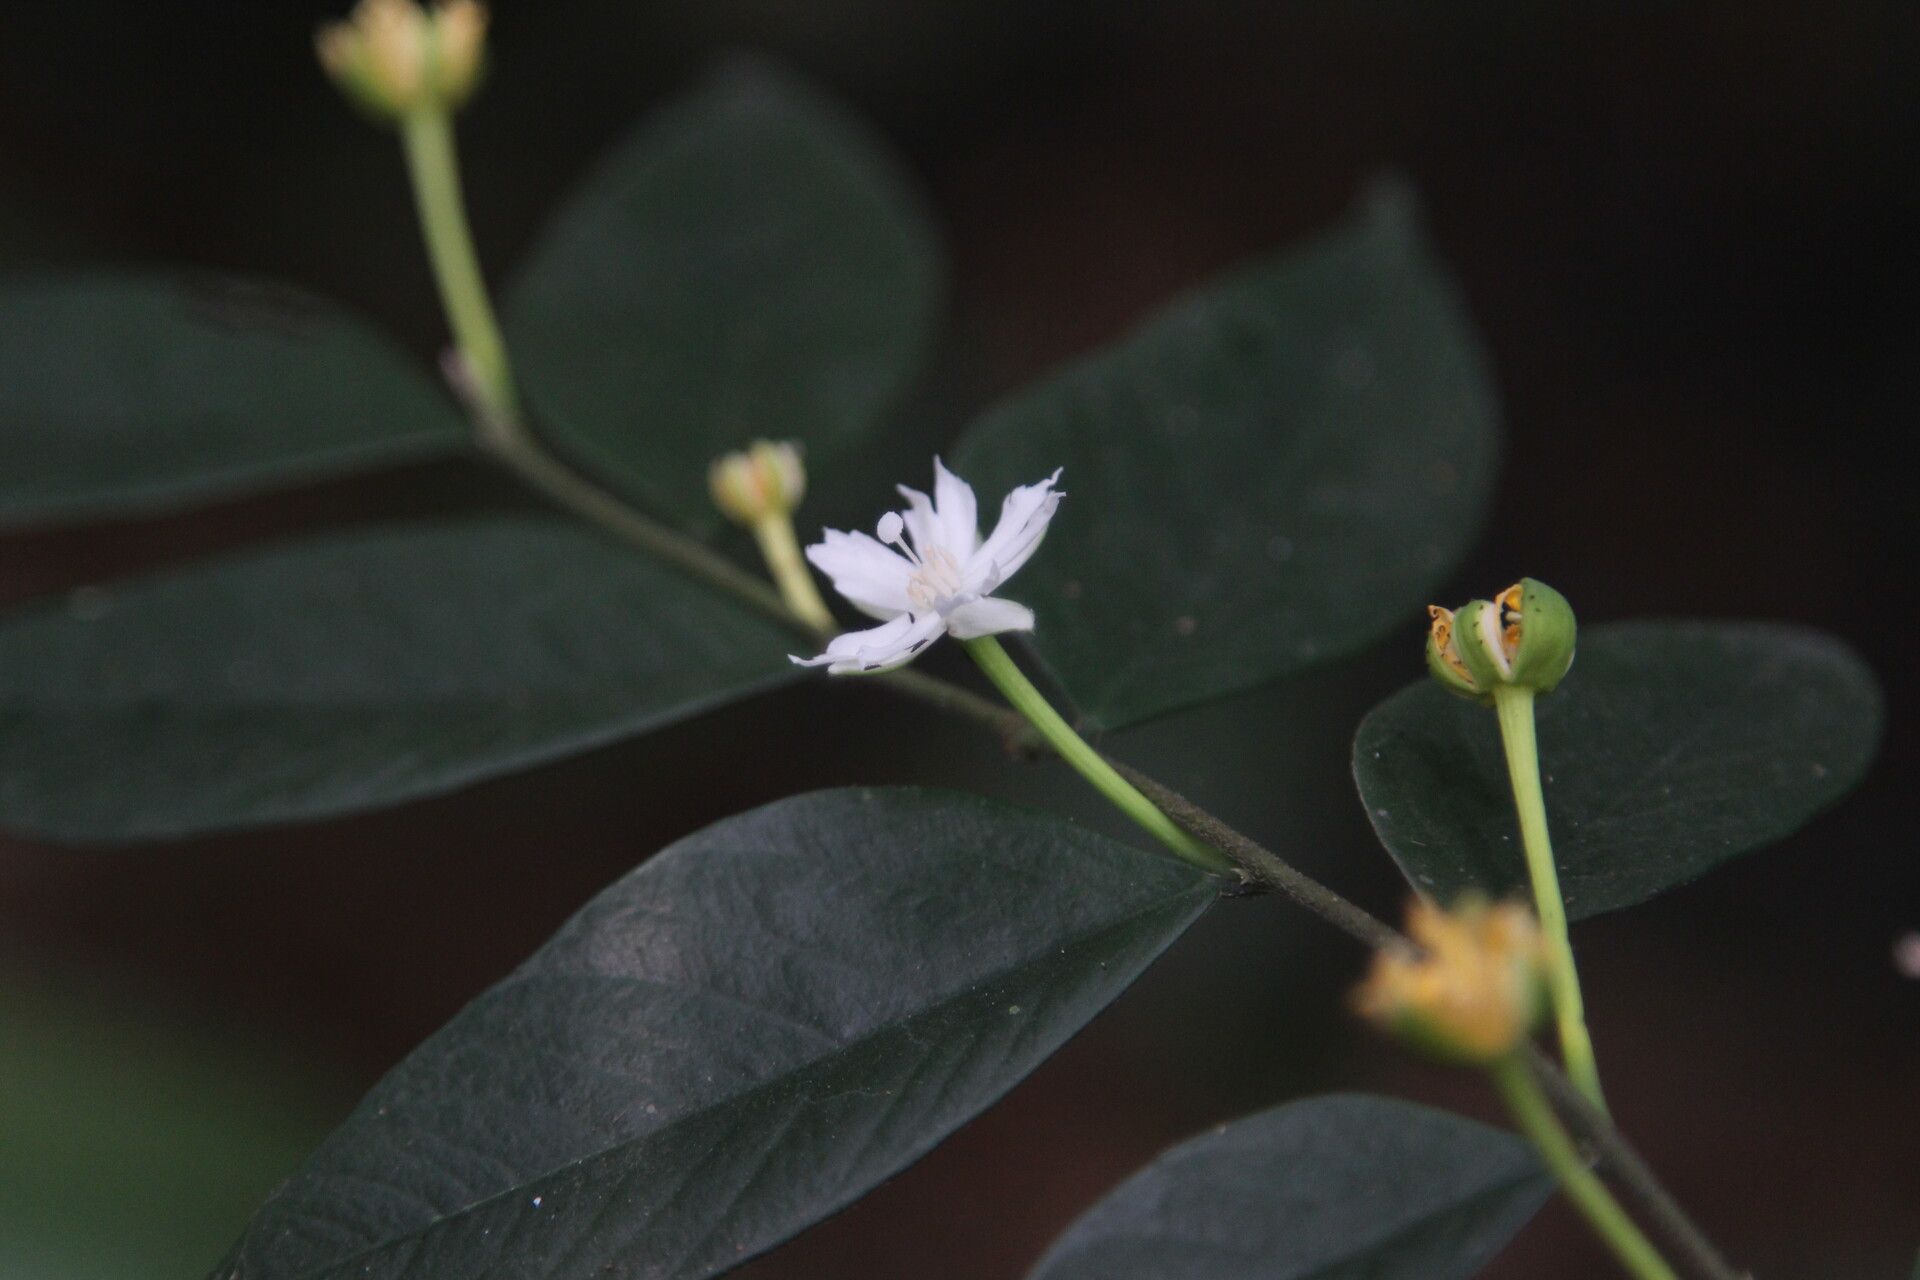
Hello there, fellow garden enthusiasts! Today, we’re diving into the world of a truly special plant: Dicranolepis disticha. If you’ve ever seen this beauty, you’ll know its allure. Its unique foliage, often with a soft, velvety texture and intriguing patterns, makes it a captivating addition to any collection. And let me tell you, coaxing new life from a parent plant is one of the most deeply satisfying experiences in gardening.
Now, if you’re a beginner, I won’t pretend Dicranolepis disticha is as straightforward as a common spider plant. It can be a little fussy, requiring a keen eye and a touch of patience. But that’s where we come in! With a bit of knowledge and the right approach, you’ll be well on your way to success.
The Best Time to Start
For Dicranolepis disticha, the sweet spot for propagation is definitely during its active growing season. Think late spring through midsummer. This is when the plant has the most energy stored up to push out new growth and, importantly, to heal those cuts we’ll be making. Trying to propagate when it’s resting in cooler, darker months is a recipe for disappointment.
Supplies You’ll Need
Gathering your tools beforehand makes the whole process smoother. Here’s what I recommend:
- Sharp, clean pruning shears or a sterile knife: Essential for making clean cuts that heal well.
- Rooting hormone (optional but helpful): A powder or gel designed to encourage root development.
- A well-draining potting mix: I find a blend of peat moss, perlite, and a bit of orchid bark works wonderfully for this plant. It needs to breathe!
- Small pots or propagation trays: Clean containers are key to preventing fungal issues.
- Plastic bags or a propagation dome: To create a humid environment for your cuttings.
- A spray bottle with water: For misting.
- Labels: So you don’t forget what you planted where!
Propagation Methods
Dicranolepis disticha is most commonly and successfully propagated using stem cuttings. Let’s break it down:
1. Taking Your Cuttings:
With your clean shears, select a healthy, actively growing stem. You’re looking for pieces that have at least two or three sets of leaves. Aim for cuttings that are about 3-5 inches long. Make your cut just below a leaf node – that’s the point where a leaf emerges from the stem. This is where the magic happens with rooting.
2. Preparing the Cuttings:
Gently remove the leaves from the lower half of your cutting. If any of the remaining leaves are very large, you can cut them in half widthwise. This reduces water loss from the leaves while the cutting is trying to root.
3. Applying Rooting Hormone (Optional):
If you’re using rooting hormone, dip the cut end of your stem into the powder or gel. Tap off any excess. This step can give your cutting a nice boost.
4. Planting Your Cuttings:
Moisten your potting mix. Make a small hole in the soil with your finger or a pencil. Insert the prepared cutting into the hole, ensuring the leaf nodes you removed are firmly nestled in the soil. Gently firm the soil around the base of the cutting.
5. Creating a Humid Environment:
This is crucial! You want to simulate a greenhouse. Water the soil lightly after planting. Then, cover the pot with a clear plastic bag, ensuring the leaves don’t touch the plastic. Alternatively, use a propagation dome. Place the pot in a warm spot with bright, indirect light.
The “Secret Sauce” (Pro Tips)
Here are a few things I’ve learned over the years that can make a big difference:
- Don’t let the leaves touch the water in the pot: If you water thoroughly at first, you shouldn’t need to water again for quite a while. If you do see standing water, tip the pot gently to drain. Excess moisture is the enemy of cuttings.
- Consider bottom heat: A gentle warmth from below can significantly speed up the rooting process. A seedling heat mat placed under your propagation tray is fantastic for this. It gives those roots a little nudge to get going.
- Be patient with airflow: While humidity is key, stagnant air can lead to fungal issues. Once a week, or every few days after you see initial signs of growth, gently remove the plastic cover for an hour or two to allow for some air circulation. This hardens them off a bit too.
Aftercare & Troubleshooting
Once you see new leaf growth or feel a bit of resistance when you gently tug on the cutting, that’s a good sign roots have formed! Continue to keep the soil lightly moist and the humidity high for another couple of weeks. Gradually introduce them to less humidity by opening the plastic bag more each day.
The biggest issue you’ll likely face is rot. If your cutting turns black and mushy, it’s likely rotted. This is usually due to too much moisture, poor drainage, or insufficient airflow. If you see this, unfortunately, the cutting is a loss. Don’t get discouraged! Take note of your watering and humidity levels for the next attempt.
A Encouraging Closing
Propagating Dicranolepis disticha is a journey, and like any good journey, it has its ups and downs. Enjoy the process of nurturing these little pieces of life. Be patient, observe your cuttings closely, and trust your instincts. Soon enough, you’ll have a whole new collection of these stunning plants to share or cherish for yourself. Happy growing!
Resource:
https://identify.plantnet.org/k-world-flora/species/Dicranolepis%20disticha%20Planch./data