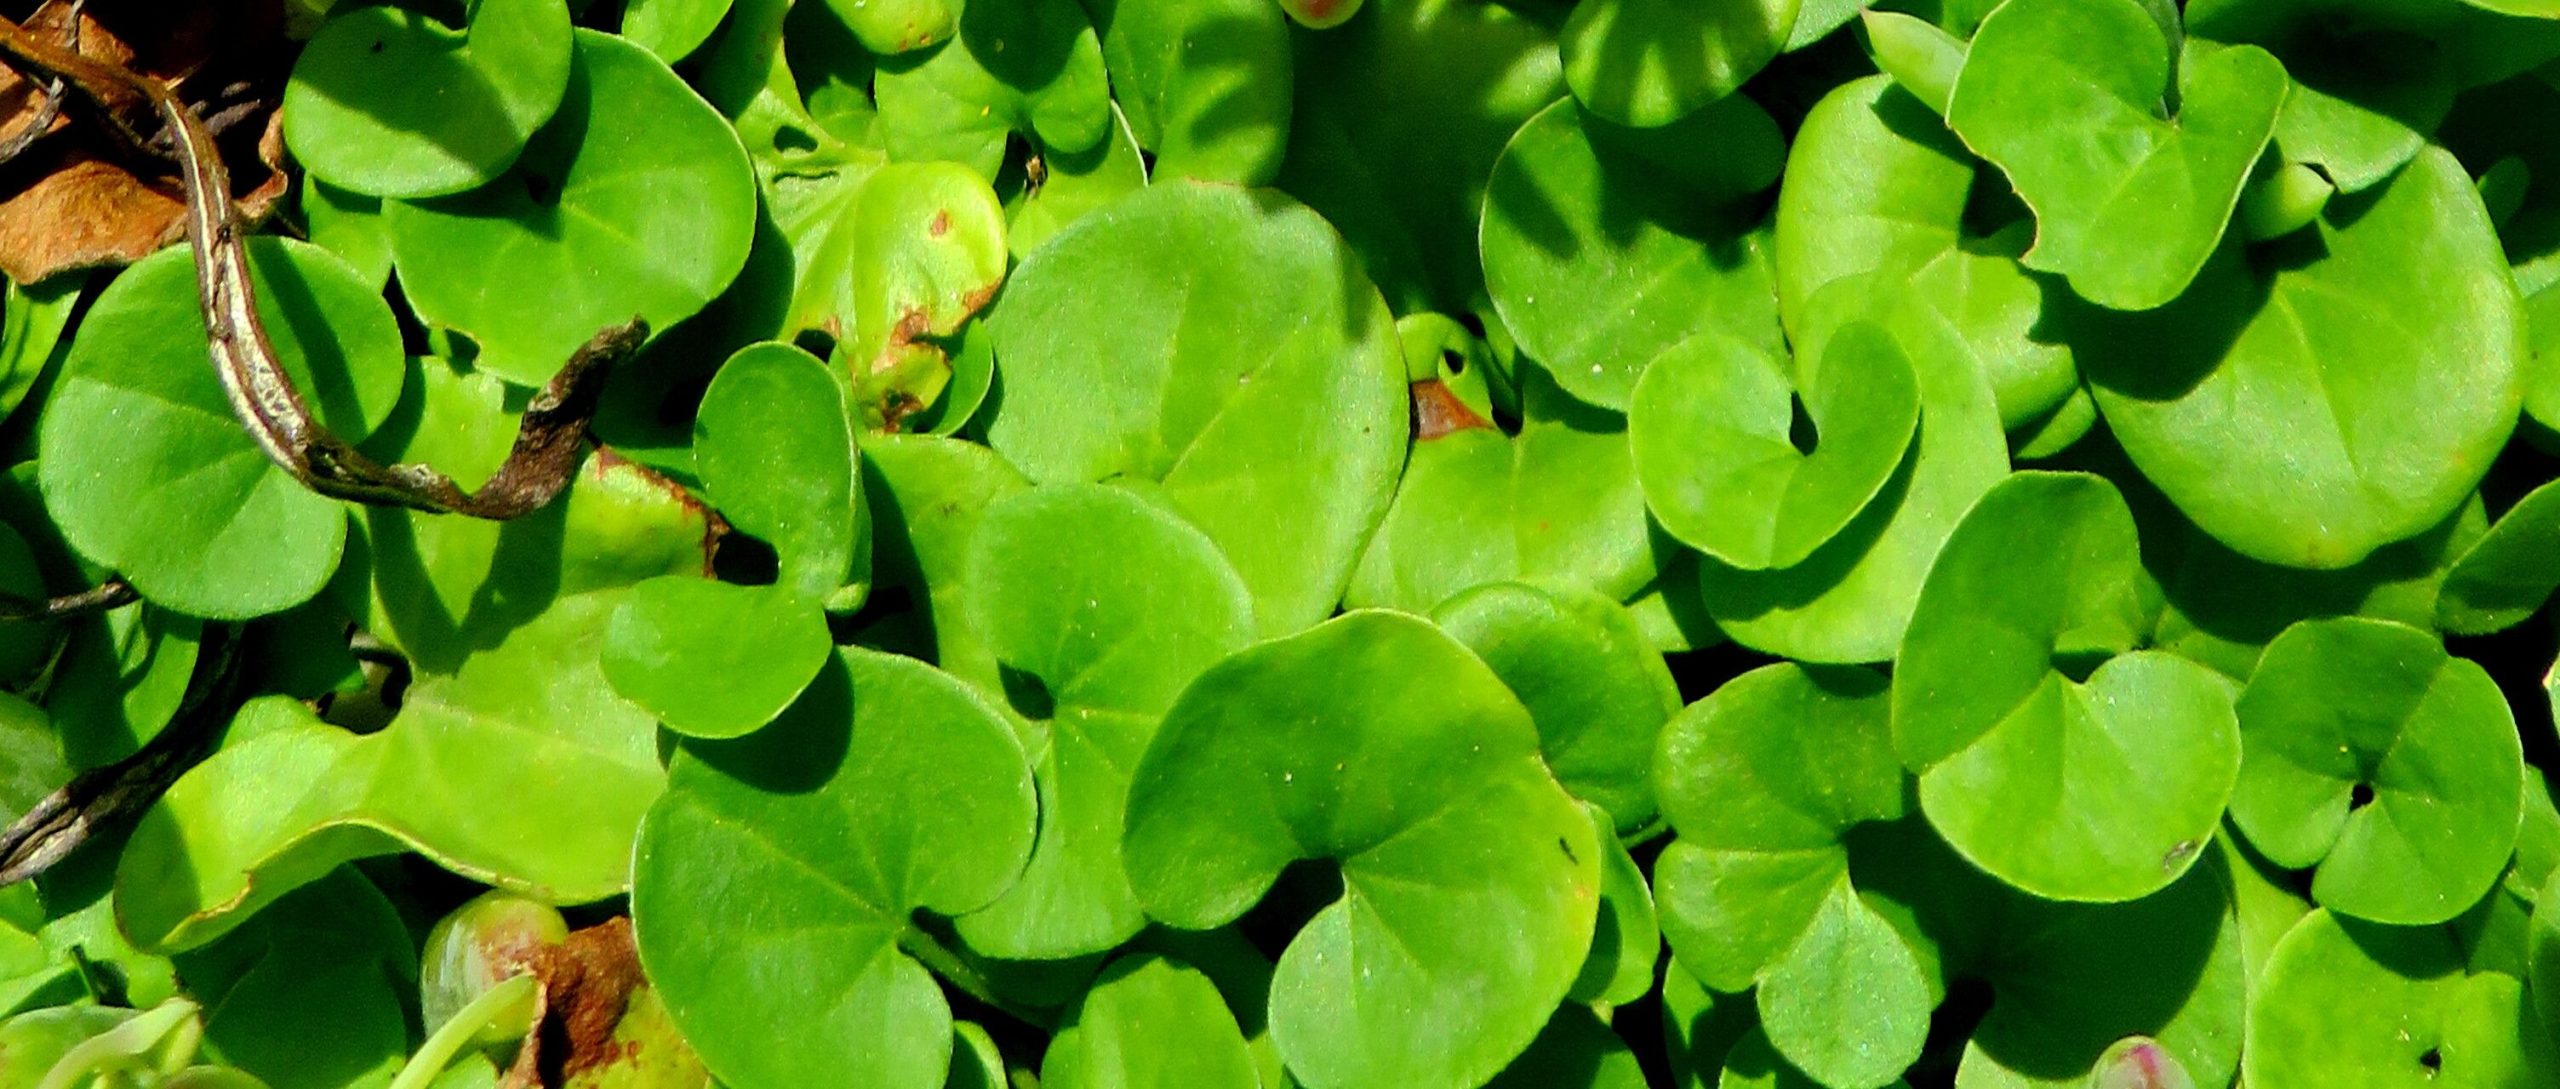
Oh, hello there! Come on in, grab yourself a cup of something warm. I’ve got something I’m just itching to share with you today, something that brings a smile to my face every single time I see it: Dichondra repens, often called “kidney weed” or “ponyfoot.”
This little groundcover is just pure charm. Its tiny, rounded leaves create a soft, low-maintenance carpet that’s perfect for filling in gaps, softening edges of pathways, or even as a moss substitute in fairy gardens or terrariums. And the best part? It’s surprisingly easy to propagate, even for beginners. Seeing those little bits of greenery take root and grow is one of those simple garden joys that never gets old. I find myself propagating it just to have more little pots of happiness scattered around.
The Best Time to Start
For the happiest, most successful cuttings, I always aim to propagate during the active growing season. That usually means late spring through summer. You want the plant to be vigorous and full of life, not stressed by drought or the heat of peak summer. You’ll see new shoots and leaves forming readily during this time, which is exactly what we’re looking for.
Supplies You’ll Need
Gathering your tools beforehand makes the whole process so much smoother. Here’s what I usually have on hand:
- Sharp pruning shears or a clean knife: For taking clean cuttings.
- Rooting hormone (optional but helpful): A powder or gel to give cuttings a head start.
- A well-draining potting mix: Something light and airy. I often use a mix of coco coir, perlite, and a little bit of compost.
- Small pots or trays: Clean containers to start your cuttings in.
- A watering can with a fine rose: For gentle watering.
- Plastic bags or a propagation dome: To create a humid environment.
- Labels and a marker: To keep track of what’s what!
Propagation Methods
Dichondra repens is wonderfully amenable to a few different methods. I typically rely on stem cuttings and water propagation.
Stem Cuttings
This is my go-to method. It’s straightforward and very effective.
- Select a healthy stem: Look for a long, non-flowering stem that’s at least 4-6 inches long. It should be flexible but not flimsy.
- Take the cutting: Using your clean shears or knife, make a cut just below a leaf node. A leaf node is where a leaf attaches to the stem – this is where roots are most likely to form.
- Prepare the cutting: Gently remove the leaves from the bottom 2-3 inches of the stem. You want to expose those nodes. If the remaining leaves are very large, I might even snip them in half to reduce water loss.
- Apply rooting hormone (optional): Dip the cut end into your rooting hormone, tapping off any excess.
- Plant the cutting: Make a small hole in your prepared potting mix with a pencil or your finger. Insert the cut end of the stem into the hole, ensuring the nodes are covered by the soil. Gently firm the soil around the stem.
- Water gently: Water thoroughly but carefully, making sure not to dislodge the cutting.
Water Propagation
This method is almost magical to watch unfold.
- Take your cutting: Follow the same steps as for stem cuttings, ensuring you have a good portion of stem without leaves at the bottom.
- Place in water: Find a clean jar or glass and fill it with fresh water. Submerge the cut end of the stem, making sure that no leaves are left in the water. Leaves sitting in water will just rot and can hinder rooting.
- Find a bright spot: Place the jar in a bright location, but out of direct sunlight.
- Change the water regularly: I like to change the water every couple of days to keep it fresh and prevent algae growth.
The “Secret Sauce” (Pro Tips)
After years of getting my hands dirty, I’ve picked up a few little tricks that seem to make all the difference:
- Bottom Heat is Your Friend: Especially when propagating stem cuttings, placing your pots on a heat mat can dramatically speed up root development. It mimics the warmth of spring soil and really encourages those roots to get going.
- Don’t Overwater: This is crucial for stem cuttings. While they need moisture, waterlogged soil leads to rot, which is the kiss of death for young cuttings. The soil should feel consistently moist, like a wrung-out sponge, not soggy.
- Patience and Observation: Sometimes, cuttings can look a bit sad for a while. They might droop a bit. Don’t give up too soon! Keep them in their humid environment and observe them closely. You’ll start to see new leaf growth or feel a gentle tug when you gently test the stem for resistance.
Aftercare & Troubleshooting
Once you see signs of new growth, or feel a good amount of resistance in your cuttings, you’re ready for the next stage!
- Gradual Acclimation: If you used a plastic bag or dome, gradually introduce your new plants to the outside air over a few days. This helps them adjust to lower humidity.
- Continue Gentle Watering: Keep the soil consistently moist but not soggy.
- Bright, Indirect Light: They’ll love a spot with plenty of light, but avoid intense, direct sun which can scorch young leaves.
- Troubleshooting – Rot: The most common problem is rot, especially in stem cuttings. If you notice stems turning mushy and black, or leaves yellowing and falling off rapidly, it’s usually a sign of too much moisture and poor air circulation. Try to remove the affected cuttings and ensure your soil drains well. For water propagation, it’s the decaying leaves in the water that cause problems.
A Little Bit of Patience Goes a Long Way
And there you have it! Propagating Dichondra repens is a simple, rewarding process that will soon have you with an abundance of these charming little plants. Don’t be discouraged if a few don’t make it. Gardening is all about learning and experimenting. Just keep trying, observe your plants, and enjoy the journey of watching new life emerge. Happy propagating!
Resource: