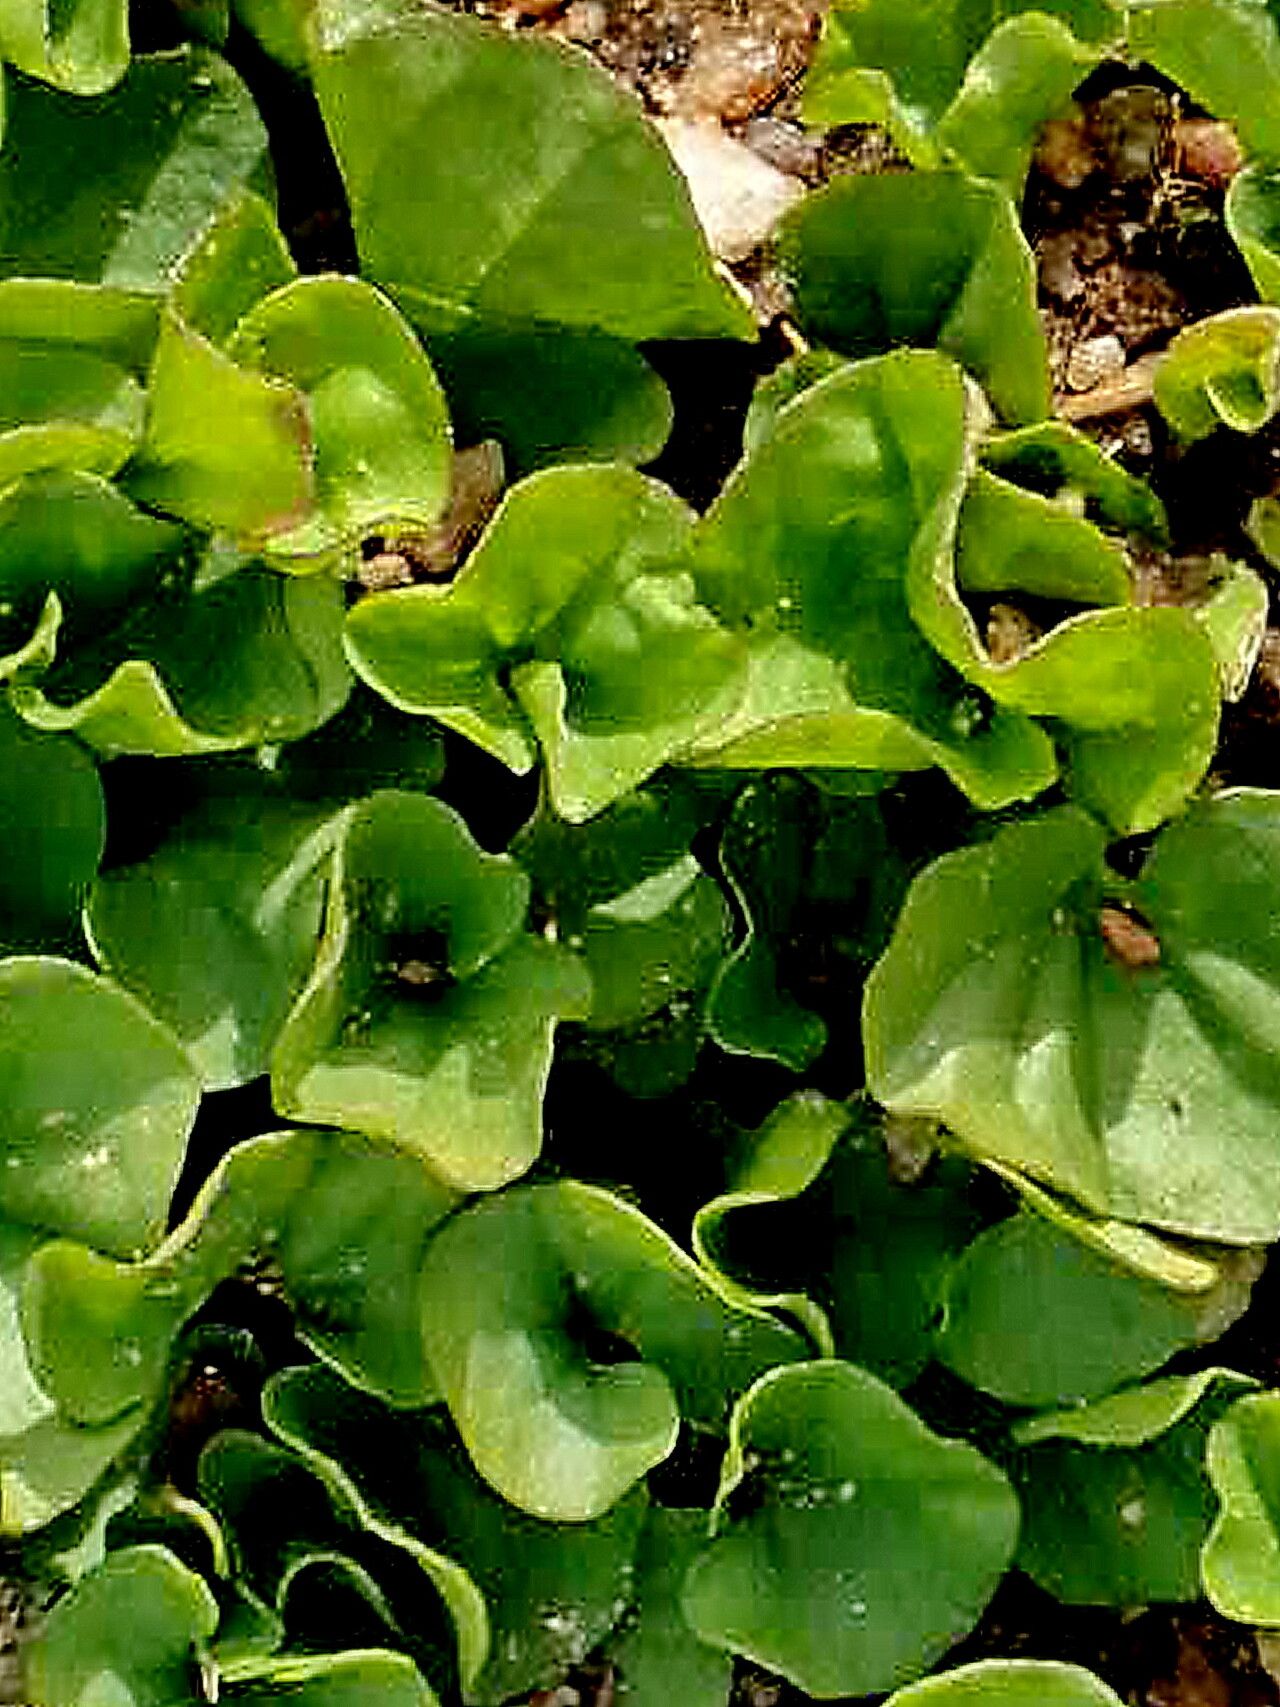
Hello, fellow garden lovers! Today, I want to chat about a plant that has stolen my heart: Dichondra occidentalis. If you’ve ever seen those cascading mounds of silvery-green, kidney-shaped leaves tumbling over the edge of a pot or scrambling across a pathway, you’ve likely been smitten too. It’s just gorgeous, isn’t it? And the best part? Bringing more of this beauty into your garden is surprisingly achievable. In fact, I’d say Dichondra occidentalis is quite beginner-friendly when it comes to propagation. It’s incredibly rewarding to take a tiny snippet and nurture it into a whole new plant, almost like a green magic trick!
The Best Time to Start
My favorite time to tackle propagation for Dichondra occidentalis is definitely late spring or early summer. The plant is in full swing of its growing season, bursting with energy. This means the stems are strong and pliable, and they’re ready to put down roots with gusto. You’ll have the highest success rate when you take cuttings from healthy, actively growing stems. Avoid anything that looks stressed or dormant; that’s like trying to start a fire with damp wood!
Supplies You’ll Need
Before we dive in, let’s gather our tools. It’s always good to have everything ready to go:
- Sharp Pruning Shears or a Clean Knife: For taking clean cuts. Dull tools can damage stems.
- Rooting Hormone (Optional but Recommended): A little boost can speed things up. I prefer the powdered kind.
- Small Pots or Seedling Trays: For housing your cuttings. Make sure they have drainage holes!
- A Well-Draining Potting Mix: I like a blend of peat moss, perlite, and a little bit of potting soil. Or, you can purchase a good quality seed starting mix.
- Plastic Bags or a Clear Plastic Dome: To create a humid environment for your cuttings.
- Spray Bottle: For misting.
- Water: For water propagation or to moisten the soil.
Propagation Methods
Let’s get our hands dirty! Dichondra occidentalis is wonderfully easy to propagate from stem cuttings.
Method 1: Stem Cuttings
- Select Your Stems: Look for healthy, non-flowering stems that are about 4-6 inches long. Gently bend one – if it snaps cleanly, it’s good. If it just droops, it might be too soft.
- Make Your Cut: Using your clean shears or knife, make a cut just below a leaf node (where a leaf attaches to the stem). This is where the magic happens, the cells that will develop into roots are concentrated here.
- Prepare the Cuttings: Gently remove the leaves from the bottom half of the cutting. You want to expose at least one or two leaf nodes.
- Dip in Rooting Hormone (If Using): Dip the cut end into your rooting hormone, tapping off any excess.
- Plant Your Cuttings: Fill your small pots or trays with your moist potting mix. Make a small hole with your finger or a pencil, and gently insert the prepared cutting into the mix, ensuring the node(s) are buried.
- Water and Cover: Lightly water the soil around the cuttings. Then, cover the pots with a plastic bag or a dome to trap humidity. You can secure the bag with a rubber band or a twist tie.
- Find a Good Spot: Place your pots in a location with bright, indirect light. Avoid direct sun, which can scorch young cuttings.
Method 2: Water Propagation
This is a super simple way to see your roots form!
- Prepare Cuttings: Follow steps 1-3 from the stem cutting method.
- Place in Water: Fill a small jar or glass with fresh water. Place your cuttings in the water, making sure that no leaves are submerged. The leaf nodes should be underwater.
- Change Water Regularly: Change the water every 2-3 days to keep it fresh and prevent bacterial growth.
- Watch for Roots: You should start to see tiny white roots appearing from the leaf nodes in a few weeks.
- Plant When Ready: Once the roots are about an inch long, you can carefully transplant them into pots with potting mix, following step 6 from the stem cutting method.
The “Secret Sauce” (Pro Tips)
Here are a few little tricks I’ve picked up over the years that can make a big difference:
- Don’t Let the Leaves Touch the Water: This is crucial for water propagation! If submerged leaves sit in stagnant water, they’ll rot and take your whole cutting with them. Keep only the stem and leaf nodes in the water.
- Bottom Heat is Your Friend: If you have the option, using a propagation mat or placing your pots on top of a warm appliance (like a router) can significantly speed up root development. It mimics the warmth of spring soil wonderfully.
- Label, Label, Label! It sounds obvious, but when you’re propagating multiple plants or even just different varieties of the same plant, labeling your pots with the plant name and date is a lifesaver. Future you will thank you when you’re trying to figure out what’s what!
Aftercare & Troubleshooting
Once your cuttings have developed a healthy root system (you’ll see them peeking out of the drainage holes or feel resistance when you gently tug), it’s time for a little pampering.
Gently remove the plastic cover from your potted cuttings over a few days to acclimate them to the drier air. Water them regularly, keeping the soil consistently moist but not waterlogged. As they grow and look more established, you can treat them like any other Dichondra occidentalis plant.
The most common issue you might encounter is rot. This usually happens if the cuttings are too wet, the air is too humid without enough air circulation, or if you’ve used infected tools. If you see mushy, brown stems, it’s sadly a sign that rot has set in. Remove the affected cutting immediately to prevent it from spreading. If your cuttings just seem to be wilting and never develop roots, they might not have been healthy enough to start, or they simply didn’t have the energy to root. Don’t get discouraged; just try again with fresh, healthy material!
A Encouraging Closing
Propagating Dichondra occidentalis is a truly satisfying process. Be patient with your little cuttings. Sometimes they take their sweet time, and that’s perfectly okay. Enjoy the journey of watching them grow, and soon you’ll have a whole collection of these beautiful cascading plants to share, or to adorn every corner of your own space. Happy gardening, everyone!
Resource:
https://identify.plantnet.org/k-world-flora/species/Dichondra%20occidentalis%20House/data