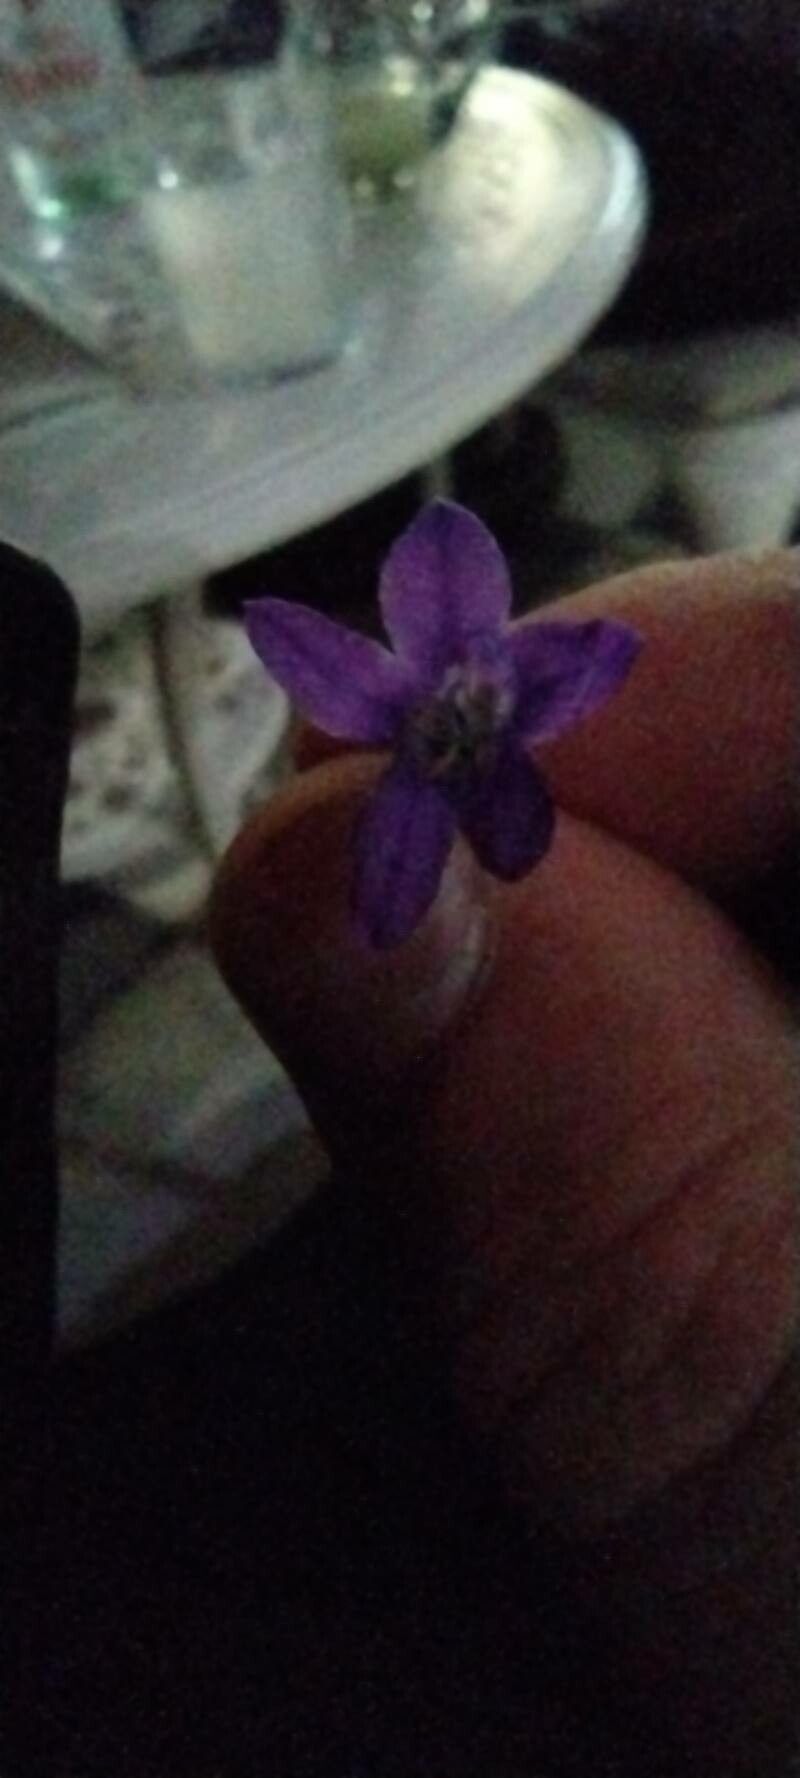
Oh, hello there, fellow plant lover! Pull up a chair and let’s chat about one of my absolute favorite garden treasures: Dichelostemma multiflorum. You know, those darling little clusters of blue-purple bells that seem to dance on slender stems? They truly bring a touch of magic to any garden bed, especially in late spring and early summer.
If you’ve ever admired them and thought, “I wish I had more of these!”, you’re in luck. Propagating Dichelostemma multiflorum is a wonderfully rewarding endeavor. Now, I won’t lie and say it’s as simple as sticking a twig in a jar, but it’s certainly not an impossible feat, even for those just starting their gardening journey. With a little patience and the right approach, you’ll be rewarded with a whole chorus of these beautiful blooms.
The Best Time to Start
The absolute sweetest spot for propagating Dichelostemma multiflorum is when the plant is dormant. This typically happens in late summer or early fall, after the foliage has died back naturally. You’ll see the plant looking tired and finished for the season, which is precisely the signal we’re waiting for. This is when the energy is stored underground, ready to fuel new growth.
Supplies You’ll Need
- Sharp, sterile pruning shears or a small spade: For clean cuts and separating divisions.
- Well-draining potting mix: A blend of peat moss, perlite, and compost works beautifully. You want something airy that won’t hold too much moisture.
- Small pots or seedling trays: With drainage holes, of course!
- Marker pen and labels: To keep track of what you’ve planted.
- Optional: Rooting hormone powder: This can give your cuttings an extra boost, though it’s not always strictly necessary for Dichelostemma.
- Watering can with a fine rose: For gentle watering.
Propagation Methods
For Dichelostemma multiflorum, the most successful and straightforward method is division of the corms.
- Gently Excavate: In late summer or early fall, when the foliage has completely died back, carefully dig around the base of the plant. Use your small spade or trowel to lift the entire clump out of the ground. Be gentle – the corms are delicate!
- Identify the Corms: You’ll see a cluster of small, bulb-like structures – these are the corms. They may be attached to each other, or you might find offsets (smaller corms) growing off the main ones.
- Separate with Care: This is where your sharp, sterile pruning shears come in. Carefully cut or gently pry apart the individual corms. Look for natural divisions. If a corm has a little nub that looks like it could grow into a new plant, that’s a good candidate for separation. Try to ensure each division has at least one healthy-looking eye or bud.
- Inspect and Discard: While you’re dividing, take a moment to check the corms. Discard any that are mushy, diseased, or appear to be rotten. Healthy corms should be firm.
- Pot them Up: Fill your small pots with the well-draining potting mix. Plant each divided corm about 1-2 inches deep, with the pointed end (if you can discern it) facing up. If you’re using rooting hormone, dip the cut end of the corm into it before planting.
- Water Lightly: Give them a gentle watering to settle the soil around the corms.
The “Secret Sauce” (Pro Tips)
- Let them “cure” first: Before potting, I like to let my divided corms sit out in a dry, airy spot for a day or two. This allows any cuts to callus over, which helps prevent rot when they go into the soil.
- Don’t overwater newly potted corms: This is probably the biggest mistake beginners make. They think the corms need a lot of moisture right away. Instead, keep the soil barely moist until you see signs of new growth. Think of it as giving them a little sip, not a full drink, until they’re ready to really grow.
- Winter protection is key: In colder climates, you’ll want to provide some protection for your newly potted corms over winter. A layer of mulch or storing the pots in a cool, dry, frost-free spot like a garage or unheated shed is ideal.
Aftercare & Troubleshooting
Once you see new shoots emerging from the soil – and this might not happen for a few weeks or even a couple of months – you can start watering a little more regularly, but still, let the surface of the soil dry out between waterings. Keep them in a bright spot, but out of direct, harsh sunlight until they are more established plants.
The most common issue you might encounter is rot. This usually happens if the soil stays too wet. If you notice your corms becoming soft and mushy, it’s a sign of overwatering or poor drainage. Sadly, once rot sets in, it’s difficult to recover the corm. This is why a well-draining mix and careful watering are so crucial.
A Encouraging Closing
Growing new plants is such a joy, and seeing your Dichelostemma multiflorum corms sprout and grow into beautiful blooms is incredibly satisfying. Remember to be patient. Nature has its own rhythm, and these little guys will let you know when they’re ready to unfurl. Enjoy the process, the anticipation, and soon, you’ll have even more of those enchanting blue bells gracing your garden! Happy gardening!
Resource: