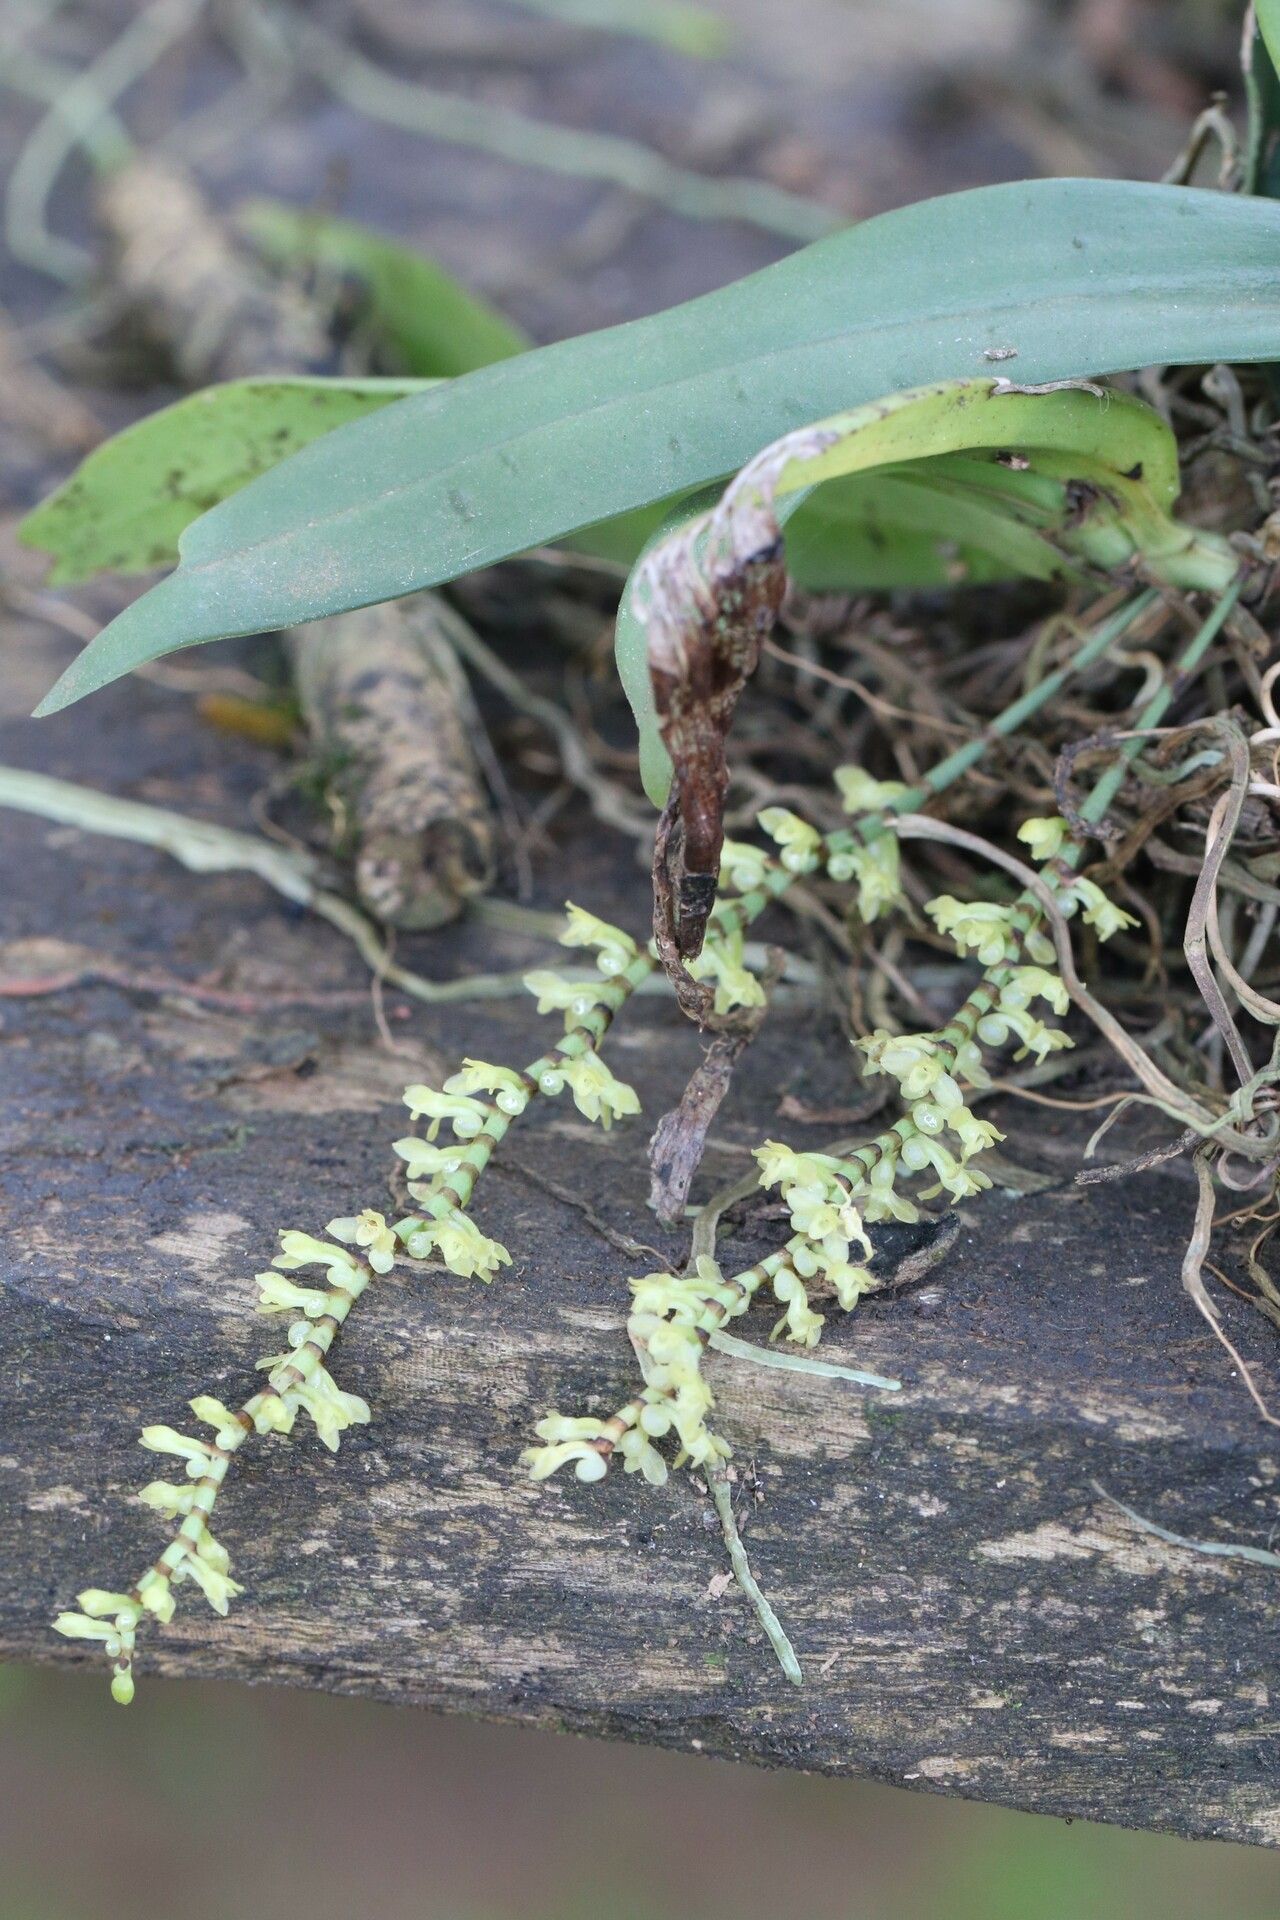
Oh, hello there! Come on in, grab a mug. Let’s talk about Diaphananthe spiralis. I just love this orchid. Those delicate, cascading blooms with their almost ethereal, translucent petals… pure magic, aren’t they? And the fragrance! It’s enough to make you swoon.
If you’ve been admiring a specimen and thinking, “I wish I had more of those!”, you’re in luck. Propagating Diaphananthe spiralis can be incredibly rewarding. Now, are they the easiest plant for a complete beginner to start with? Honestly, I’d say they sit in the “moderately easy” category. They require a little attention to detail, but with a few key techniques, you’ll be well on your way to your own mini-orchid jungle.
The Best Time to Start
For Diaphananthe spiralis, the sweet spot for propagation is really when the plant is actively growing, usually after it has finished flowering. This typically falls in late spring to early summer. You want to see new roots or leaf growth developing; that’s a sure sign the plant has the energy reserves to put into creating something new. Trying to propagate when the plant is dormant or stressed is just setting yourself up for disappointment.
Supplies You’ll Need
Here’s what I like to have on hand:
- Sharp, sterile pruning shears or a clean knife: We want clean cuts, no tearing!
- Rooting hormone (optional, but helpful): A dip in this can give your cutting a little boost. Look for one formulated for orchids.
- Orchid bark mix: A fine-grade, well-draining mix is crucial. I often use a blend of horticultural charcoal, perlite, and fine orchid bark.
- Small pots or containers: Clean and with drainage holes, of course.
- Spray bottle: For gentle misting.
- Clear plastic bag or propagation dome (optional): To create a humid environment.
Propagation Methods
Diaphananthe spiralis is usually propagated through division. This is where you’ll separate healthy, mature plant sections.
Here’s my go-to method:
- Prepare Your Plant: Start by gently removing your Diaphananthe spiralis from its pot. You can do this by tapping the sides of the pot or running a thin knife around the edge. Be patient; we don’t want to damage those precious roots.
- Locate Division Points: Examine the plant’s base. You’re looking for a healthy section that has at least two or three pseudobulbs (swollen stem bases) and some established roots. Ideally, you’ll see a natural separation point where a new growth is emerging.
- Make the Cut: Using your sterile shears or knife, carefully cut through the rhizome (the creeping stem that connects the pseudobulbs). Make a clean cut to minimize stress on both the mother plant and the new division. If there are very tangled roots, a gentle untangling might be necessary, but don’t force it.
- Inspect and Trim: Look at your new division. Trim away any damaged or mushy roots. If leaving a cut section from the mother plant that looks too open, you can dust it with a fungicide, but usually, good airflow is enough.
- Potting Up: Fill your clean pot with your prepared orchid bark mix. Create a small well in the center. Place your division into the pot, ensuring the roots are spread out, and the base of the pseudobulbs are just at the surface of the mix. You don’t want to bury the pseudobulbs.
- Initial Watering: Water very sparingly at first. You want the potting medium to be slightly moist, not soggy. Overwatering is the quickest way to invite rot.
The “Secret Sauce” (Pro Tips)
I’ve learned a few tricks over the years that can really make a difference:
- Think humidity, not drenching: New divisions and cuttings need high humidity to encourage root growth. However, that doesn’t mean drowning them. A clear plastic bag loosely placed over the pot or a propagation dome is wonderful for this. Just open it for a few minutes each day to allow for air exchange and prevent mold.
- Avoid stagnant water: If your plant is in a decorative pot or tray, make absolutely sure no water is sitting around the base of the pot. Standing water is a VIP invitation for root rot.
- Bottom heat is your friend: These orchids love a little warmth to encourage new root development. Placing the pot on a gentle heat mat (specifically designed for plants) can significantly speed up the rooting process. Just be sure it’s not too hot – comfortably warm to the touch is perfect.
Aftercare & Troubleshooting
Once your new Diaphananthe spiralis is potted up, resist the urge to fuss over it constantly. Keep it in bright, indirect light, and maintain that good humidity. Water only when the potting medium starts to feel dry a good inch down.
The most common sign things aren’t going well is root rot. You’ll see mushy, dark, or smelly roots, and the leaves might start to yellow or wilt drastically. If you spot this, gently unpot the plant, trim away all the rotted parts with sterile tools, and repot into fresh, dry mix. Let it sit without watering for a few days to allow any cuts to heal before watering lightly. Another sign of failure is just no sign of activity after several weeks. This often means the division didn’t have enough stored energy or just didn’t take.
A Bit of Patience
Propagating orchids, especially something as beautiful as Diaphananthe spiralis, is a journey. It’s about observation, patience, and a little bit of loving care. Don’t get discouraged if your first attempt isn’t perfect. Every gardener has their learning curve! Enjoy the process, celebrate the little victories, and before you know it, you’ll have more of these stunning blooms to share. Happy growing!
Resource: