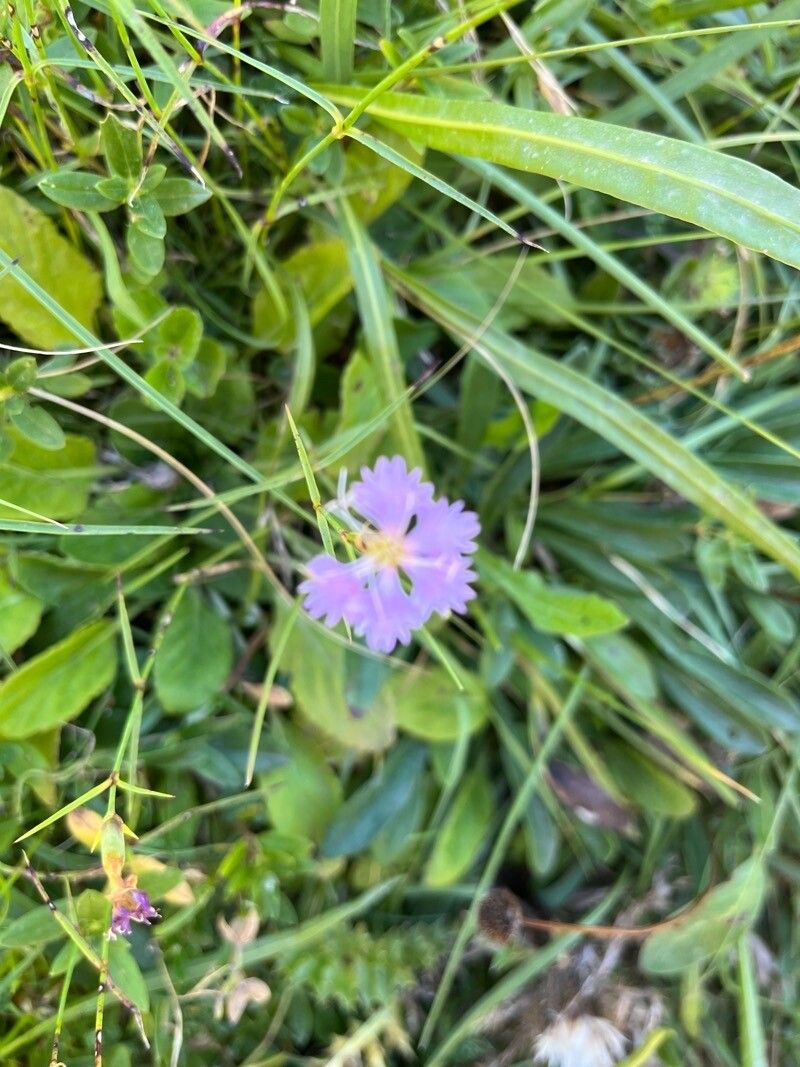
Hello, fellow plant lovers! Today, we’re diving into the wonderful world of Dianthus benearnensis, a truly delightful addition to any garden. If you’re a fan of those charming, often fragrant, fringed blooms that wink at you from late spring through fall, you’re in for a treat. Propagating these beauties is a fantastic way to multiply your joy, and I’m here to guide you every step of the way. Don’t worry if you’re new to this; Dianthus benearnensis is generally quite agreeable when it comes to propagation, making it a lovely project for beginners and seasoned gardeners alike.
The Best Time to Start
For the most success with your Dianthus benearnensis cuttings, aim for the late spring or early summer. This is when the plant is actively growing and has plenty of energy to put into rooting. Look for healthy, non-flowering stems. You can also try in late summer, but you might find the stems a bit woodier, making rooting a touch slower.
Supplies You’ll Need
Gathering your tools beforehand makes the process so much smoother. Here’s what I like to have on hand:
- Sharp, clean pruning shears or a craft knife for making clean cuts.
- A well-draining potting mix. I often use a blend of equal parts peat moss or coco coir and perlite or coarse sand.
- Small pots or seedling trays with drainage holes.
- A rooting hormone powder or gel (optional, but it can give your cuttings a good boost).
- A spray bottle filled with clean water for misting.
- Labels to keep track of what you’ve planted and when.
Propagation Methods
Let’s get our hands dirty with the most reliable ways to propagate Dianthus benearnensis.
Stem Cuttings: My Go-To Method
This is my favorite approach because it’s efficient and yields great results.
- Select Your Stems: Choose healthy, vigorous shoots that are not in bloom. Look for stems that are green and somewhat pliable, not hard and woody.
- Make the Cut: Using your clean shears or knife, make a cut just below a leaf node. This is the point where leaves grow from the stem. Aim for cuttings about 3-4 inches long.
- Prepare the Cutting: Gently remove the lower leaves from the cutting. You want to have at least two leaf nodes bare so you can insert them into the soil. Leave a few leaves at the top for photosynthesis. If your top leaves are very large, you can even snip them in half to reduce water loss.
- Apply Rooting Hormone (Optional): Dip the cut end of the stem into your rooting hormone, shaking off any excess.
- Plant Your Cuttings: Fill your pots or trays with your prepared potting mix. Make a small hole in the center with a pencil or your finger. Insert the prepared cutting into the hole, ensuring the bare nodes are covered by the soil. Gently firm the soil around the stem.
- Water Gently: Water the soil thoroughly but avoid waterlogging. The soil should be consistently moist but not soggy.
- Provide the Right Environment: Place your pots in a bright spot with indirect light. Avoid direct sun, which can scorch the delicate cuttings.
Division: A Simpler Approach for Established Plants
If you have a mature Dianthus benearnensis plant that’s looking a bit crowded, division is a fantastic, less fiddly option.
- Prepare the Plant: Water your established plant a day or two before you plan to divide it. This helps the plant recover from the stress.
- Gently Excavate: Carefully dig up the entire plant. You might need a trowel or a spade to loosen the soil around it.
- Separate the Divisions: Gently shake off excess soil. You should be able to see distinct clumps or crowns within the main root ball. Using your hands, your trowel, or even a sharp knife, carefully pull or cut the plant into sections. Each section should have a good amount of roots and at least one healthy shoot.
- Replant Immediately: Plant each division in its new spot in the garden or in a well-prepared pot, just as you would a new plant. Water thoroughly.
The “Secret Sauce” (Pro Tips)
Here are a couple of things I’ve learned over the years that make a big difference:
- Humidity is Key: Cuttings lose moisture through their leaves. To combat this, I love to create a mini-greenhouse effect. You can do this by placing a clear plastic bag or a clear dome over your potted cuttings. Make sure the plastic doesn’t touch the leaves, as this can encourage rot. Poke a few holes in the bag if you’re worried about too much moisture.
- Bottom Heat Can Work Wonders: While not strictly necessary for Dianthus, placing your pots on a gentle heat mat can significantly speed up the rooting process, especially if your ambient temperatures are on the cooler side. It encourages root development from the bottom up.
Aftercare & Troubleshooting
Once your cuttings have rooted, it’s time for them to become independent little plants! You’ll know they’re ready when you gently tug on them and feel resistance – they’ve started to grow their own roots!
- Transition Slowly: Gradually acclimate your new plants to less humid conditions by opening the plastic bag or dome a little more each day over a week.
- Patience with Watering: Continue to keep the soil moist but not waterlogged. As the plants grow larger, they can tolerate slightly drier conditions, but always check the soil moisture before watering.
- Signs of Failure: The most common issue you might encounter is rot, which usually shows up as blackened, mushy stems or leaves. This is almost always due to overwatering and poor drainage. If you see this, it’s often best to discard the affected cutting and try again, ensuring your soil is airy and you’re not drowning your babies. Wilting can also happen if the cutting is too dry or hasn’t rooted yet, but try misting and ensuring humidity before giving up.
A Little Encouragement to Carry On
Propagating plants is such a rewarding journey. There’s a special kind of magic in watching a tiny cutting unfurl new leaves and develop a robust root system. Be patient with your Dianthus benearnensis, celebrate every tiny success, and don’t be discouraged by the occasional setback. Before you know it, you’ll be surrounded by an abundance of these cheerful blooms, all thanks to your own green thumb! Happy propagating!
Resource:
https://identify.plantnet.org/k-world-flora/species/Dianthus%20benearnensis%20Loret/data