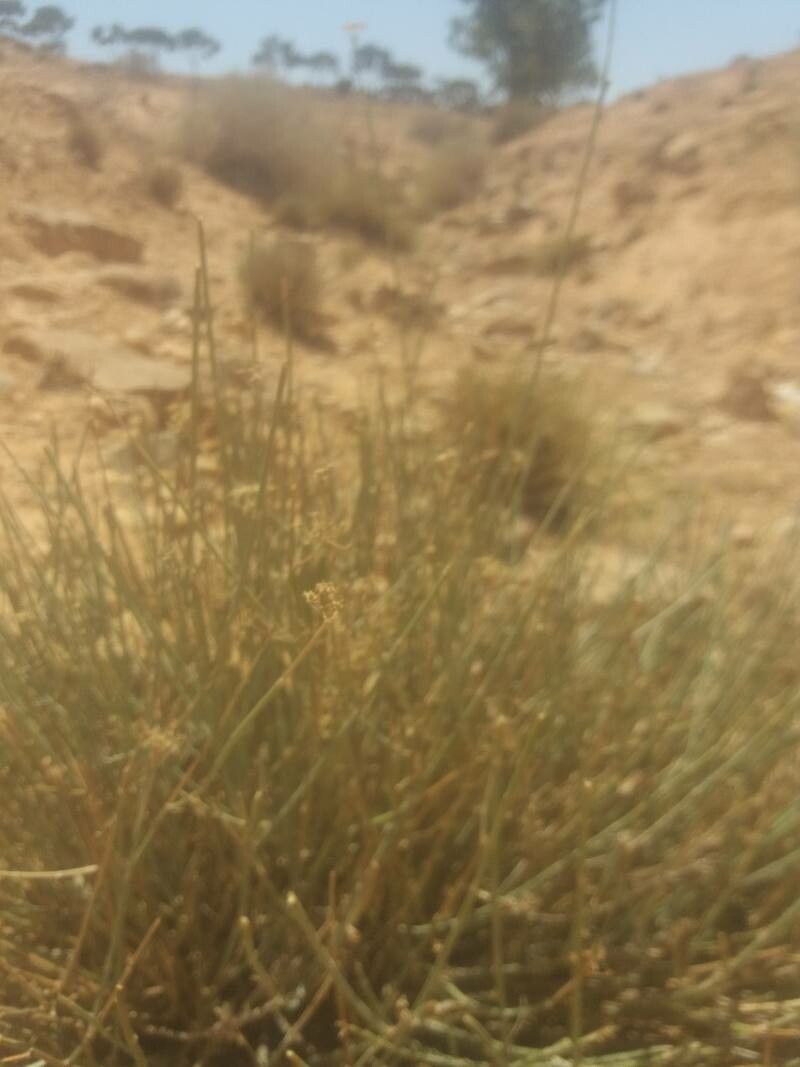
Oh, hello there! Come on in, grab a cup of tea, and let’s chat about one of my absolute favorite plants to propagate: Deverra denudata. Honestly, this little beauty is just a delight. Its delicate, almost wispy foliage has a subtle charm that can really elevate a pot or a garden bed. And the best part? While it might seem a bit fancy, propagating it yourself is surprisingly rewarding, and I’m here to make it feel totally achievable for you.
The Best Time to Start
For Deverra denudata, the sweet spot for propagation is really when the plant is actively growing. Think late spring through early summer. The days are getting longer, the temperatures are warming up, and the plant has that wonderful burst of energy. This makes it much more robust and ready to put down new roots. Trying to propagate when it’s dormant or stressed just won’t give you the results you’re hoping for.
Supplies You’ll Need
Gathering your supplies beforehand makes the whole process so much smoother. Here’s what I always have on hand:
- Sterile pruning shears or a sharp knife: Cleanliness is key to preventing disease.
- A well-draining potting mix: I love a mix of peat moss, perlite, and a bit of coarse sand. Sometimes I’ll use a pre-made succulent or cactus mix, which works wonderfully.
- Small pots: Nursery pots or even recycled yogurt cups with drainage holes poked in the bottom are perfect.
- Rooting hormone (optional, but helpful): A good quality rooting powder or gel can give your cuttings a real boost.
- A spray bottle: For keeping things nicely humid.
- Clear plastic bags or domes: To create a mini greenhouse effect.
Propagation Methods
Let’s dive into how we’re going to get more of these lovely plants! Stem cuttings are usually my go-to for Deverra denudata, as they’re quite straightforward.
Stem Cuttings:
- Take the cutting: Select a healthy, non-flowering stem. Using your sterile pruning shears or knife, make a clean cut about 3-4 inches long, just below a leaf node (where a leaf attaches to the stem).
- Prepare the cutting: Gently remove the lower leaves from the cutting, leaving just a few at the top. You don’t want anything submerged in soil or water, as it can lead to rot.
- Apply rooting hormone (if using): Dip the cut end of the stem into the rooting hormone, tap off any excess.
- Plant the cutting: Make a small hole in your potting mix with your finger or a pencil. Insert the cut end of the stem, ensuring the exposed nodes are buried. Gently firm the soil around the base.
- Water lightly: Give the soil a gentle watering, just enough to moisten it thoroughly. You don’t want to waterlog it.
- Create humidity: Place the pot inside a clear plastic bag, sealing it loosely, or cover it with a clear plastic dome. This traps moisture and helps the cutting stay hydrated.
- Place in bright, indirect light: Find a spot that gets plenty of light, but no direct sun, which can scorch the delicate cuttings.
The “Secret Sauce” (Pro Tips)
Now, for a couple of little tricks that make a world of difference!
- Don’t let those lower leaves touch the soil. Seriously. I’ve seen so many promising cuttings fail because a leaf sat right on the surface, slowly succumbing to rot. Prune them off clean!
- Bottom heat is your friend. If you have a seedling heat mat, popping your pots on it can really speed up root development. It mimics the warmth of summer soil and gives those roots a cozy environment to form. It’s not essential, but it’s a game-changer.
Aftercare & Troubleshooting
Once those little root nubs start forming – and you can often tell by a slight resistance when you gently tug the cutting – it’s time for a little adjustment.
Continue to keep the soil lightly moist, and remember that humidity is still important. After a few weeks, when you feel a good tug and see new growth appearing, you can begin to gradually acclimate your new plant to normal humidity levels by opening the plastic bag or dome a little each day. Eventually, you can remove it entirely.
The most common issue you’ll encounter is rot. If you see your cutting turning mushy, brown, or black, it’s usually a sign of too much moisture or inadequate drainage. If this happens, you might need to start again with fresh cuttings and ensure your soil mix is very free-draining and you’re watering less frequently.
A Encouraging Closing
Propagating Deverra denudata is such a satisfying journey. It’s a chance to nurture new life, to expand your plant family, and to learn more about the fascinating rhythms of nature. Be patient with your little cuttings; they each have their own timeline. Enjoy the process, celebrate every sign of new growth, and before you know it, you’ll have a whole collection of these delightful plants! Happy gardening!
Resource: