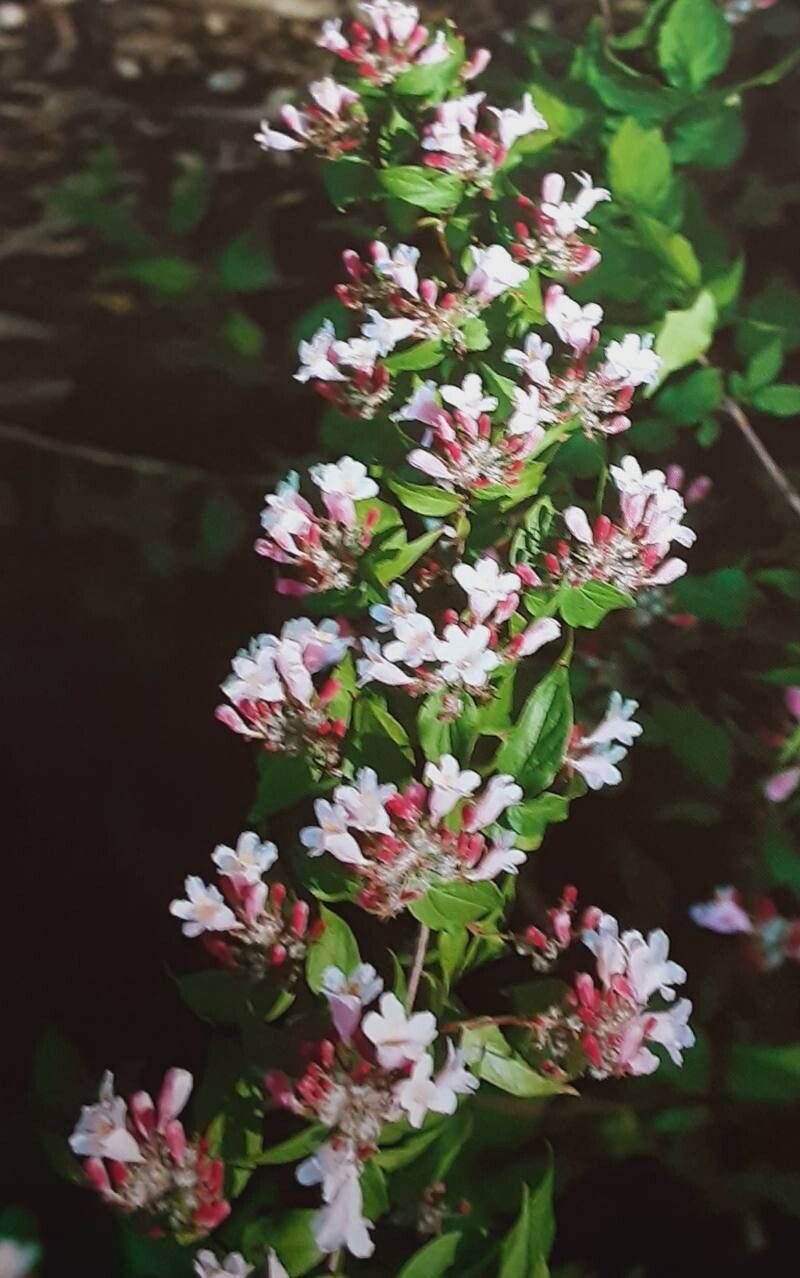
Oh, Deutzia compacta! If you’ve ever admired those lovely, cascading blooms and wondered how you could get more of these beauties for free, you’re in the right place. I’ve been coaxing new life from my cuttings for two decades, and I can tell you, propagating these charmers is a joy. They’re not overly fussy, which is always a good sign for us home gardeners. If you’re just starting out with propagation, this is a wonderfully rewarding plant to begin with.
The Best Time to Start
For Deutzia compacta, the sweet spot for taking cuttings is late spring to early summer. This is when the plant is actively growing, and you’ll be able to find what we call “semi-hardwood” cuttings. Think of it as growth that’s starting to firm up a bit, no longer super soft and floppy, but not yet woody and old. This stage offers the best balance of flexibility and maturity for successful rooting.
Supplies You’ll Need
Gathering your tools before you begin makes everything so much smoother. Here’s what I usually have on hand:
- Sharp Pruning Shears or a Craft Knife: Clean cuts are essential.
- Rooting Hormone: A powder or gel helps encourage root development.
- Potting Mix: A light, well-draining mix is key. I often use a blend of peat moss, perlite, and a bit of coarse sand. For cuttings, an equal mix of peat and perlite is fantastic.
- Small Pots or Trays: Clean containers are a must to prevent disease.
- Plastic Bags or a Clear Dome: To create a humid environment.
- Watering Can or Mister: For gentle watering.
- Labels and a Pen: So you don’t forget what you planted!
Propagation Methods
I find stem cuttings to be the most reliable and straightforward method for Deutzia compacta. Here’s how I do it:
- Select Your Cuttings: Look for healthy stems on your mature Deutzia compacta. Choose ones that are about 4-6 inches long and have at least two sets of leaves.
- Make the Cut: Using your clean shears or knife, make a clean cut just below a leaf node (where a leaf attaches to the stem). The leaf node is where roots are most likely to form.
- Prepare the Cutting: Gently remove the lower leaves, leaving only the top couple of leaves. This prevents them from rotting when buried in the soil. If your top leaves are very large, you can even cut them in half horizontally – this reduces water loss.
- Dip in Rooting Hormone: Moisten the cut end of the stem slightly, then dip it into the rooting hormone powder or gel. Tap off any excess.
- Plant Your Cuttings: Fill your small pots or propagation tray with your prepared potting mix. Make a small hole in the center of the mix with your finger or a pencil. Insert the cutting into the hole, ensuring the hormone-coated part is covered by soil. Gently firm the soil around the stem.
- Water Gently: Water the soil thoroughly but carefully. You want it moist, not waterlogged.
The “Secret Sauce” (Pro Tips)
These little tricks have really upped my success rate over the years:
- Humidity is Your Friend: Once planted, I immediately cover the pot with a clear plastic bag or a propagation dome. This creates a mini-greenhouse, keeping the humidity high around the leaves, which is crucial as the cuttings can’t yet take up water from the soil. Just ensure the leaves aren’t touching the plastic if possible, as this can encourage rot.
- Warmth from Below: While not strictly necessary for Deutzia, a gentle bottom heat can significantly speed up the rooting process. A propagation mat placed under the tray provides this warmth, stimulating root growth. I often notice faster results when I use one.
- Don’t Overwater: This is a big one! It’s so tempting to keep the soil constantly soggy, but let the top layer of soil dry out slightly between waterings. Overwatering is the most common cause of rot, and nobody wants to see those precious cuttings turn to mush.
Aftercare & Troubleshooting
Once your cuttings have developed roots, you’ll start to see signs of new growth. You can check for rooting by giving a cutting a very gentle tug. If there’s resistance, roots have formed!
- Transitioning: When roots are well-established (you might see them peeking out the drainage holes), it’s time to gradually acclimate them to normal conditions. This means slowly taking off the plastic bag or dome for increasing periods each day over a week.
- Potting Up: Once they’re toughened up, you can pot them into slightly larger individual pots with a good quality all-purpose potting mix.
- Common Problems: The biggest culprit is rot. If you see your cutting becomes soft, mushy, or develops black spots, it’s likely succumbed to rot. This is usually due to too much moisture and poor air circulation. Just discard it and start again, perhaps using a lighter soil mix or watering less frequently. Yellowing leaves without new growth can sometimes mean they need a bit more light, but not direct sun initially.
A Word of Encouragement
Propagating plants is a journey of patience and observation. There will be times when some cuttings just don’t make it, and that’s perfectly okay! Don’t get discouraged. Each attempt teaches you something new. Enjoy the process of nurturing these tiny beginnings, and soon you’ll be surrounded by more of your beloved Deutzia compacta. Happy gardening!
Resource:
https://identify.plantnet.org/k-world-flora/species/Deutzia%20compacta%20Craib/data