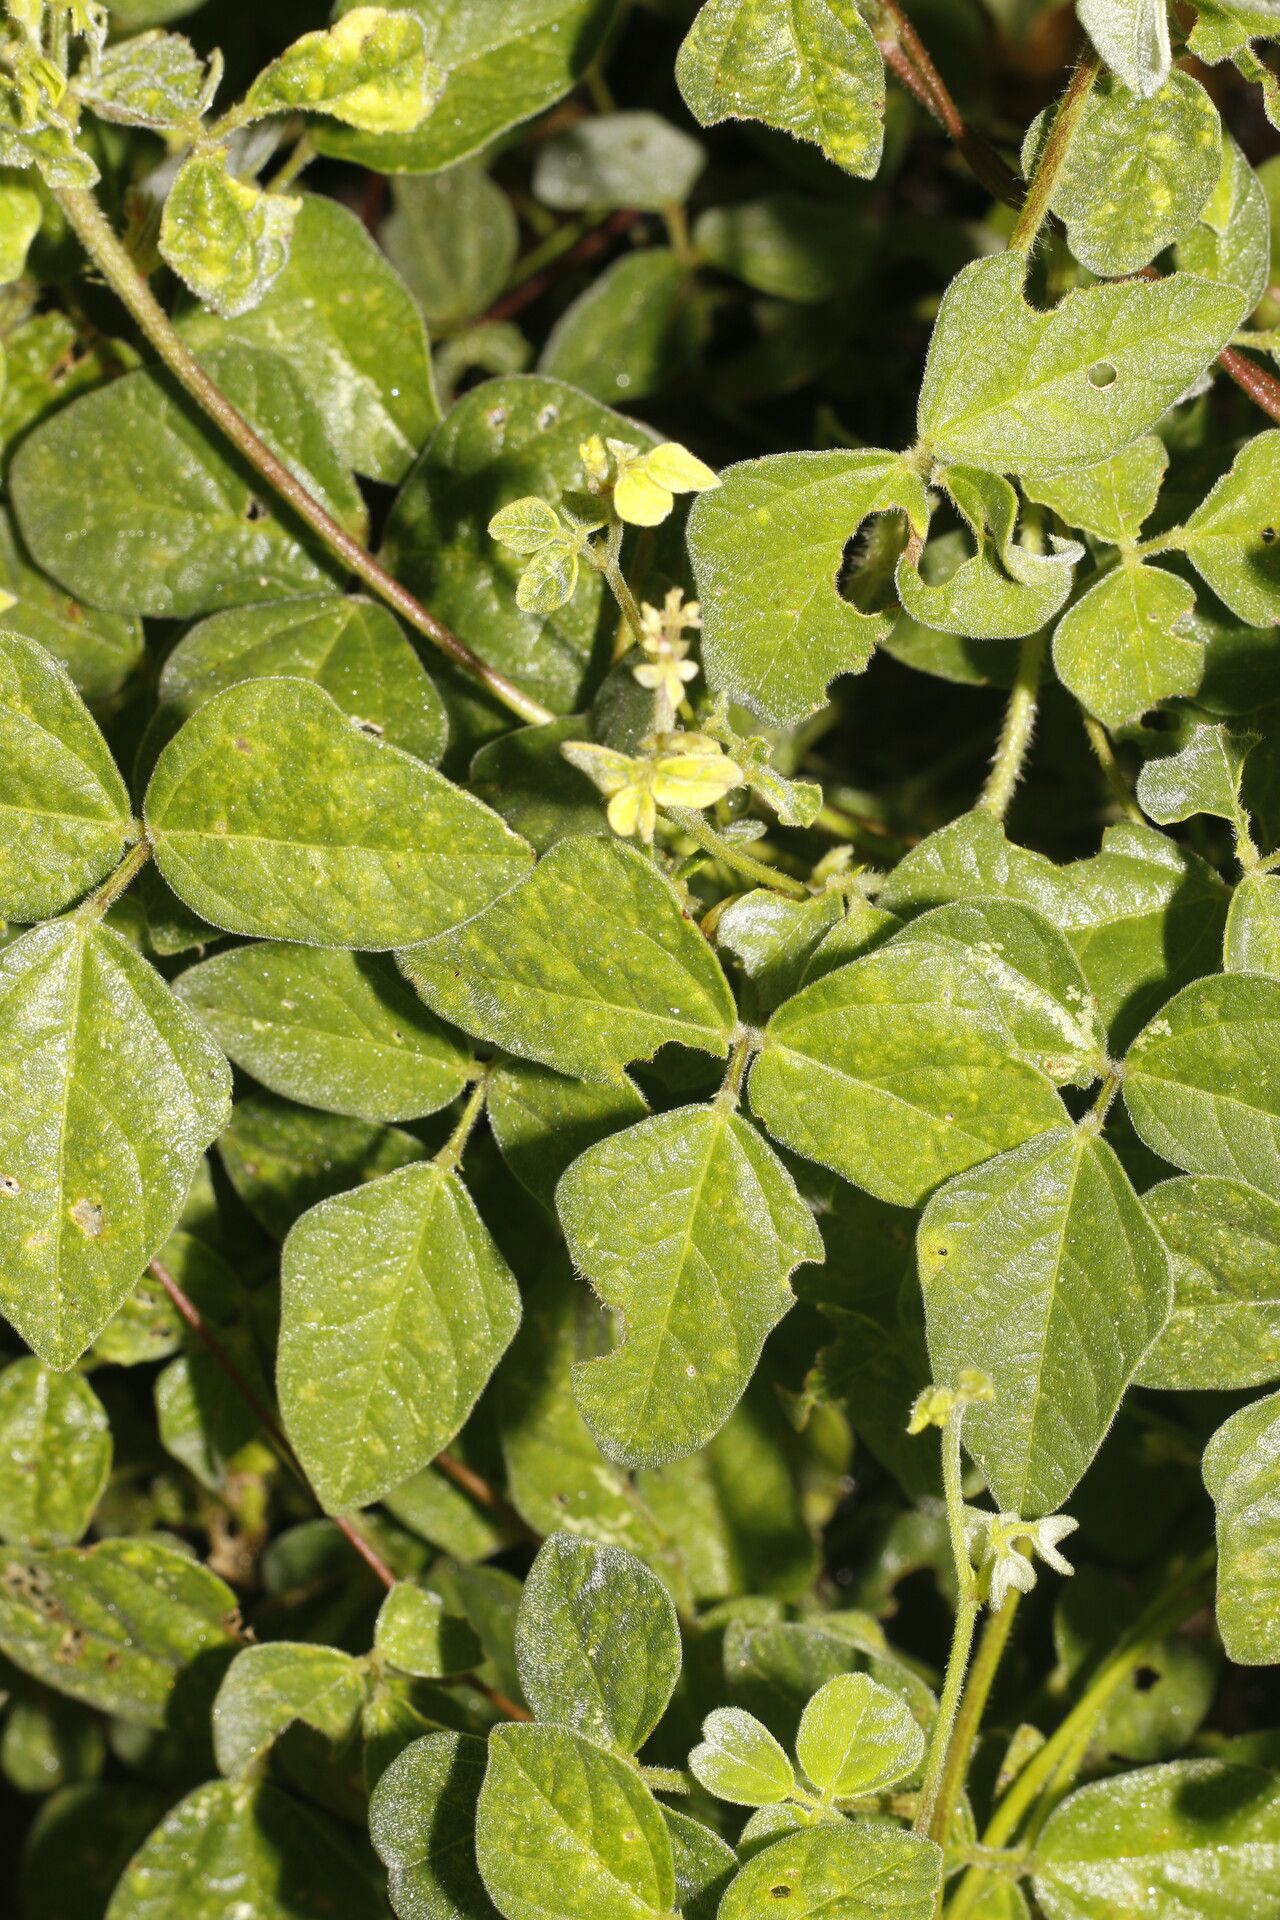
Hello fellow plant enthusiasts! I’m so excited to talk to you today about a real gem in the garden: Desmodium cajanifolium. If you haven’t encountered this beauty yet, imagine delicate, pea-like flowers that often have a lovely fragrance, blooming prolifically and attracting all sorts of beneficial pollinators. It’s the kind of plant that brings a flutter of joy to any corner of your landscape or even a bright spot indoors.
The wonderful thing about Desmodium cajanifolium is that it’s quite rewarding to propagate. You get to witness new life spring from seemingly small pieces! Many gardeners find it to be a relatively straightforward process, making it a great project for those just dipping their toes into the world of plant propagation.
The Best Time to Start
For the absolute highest success rate with Desmodium cajanifolium, I always recommend working in the late spring or early summer. This is when the plant is actively growing, and the stems have a good amount of energy stored for developing new roots. You’re essentially working with vibrant, enthusiastic growth.
Supplies You’ll Need
Gathering your supplies beforehand makes the whole process smoother. Here’s what I typically have on hand:
- Sharp pruning shears or a clean knife: For making precise cuts.
- Well-draining potting mix: A blend of peat moss, perlite, and a little compost works beautifully. You can also find specific “seed starting” or “cutting” mixes at your local nursery.
- Rooting hormone powder or gel: This isn’t strictly necessary for every plant, but it gives those impatient cuttings a helpful boost.
- Small pots or trays: Make sure they have drainage holes!
- A clear plastic bag or a propagation dome: This is key to creating a humid environment.
- Watering can with a fine rose or a spray bottle: To water gently.
- Optional: Bottom heat mat: For a little extra warmth to encourage root development.
Propagation Methods
Desmodium cajanifolium is quite amenable to propagation through stem cuttings, which is my go-to method.
Stem Cuttings:
- Select your parent plant: Choose a healthy, vigorous Desmodium cajanifolium that is free of pests or diseases.
- Take your cuttings: Look for stems that are not flowering or setting seed. You want tender, yet firm, new growth. Using your sharp shears, take cuttings that are about 4-6 inches long. Make your cut just below a leaf node (where a leaf attaches to the stem).
- Prepare the cuttings: Gently remove the lower leaves from the cutting, leaving just a few at the top. This prevents them from rotting in the soil. If you’re using rooting hormone, dip the cut end of the stem into it, tapping off any excess.
- Plant your cuttings: Fill your small pots with the well-draining potting mix. Make a small hole in the center of the soil with your finger or a pencil. Insert the cut end of the Desmodium cajanifolium stem into the hole, ensuring the lowest leaf nodes are buried beneath the soil surface. Gently firm the soil around the cutting.
- Create humidity: Water the soil gently until it’s moist but not waterlogged. Then, cover the pot loosely with a clear plastic bag or place it under a propagation dome. Secure it so it holds in the moisture.
- Find a prime spot: Place the potted cuttings in a bright location that receives indirect sunlight. Avoid direct sun, which can scorch the delicate cuttings. If you have a bottom heat mat, now’s the time to use it!
The “Secret Sauce” (Pro Tips)
Here are a couple of things I’ve learned over the years that can really make a difference:
- Don’t be afraid to make multiple cuttings. Not every single one will take, and that’s perfectly normal. It’s better to have a few extras to increase your chances of success.
- Check on your cuttings regularly, but resist the urge to tug! I know it’s tempting, but you might pull out a cutting that’s just starting to form roots. Wait until you see clear signs of new growth above the soil before giving it a gentle tug to test for resistance.
Aftercare & Troubleshooting
Once your Desmodium cajanifolium cuttings have started to root – you’ll see new leaf or stem growth in about 3-6 weeks – it’s time for a little more attention.
- Gradually acclimate them: Begin by taking the plastic bag or dome off for a few hours each day, slowly increasing the time until they are used to the surrounding humidity.
- Keep the soil consistently moist: But again, never soggy. Overwatering is the quickest way to invite root rot, which will manifest as yellowing leaves, wilting even when moist, and potentially a mushy stem base. If you see this, it’s usually a lost cause for that particular cutting.
- Transplant when ready: Once the roots have filled the pot or you see good, vigorous growth, you can transplant your new Desmodium cajanifolium into slightly larger pots or directly into your garden.
A Encouraging Closing
Propagating plants is such a beautiful way to connect with nature and expand your garden. Be patient with your Desmodium cajanifolium cuttings – some might be slower to respond than others. Enjoy the process of nurturing these little ones, and soon you’ll have even more of this delightful plant to share and enjoy! Happy gardening!
Resource:
https://identify.plantnet.org/k-world-flora/species/Desmodium%20cajanifolium%20(Kunth)%20DC./data