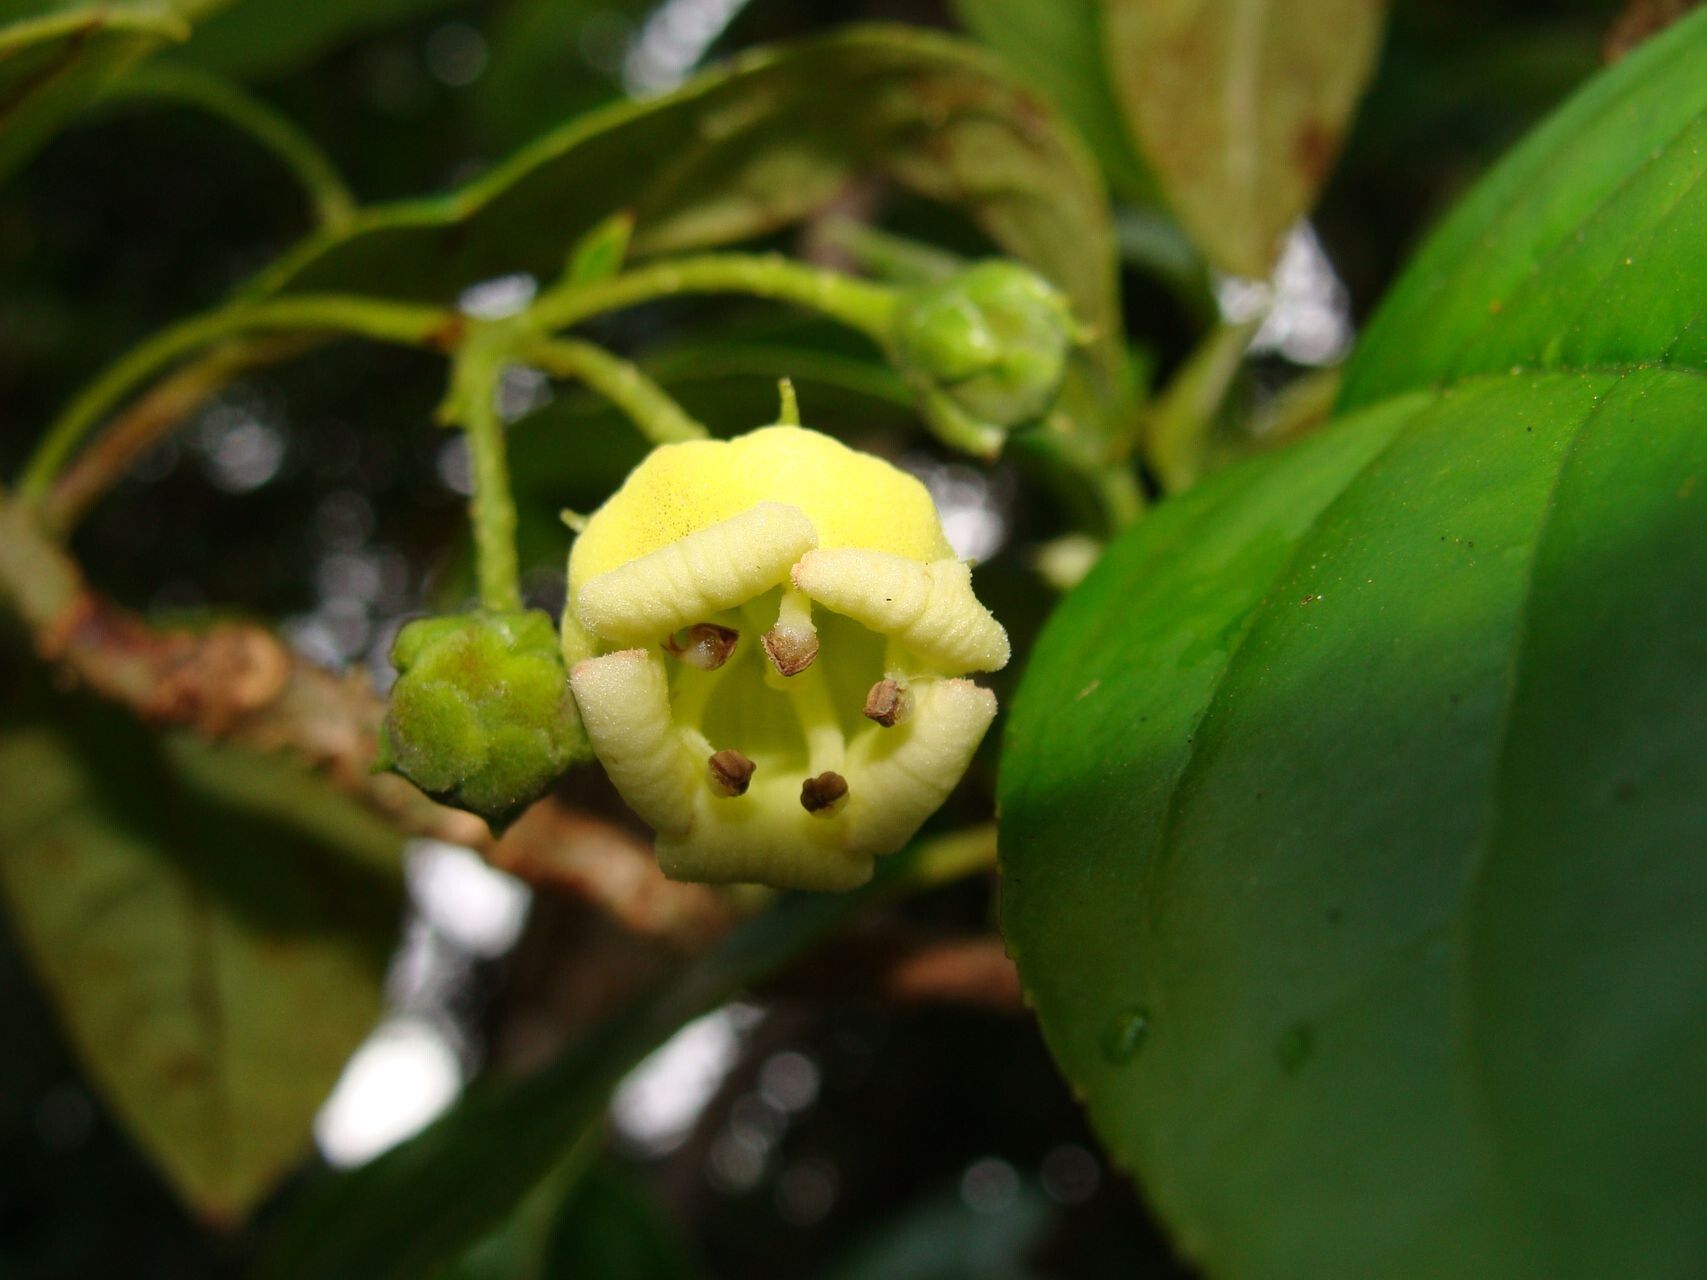
Hello there, fellow plant lovers! Today, we’re diving into the wonderful world of propagating Depanthus glaber. I’m so excited to share this with you because this plant, with its lovely frothy blooms and glossy leaves, just brings a smile to my face. And the joy of creating new little plants from an existing one? Well, that’s a reward all on its own. If you’re new to the plant parenting game, you might find Depanthus glaber a touch more forgiving than some of the fussier varieties, which makes it a fantastic starting point for propagation.
The Best Time to Start
For the highest success rates, I always recommend starting your Depanthus glaber propagation in the late spring or early summer. This is when the plant is actively growing and has plenty of energy to dedicate to putting out new roots. You’re essentially tapping into its prime growth phase, which gives your cuttings the best possible shot at taking off.
Supplies You’ll Need
Gathering your supplies beforehand makes the whole process so much smoother. Here’s what I usually have on hand:
- Sharp, clean pruning shears or a sharp knife: We want to make clean cuts to avoid damaging the stems.
- Rooting hormone (optional but helpful): This isn’t strictly necessary for Depanthus glaber, but it can give your cuttings a little boost and speed things up.
- Well-draining potting mix: A good blend for me is usually a bit of potting soil mixed with perlite or coarse sand. You want to avoid anything that holds too much moisture.
- Small pots or trays: Clean containers are a must! Small peat pots or even plastic cups with drainage holes punched in the bottom work well.
- Watering can or spray bottle: For gentle watering.
- Plastic bag or propagation dome: This creates a humid environment, which is key for rooting.
Propagation Methods
Depanthus glaber is pretty adaptable, so you have a couple of great options for bringing more of these beauties into your life.
1. Stem Cuttings: My Go-To Method
This is my absolute favorite for Depanthus glaber.
- Take your cuttings: On a healthy, actively growing stem, make a clean cut just below a leaf node (where a leaf attaches to the stem). Aim for cuttings that are about 4-6 inches long. Remove the lower leaves, leaving just a few at the top.
- Dip in rooting hormone (optional): If you’re using it, dip the cut end into the rooting hormone powder or gel.
- Plant them: Fill your pots with the well-draining mix. Make a hole with your finger and gently insert the cutting. Press the soil gently around the stem to secure it.
- Water gently: Give them a good but gentle watering.
- Create humidity: Cover the pot with a clear plastic bag or a propagation dome. This traps moisture and keeps the leaves from drying out. Make sure the leaves aren’t touching the sides of the bag, which can encourage rot.
- Location, location, location: Place the pots in a bright spot that gets indirect light. Avoid direct sun, which can scorch the young cuttings.
2. Water Propagation: The Visual Method
This one is so satisfying because you can actually watch the roots grow!
- Take your cuttings: Similar to stem cuttings, take a 4-6 inch piece from a healthy stem, just below a leaf node. Remove the lower leaves.
- Place in water: Fill a clean jar or vase with room temperature water. Submerge the cut end of the stem, ensuring that the leaf nodes that previously held leaves are underwater, but don’t let any leaves themselves touch the water.
- Change the water regularly: Every few days, refresh the water to keep it clean and oxygenated.
- Find a bright spot: Just like with soil propagation, place the jar in bright, indirect light.
- Plant when ready: Once you see healthy roots that are at least an inch long, it’s time to transplant them into soil. Be gentle with those new roots!
The “Secret Sauce” (Pro Tips)
Here are a couple of little tricks I’ve picked up over the years:
- Don’t let the leaves touch the water (if water propagating): I mentioned this, but it’s so important I’m repeating it! Any foliage submerged will quickly start to rot, which can contaminate the water and affect your cutting.
- Bottom heat is a game-changer: If you have a seedling heat mat, placing your pots on it can significantly speed up root development. It mimics the warmth of the soil in the spring and encourages those roots to stretch out.
- Don’t be afraid to try again: Sometimes, a cutting just doesn’t make it. Don’t get discouraged! Take note of what might have gone wrong (too much water? too little light?) and try again. Practice makes perfect!
Aftercare & Troubleshooting
Once your cuttings have developed a good root system (you can test by gently tugging on the stem – there should be resistance), it’s time for them to become independent plants.
- Acclimatize them: If your cuttings were in a humid environment (under a bag or dome), gradually introduce them to normal room humidity. Start by taking the cover off for a few hours each day.
- Potting up: Move them into their own small pots with fresh, well-draining potting mix.
- Watering: Water them thoroughly, then allow the top inch of soil to dry out before watering again.
- Light: Continue to provide bright, indirect light.
The most common issue you might encounter is rot. This usually happens when the cuttings are kept too wet. You’ll notice the stem turning mushy and brown, or the leaves will start to yellow and drop off. If you see this, remove the affected cutting immediately to prevent it from spreading. Sometimes, it’s just a matter of adjusting your watering schedule.
A Little Patience Goes a Long Way
Propagating plants is a journey, and Depanthus glaber is a delightful companion on that path. Give your cuttings the right conditions, a little patience, and a lot of love, and you’ll be rewarded with beautiful new plants to share or enjoy yourself. Happy propagating!
Resource:
https://identify.plantnet.org/k-world-flora/species/Depanthus%20glaber%20(C.B.Clarke)%20S.Moore/data