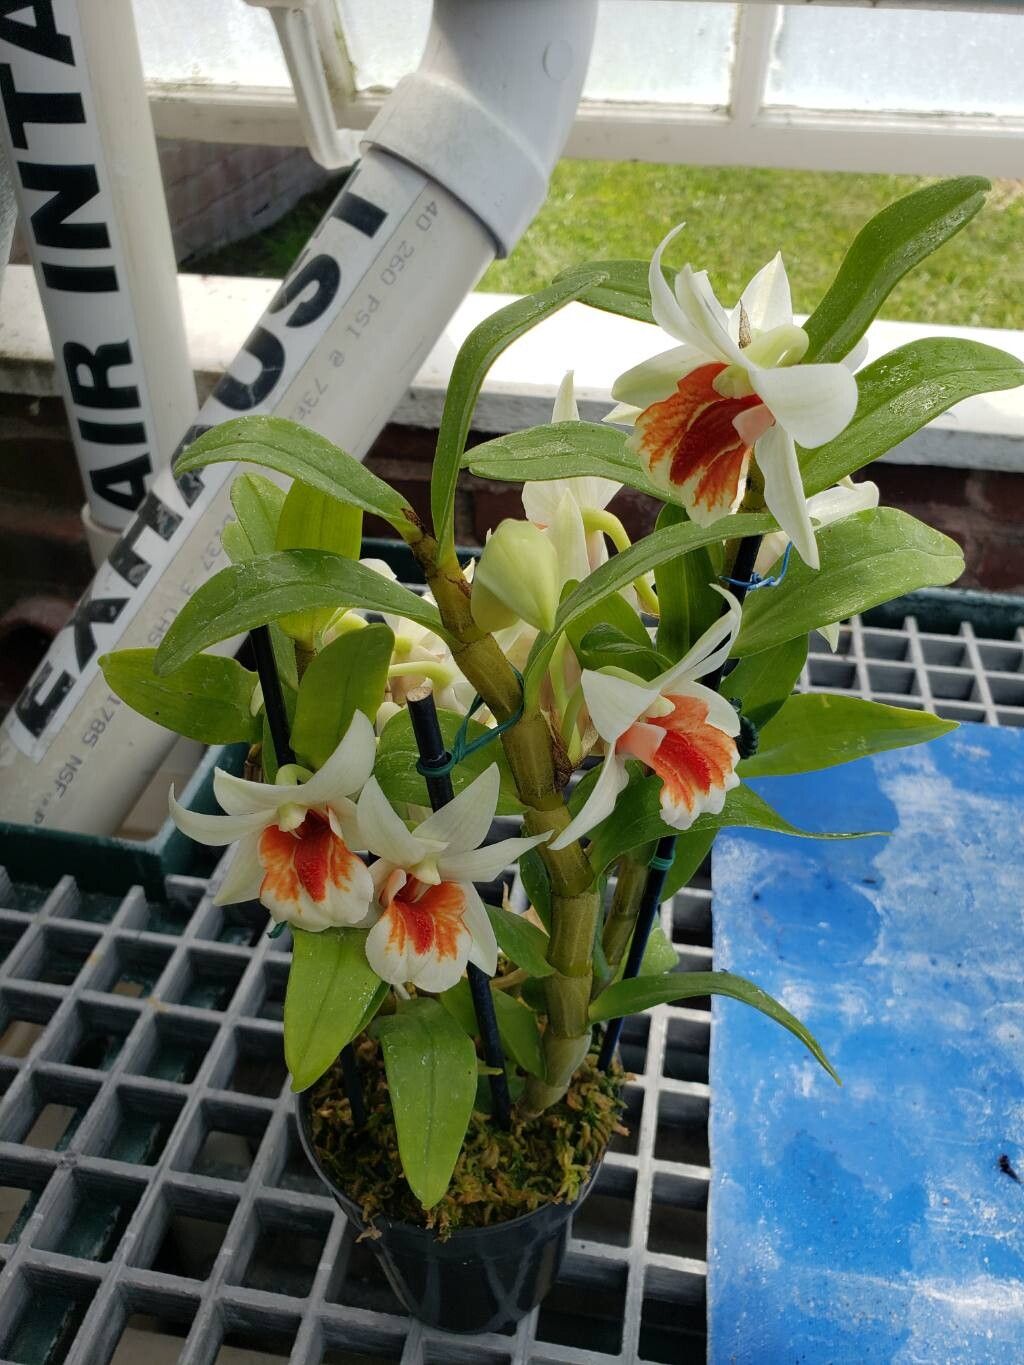
Hey there, fellow plant lovers! It’s so wonderful to connect with you today. I’ve been nurturing my green babies for two decades now, and there’s just something incredibly special about creating new life from an existing one. Today, we’re going to dive into a plant that really stole my heart and, more importantly, how we can multiply its beauty: Dendrobium cruentum.
Why You’ll Love Propagating Dendrobium cruentum
This orchid brings such a delicate charm to any collection. Its graceful blooms are a gentle whisper of elegance. And the best part? Propagating it isn’t nearly as daunting as you might think! While some orchids can be a bit fussy, Dendrobium cruentum is fairly forgiving, making it a fantastic choice for those dipping their toes into orchid propagation. It’s incredibly rewarding to watch a tiny piece of your prized plant flourish into a new, healthy specimen.
When to Get Your Hands Dirty
The absolute best time to start propagating your Dendrobium cruentum is during its active growing season. For most of these orchids, that means late spring through early summer. You want to see new growth emerging, like plump little pseudobulbs or fresh leaves. This indicates the plant has plenty of energy reserves to dedicate to rooting and establishing itself. Trying to propagate when the plant is dormant or stressed is just asking for disappointment, so patience is key here!
What You’ll Need
Gathering your supplies before you begin makes the whole process so much smoother. Here’s what I always have on hand:
- Sharp, sterile pruning shears or a clean, sharp knife: This is crucial for making clean cuts and preventing disease. I usually use a bit of rubbing alcohol to sterilize them.
- Potting medium: A well-draining orchid mix is essential. I like to use a blend of fine-grade bark, perlite, and a little bit of sphagnum moss. You want something that allows air to circulate around the roots but still retains a touch of moisture.
- Small pots or containers: These should have excellent drainage holes. Think small plastic pots or even seedling trays.
- Rooting hormone (optional, but recommended): A powdered or gel rooting hormone can give your cuttings a nice little boost.
- Water: Clean, rainwater or distilled water is best for orchids.
- A spray bottle: For gentle misting.
- Labels: So you don’t forget what you’ve planted!
Bringing New Dendrobium cruentum to Life
The most straightforward way to propagate Dendrobium cruentum is through division. This method is best when your plant has become a bit crowded in its pot or is showing multiple healthy stems.
- Gently remove the orchid from its pot. Turn the pot on its side and tap it gently, or use a blunt tool to ease it out. Be patient; don’t yank!
- Clean away old potting mix. You want to get a good look at the root system and identify where natural divisions occur. You can even rinse some of the old media away with lukewarm water.
- Identify natural divisions. Look for areas where a new growth (a pseudobulb with leaves) emerges from an older stem and has its own set of roots.
- Make the cut. Using your sterile pruning shears or knife, carefully cut between the divisions. Aim to preserve as many healthy roots as possible on each piece. Each new division should ideally have at least two to three pseudobulbs and some healthy roots.
- Dry the cuts. Let the cut surfaces air dry for a day or two in a well-ventilated spot. This helps to callus over the wound and prevent fungal infections.
- Pot up your new babies. Plant each division in its own small pot filled with your prepared orchid mix. Make sure the base of the pseudobulbs is at the surface of the mix.
- Water lightly. Water the new pots very sparingly at first. You don’t want them soggy.
For those adventurous souls, stem cuttings can also work, though they require a bit more attention.
- Select a healthy cane (stem). Look for a mature stem that has at least two or three nodes (where leaves emerge from).
- Make the cut. Using your sterile shears, cut the stem into sections, each with at least two nodes. Disinfect your tool between each cut.
- Prepare the cuttings. Remove any leaves if they are very large or look damaged. You can dip the cut ends into rooting hormone.
- Plant or water prop.
- Planting: Stick the cut end of each section into a pot with a well-draining orchid mix, burying the bottom node slightly. You can also lay them horizontally on the surface of a moist medium.
- Water propagation: You can place the cuttings in a small container of water, ensuring the nodes are submerged, but the leaves are not.
- Maintain humidity. Keep the cuttings in a warm, humid environment. A humidity dome or a plastic bag can work wonders.
The “Secret Sauce” You Won’t Find Everywhere
Okay, pulled up a chair? Let me share a couple of things I’ve learned over the years that make a real difference.
First, when you are dividing your orchid, don’t be afraid to gently tease apart the roots rather than just hacking through them if possible. If you can tease them apart, you’ll retain far more of the existing root system, giving your new plants a significant head start.
Second, for those trying water propagation, it’s tempting to let the leaves dip into the water. Resist this temptation! Leaves submerged in water are prime targets for rot. This is a common mistake that can lead to disappointment, so keep those leaves high and dry.
What Happens Next & When to Worry
Once your divisions or cuttings are potted up, the waiting game begins! Keep the media lightly moist – think damp, not soggy. Misting the leaves daily can also help them stay turgid. If you used stem cuttings, you’ll ideally want to provide gentle bottom heat, which you can achieve with a seedling heat mat. This encourages root development. New roots usually take several weeks, sometimes even a couple of months, to appear. You’ll know you’re successful when you see tiny white nubs emerging from the base of the stem or new leaf growth starting.
Now, what if things don’t go as planned? The biggest tell-tale sign of trouble is rot. This usually looks like shriveled, black, mushy stems or roots. If you see this, it’s often a sign that the medium is too wet and there’s poor air circulation. Sadly, a rotted section is usually a goner, but act quickly. Remove the affected part with your sterile tool and let the remaining healthy sections air dry completely before attempting to re-pot.
Keep Your Orchids Blooming (and Growing!)
Propagating Dendrobium cruentum is such a satisfying journey. It requires a little patience and a touch of tender loving care, but the rewards are immense. Don’t get discouraged if your first attempt isn’t perfect. Every gardener has their share of learning curves! Just enjoy the process of nurturing new life, and soon you’ll have even more of these beautiful orchids to admire. Happy growing!
Resource:
https://identify.plantnet.org/k-world-flora/species/Dendrobium%20cruentum%20Rchb.f./data