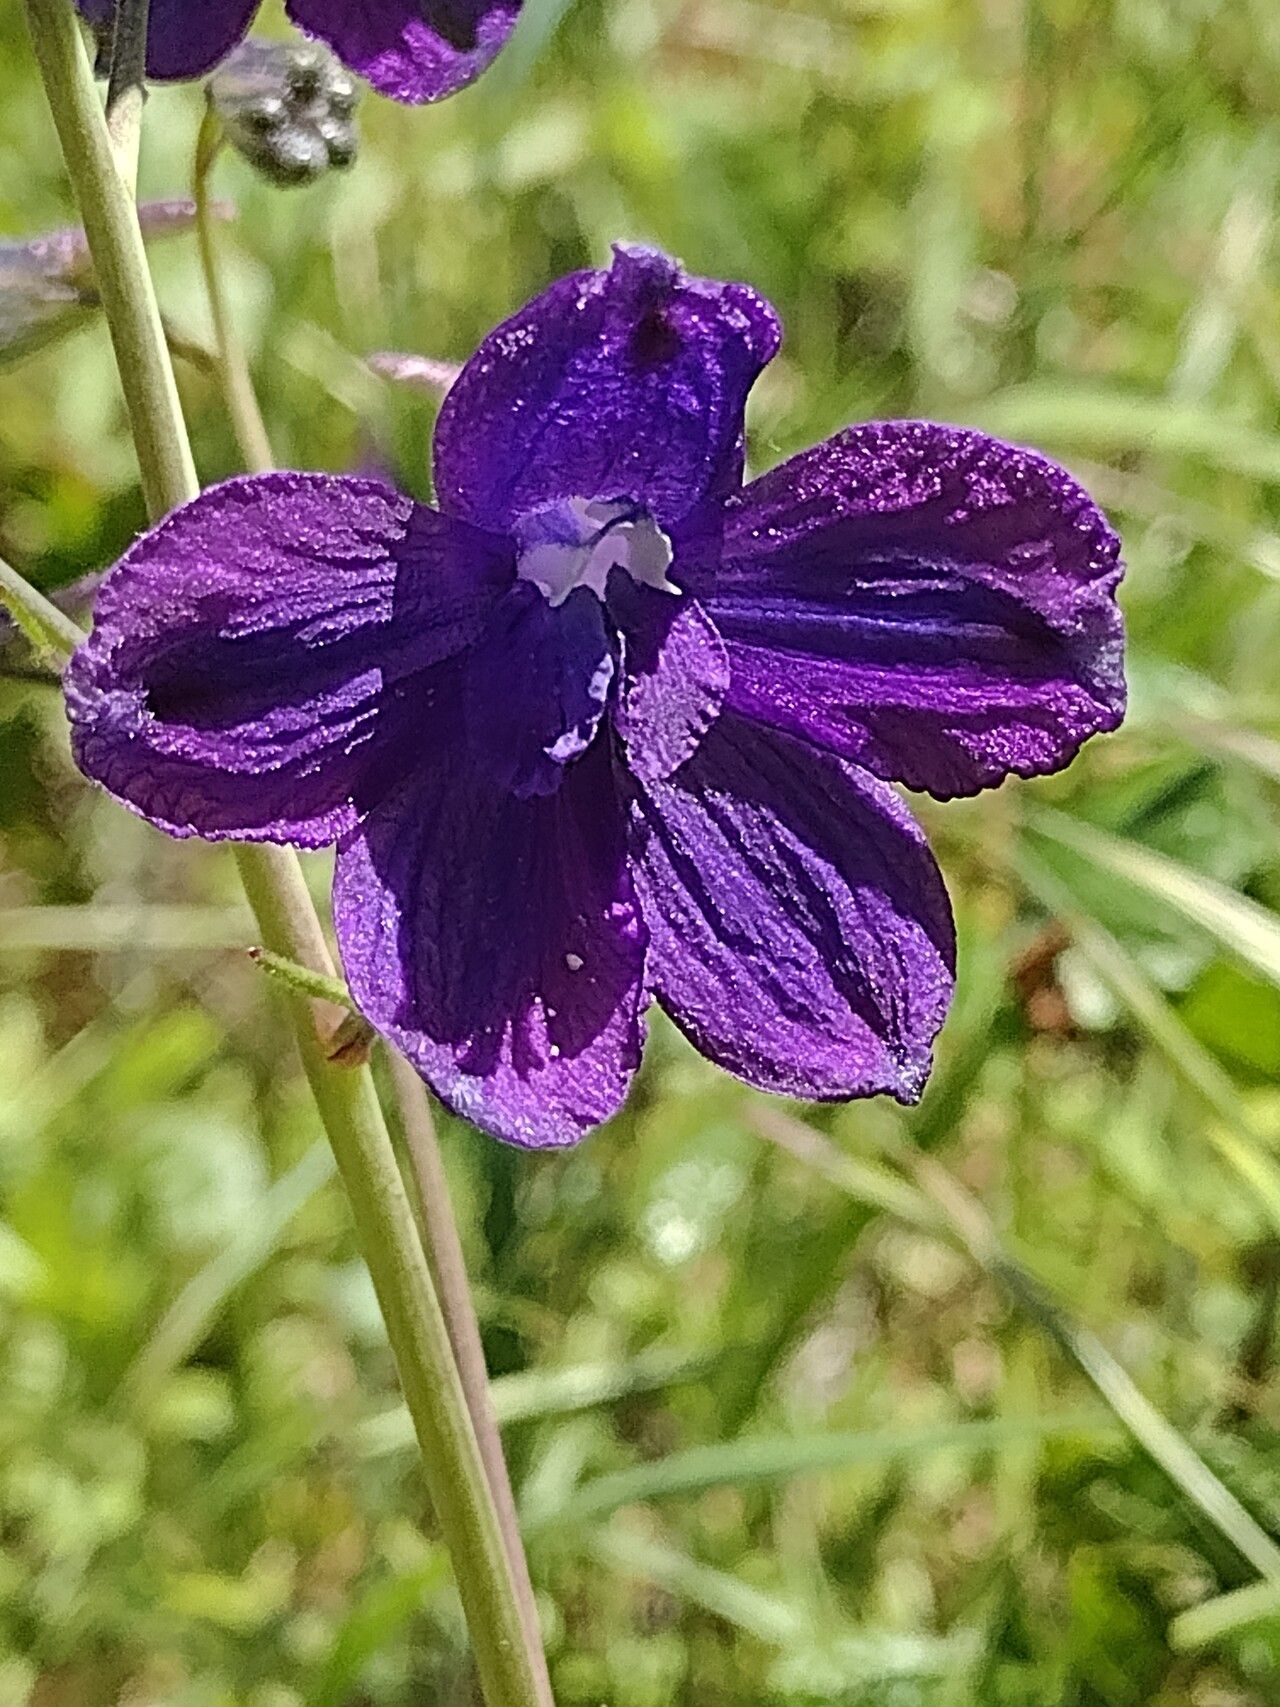
Hello fellow garden enthusiasts! I’m so excited to chat with you today about a real gem in the perennial world: Delphinium hutchinsoniae. If you’re drawn to those stunning, sky-blue spires that just dance in the breeze, you’re not alone. This plant is pure magic in the garden, and there’s something incredibly satisfying about coaxing new life from existing ones. Now, I won’t sugarcoat it – Delphinium hutchinsoniae can be a bit of a diva when it comes to propagation. It’s not the absolute easiest for a total beginner, but with a little care and understanding, you’ll be successful.
The Best Time to Start
For Delphinium hutchinsoniae, the sweet spot for propagation is typically late spring to early summer. This is when the plant is actively growing, and those young, tender shoots are full of vigor. You’re looking for stems that are not yet woody – think of them as the “teenagers” of the delphinium world. They have the best energy reserves to develop roots.
Supplies You’ll Need
Gathering your tools beforehand makes the whole process smoother. Here’s what I always have on hand:
- Sharp Pruning Shears or a Clean Knife: For making clean cuts.
- Potting Mix: A well-draining mix is crucial. I often use a blend of equal parts peat moss, perlite, and a bit of composted bark. You can also find specific seed-starting or propagation mixes.
- Small Pots or Trays: Clean containers that allow for good air circulation.
- Rooting Hormone (Optional, but Recommended): A powder or gel to give cuttings a helpful boost.
- Plastic Bags or a Humidifier Dome: To keep humidity around the cuttings.
- Labeling Stakes: Don’t forget to mark what you’ve planted!
- A Spray Bottle: For gentle misting.
Propagation Methods
The most reliable way to propagate Delphinium hutchinsoniae is through stem cuttings. Division can also work, but cuttings often yield more new plants and are generally less stressful on the parent plant.
Stem Cuttings
- Select Your Cuttings: Head out in late spring or early summer. Look for those non-flowering, healthy shoots that are about 4-6 inches long. Gently twist or cut them off at the base, right where they emerge from the main crown.
- Prepare the Cuttings: Once you have your cuttings, remove the lower leaves. You want to leave just a couple of sets of leaves at the top. If the leaves are very large, you can even snip those in half to reduce water loss.
- Apply Rooting Hormone: Dip the cut end of each stem into your rooting hormone. Tap off any excess.
- Plant the Cuttings: Fill your small pots with your prepared potting mix. Make a hole with your finger or a pencil, then gently insert the treated cutting into the hole. Firm the soil gently around the base.
- Water Gently: Water the pots thoroughly but gently. You don’t want to dislodge the cuttings.
- Create a Humid Environment: This is key! Place the pots inside a clear plastic bag, sealing it at the top, or cover them with a humidity dome. This traps moisture and encourages rooting.
Division
This is best done in early spring as new growth starts to emerge or in early fall after the flowering season.
- Carefully Excavate: Gently dig up the entire clump of your delphinium. You want to disturb the roots as little as possible.
- Identify Divisions: Look for natural breaks in the crown where you can see separate shoots, each with its own roots.
- Separate Gently: Using your hands or a clean spade, carefully pull or cut the clump into sections. Ensure each section has at least one healthy shoot and some roots.
- Replant Immediately: Plant your divisions back into prepared beds or pots, watering them in well.
The “Secret Sauce” (Pro Tips)
- Bottom Heat is Your Friend: For stem cuttings, placing your pots on a seedling heat mat (set to around 70-75°F or 21-24°C) significantly speeds up root development. It mimics the warmth of spring soil.
- Air Circulation is Vital: While we want humidity, stagnant air can lead to fungal issues. If you’re using a plastic bag, open it for a few minutes each day to allow for some air exchange.
- Don’t Be Afraid to Prune (Again!): If a cutting starts to produce a flower bud, pinch it off immediately. The plant’s energy should be focused on root growth, not flowering, at this stage.
Aftercare & Troubleshooting
Once your cuttings have developed roots (you’ll typically see new leaf growth within 3-6 weeks), it’s time to transition them.
- Gradual Acclimation: Slowly remove the plastic bag or humidity dome over a few days. This helps the new plants adjust to less humid conditions.
- Watering: Keep the soil consistently moist, but not waterlogged. A good rule of thumb is to water when the top inch of soil feels dry to the touch.
- Light: Place newly rooted cuttings in bright, indirect light. Avoid direct, scorching sun.
- Troubleshooting: The most common issue is rot, which usually indicates too much moisture and not enough air circulation. If you see wilting and slimy stems, unfortunately, that cutting may be lost. Another sign of failure is if the cutting simply shrivels and dies without any signs of root development. This could be due to lack of moisture, too much direct sun, or simply an unsuccessful start. Don’t get discouraged!
A Little Patience Goes a Long Way
Propagating plants takes a bit of patience, a dash of observation, and a whole lot of love. Seeing those tiny roots form and a new plant emerge is one of gardening’s greatest rewards. So, give it a go! Don’t be afraid to experiment, learn from each attempt, and most importantly, enjoy the process of growing more of those breathtaking blue beauties for your garden. Happy propagating!
Resource:
https://identify.plantnet.org/k-world-flora/species/Delphinium%20hutchinsoniae%20Ewan/data