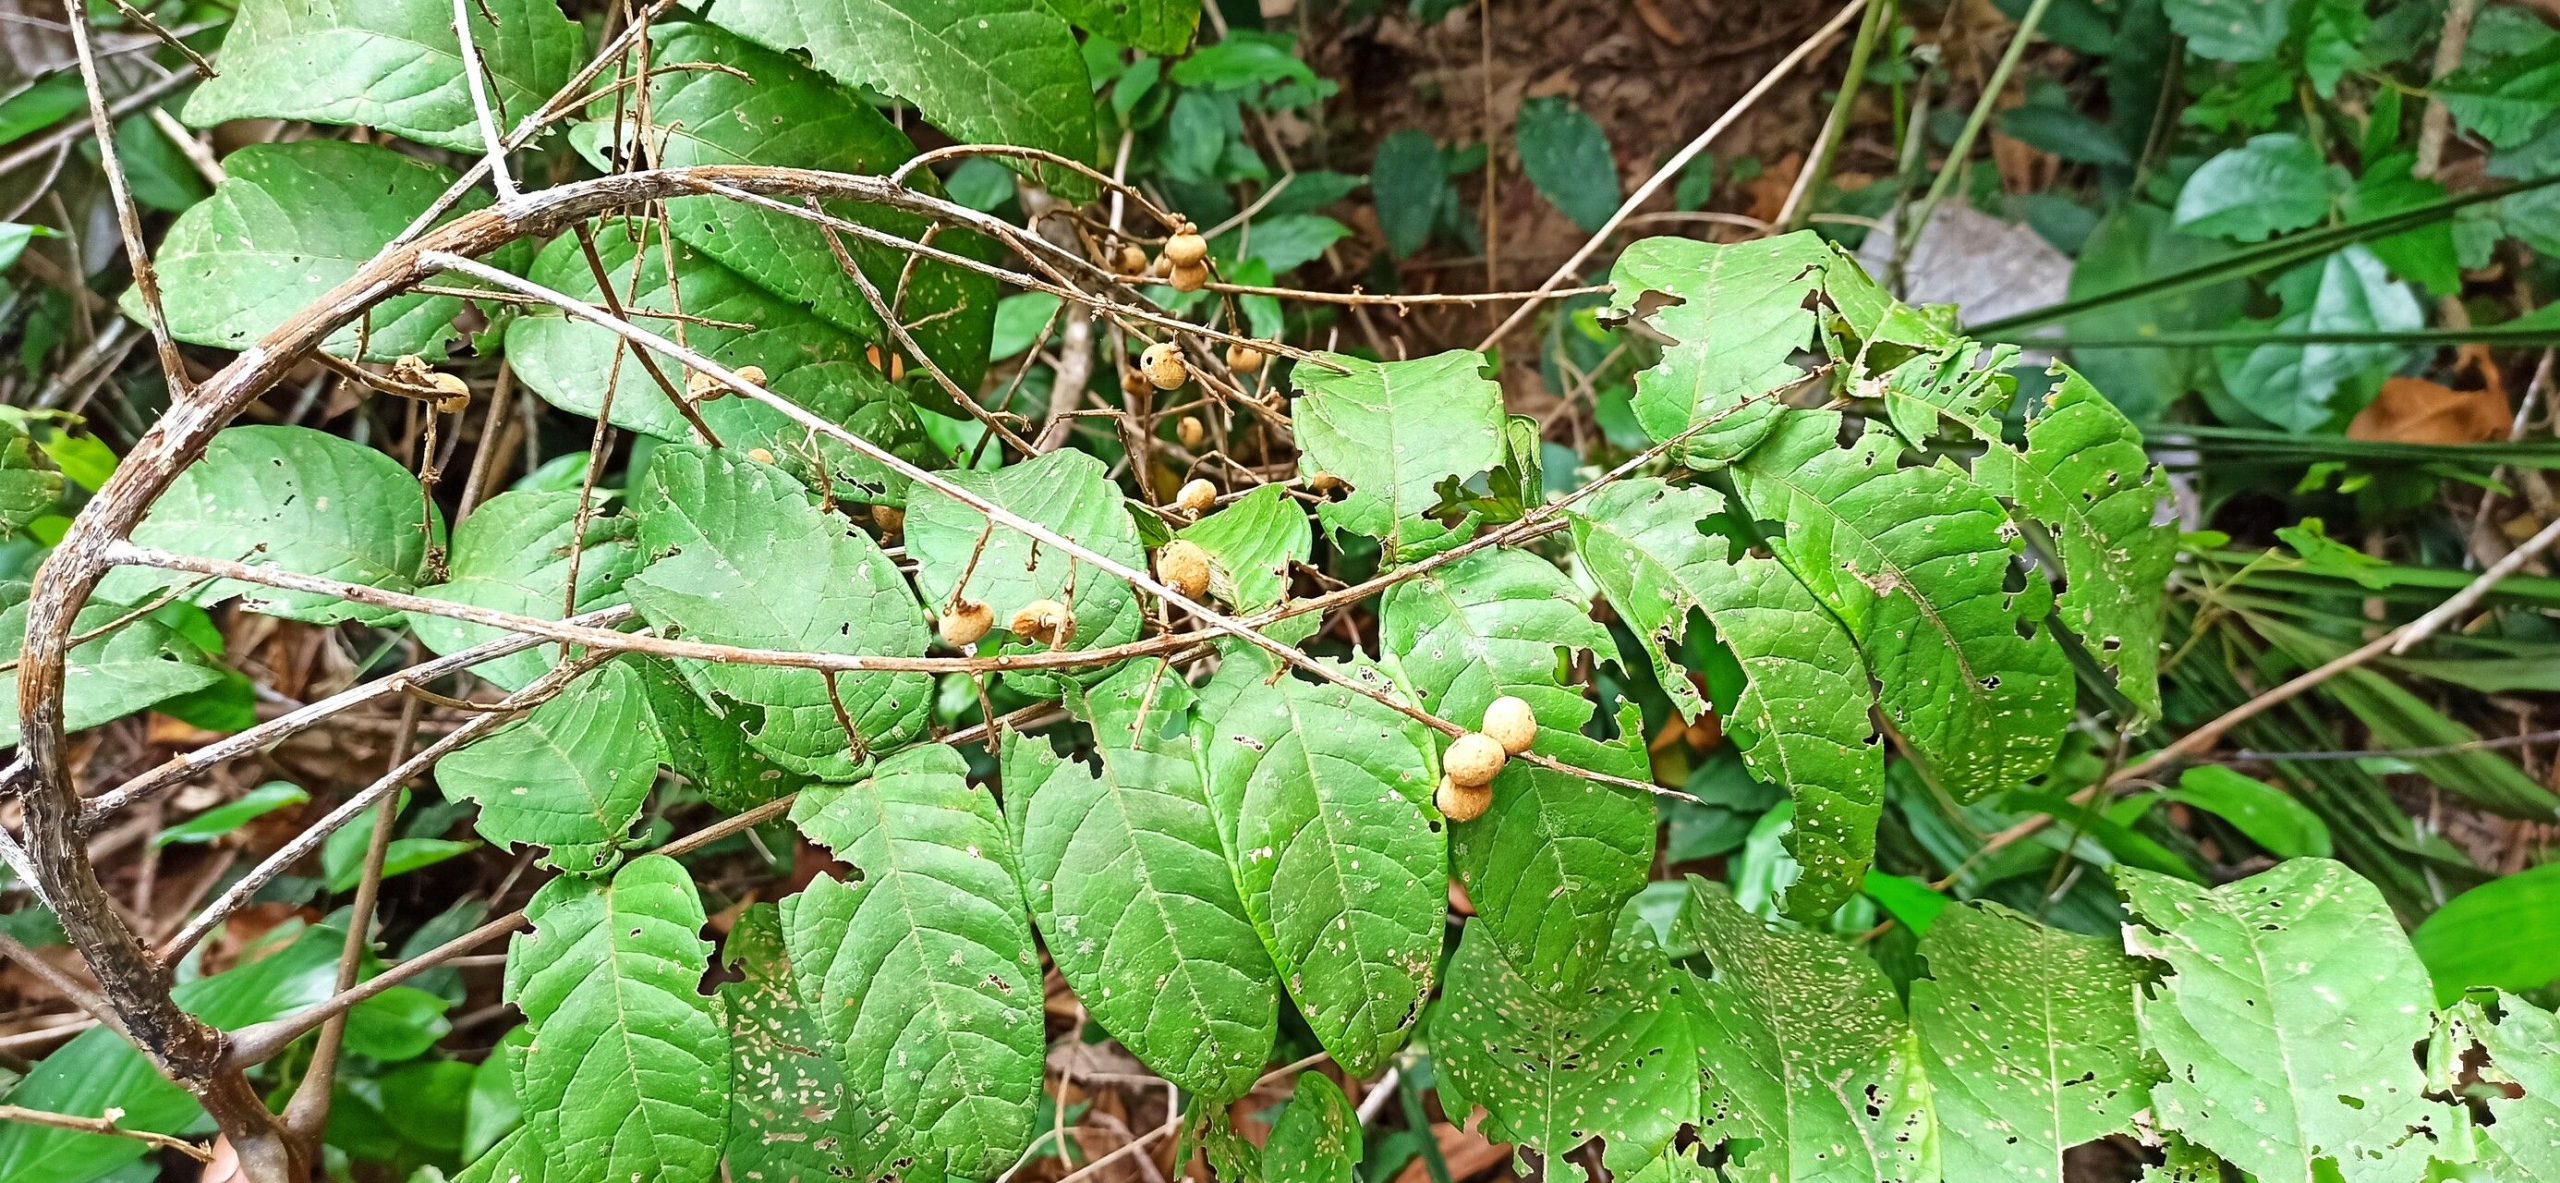
Hello there, fellow plant lover! Today, we’re diving into the wonderful world of Deinbollia fulvotomentella. If you haven’t encountered this beauty yet, picture this: lush, velvety leaves that have a delightful sheen, often with a lovely reddish underside. They bring such a unique texture and vibrancy to any corner of the home. And the best part? Propagating them is a truly rewarding experience, especially when you see your own little babies taking root! Now, I’ll be honest, Deinbollia fulvotomentella isn’t the absolute easiest plant to propagate for a complete beginner, but with a little patience and these tips, you’ll be well on your way. It’s more of a rewarding challenge than a daunting task.
The Best Time to Start
For the highest success rate with Deinbollia fulvotomentella, I find that the late spring or early summer is simply unbeatable. This is when the plant is actively growing and has plenty of energy to put into rooting. You’re looking for healthy, vigorous stems that aren’t flowering. Think of it as tapping into the plant’s peak performance season.
Supplies You’ll Need
Before we get our hands dirty, let’s gather our tools of the trade. Having everything ready makes the process so much smoother.
- Sharp Pruning Shears or a Clean Knife: For making clean cuts. No dull tools allowed, as they can damage the stem.
- Rooting Hormone (Optional but Recommended): A powder or gel to give your cuttings a helpful boost.
- Well-Draining Potting Mix: A good blend is key. I like a mix of equal parts peat moss or coco coir, perlite, and fine bark chips. This ensures good aeration and prevents soggy roots.
- Small Pots or Propagation Trays: Clean pots are a must to avoid introducing diseases.
- Plastic Bag or Clear Dome: To create a mini greenhouse effect.
- Watering Can with a Fine Rose: For gentle watering.
- Labels: So you don’t forget what you’ve propagated!
Propagation Methods
We’ll focus on the most reliable method for Deinbollia fulvotomentella: stem cuttings.
- Take Your Cuttings: Select a healthy, healthy, non-woody stem. Look for one that has at least 2-3 sets of leaves. Using your sharp pruning shears or knife, make a clean cut just below a leaf node (where a leaf attaches to the stem). You want cuttings that are about 4-6 inches long.
- Prepare the Cuttings: Gently remove the lower leaves from your cutting, leaving just the top 2-3 leaves. This prevents them from rotting in the soil. If your cutting is very long, you can even cut the remaining leaves in half horizontally to reduce water loss.
- Apply Rooting Hormone (If Using): Dip the cut end of the stem into your rooting hormone, tapping off any excess.
- Plant Your Cuttings: Fill your small pots or propagation tray with your well-draining potting mix. Make a small hole in the center of each pot with your finger or a pencil. Insert the cut end of the stem into the hole, making sure it’s firm in the soil. Gently firm the soil around the stem.
- Create a Humid Environment: Water the soil gently until it’s moist but not waterlogged. Then, cover the pot with a plastic bag (lifted slightly so it doesn’t touch the leaves) or a clear plastic dome. This creates that crucial humid environment that cuttings need.
The “Secret Sauce” (Pro Tips)
Here are a few little tricks I’ve learned over the years that really make a difference:
- Don’t Let the Leaves Touch the Water: If you decide to try water propagation (though I find soil is more reliable for this one), make absolutely sure that no leaves are submerged. Any foliage in the water will quickly turn mushy and rot, taking your cutting with it.
- Bottom Heat is Your Friend: If you have a seedling heat mat, use it! Placing your pots on a heat mat can significantly speed up the rooting process. It mimics the warmth of spring soil and gives those little root cells a real kickstart.
- Be Patient with Leaf Drop: Don’t panic if a cutting drops a few leaves. It’s normal as the plant conserves energy to focus on root development. As long as the stem remains firm and green, there’s hope!
Aftercare & Troubleshooting
Once your cuttings have been in their mini-greenhouses for a few weeks, it’s time to start checking for roots. You can gently tug on the cutting. If you feel resistance, you have roots!
- Acclimatize Gradually: Once roots are established, gradually remove the plastic covering over a week or so. Start by lifting it for a few hours each day, then leaving it off completely. This helps the new plant adjust to normal humidity.
- Watering: Continue to water when the top inch of soil feels dry. Be gentle; overwatering is the quickest way to invite trouble.
- Troubleshooting: The most common issue is rot, which usually stems from too much moisture and poor drainage. If you see stems turning black and mushy, or leaves yellowing and dropping excessively, it’s a sign of rot. Unfortunately, this is often irreversible. The best defense is excellent drainage and avoiding overwatering. If you notice mold on the soil surface, you can try scraping off the top layer and replacing it with fresh potting mix, but a more serious issue might require discarding the affected cutting to prevent it from spreading.
And there you have it! Propagating Deinbollia fulvotomentella might take a little time and attention, but the joy of watching new life sprout from a simple stem is truly magical. Be patient with yourself and the process. Happy propagating, and enjoy those beautiful new additions to your plant family!
Resource:
https://identify.plantnet.org/k-world-flora/species/Deinbollia%20fulvotomentella%20Baker%20f./data