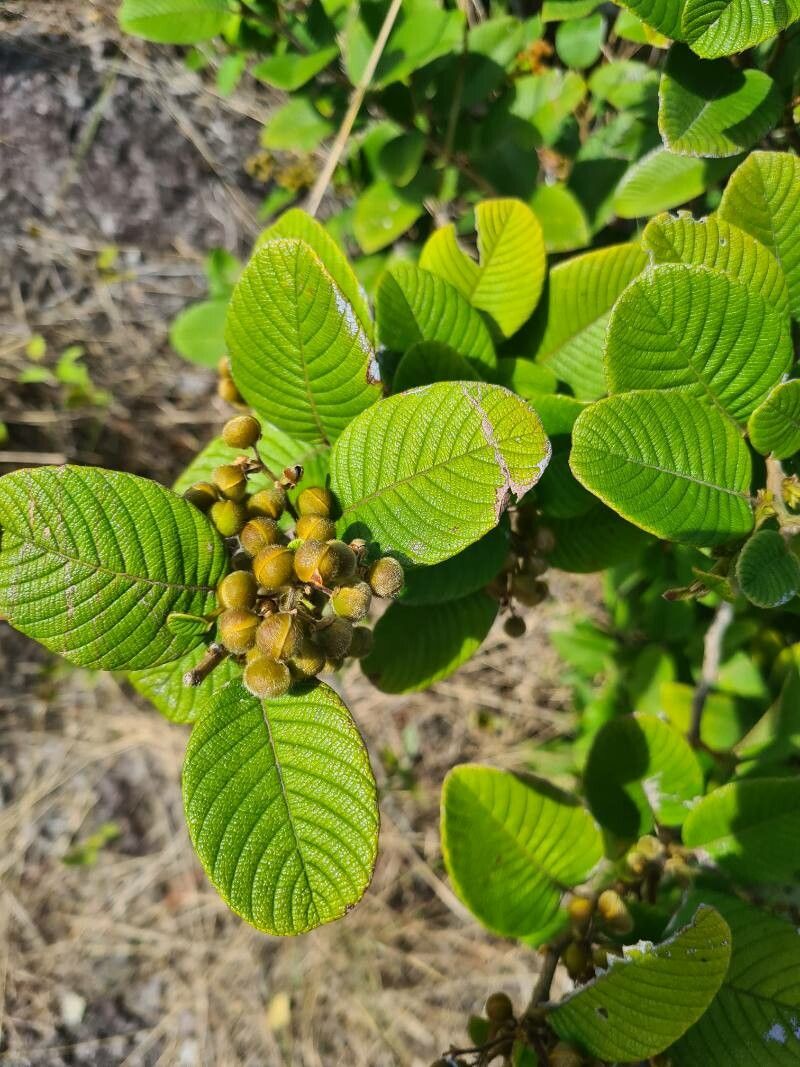
Oh, Davilla kunthii! If you haven’t encountered this beauty yet, you’re in for a treat. It’s that gorgeous vine, often seen draped artfully over fences or arbors, with its lovely, often delicate, foliage and sometimes even charming little flowers. For me, the real magic is in its ability to take a plain wall and transform it into something spectacular. And the reward of seeing your own little piece of that magic grow from scratch? Truly unparalleled. Now, when it comes to propagating Davilla kunthii, I’d say it’s moderately easy. It’s not quite a “stick it in the ground and forget it” kind of situation, but with a bit of attention, you’ll feel like a pro in no time.
The Best Time to Start
Hands down, the absolute best time to take cuttings from your Davilla kunthii is during its active growing season, which usually falls in late spring to early summer. You’re looking for stems that are semi-hardwood. This means they’re not brand new, floppy green growth, but also not woody and old. Think of a stem that bends but doesn’t snap easily – that’s your sweet spot. Starting now gives your cuttings the best chance to root before the cooler weather sets in.
Supplies You’ll Need
Gathering your tools beforehand makes the whole process much smoother. Here’s what I always have on hand:
- Sharp Pruning Shears or a Craft Knife: Clean cuts are crucial for good rooting.
- Rooting Hormone: While not strictly essential for every plant, it gives Davilla kunthii a significant boost. I like a powder or gel.
- Well-draining Potting Mix: A good blend is key. I often use a 50/50 mix of peat moss or coco coir and perlite for cuttings. Some people swear by a cactus mix.
- Small Pots or Seedling Trays: Pots with drainage holes are a must!
- Clear Plastic Bags or a Propagation Dome: To create a humid environment.
- Watering Can with a Fine Rose Attachment: Gentle watering is important.
- A Small Dibber or Pencil: For making planting holes.
- Labels and a Pen: You’ll thank yourself later!
Propagation Methods
For Davilla kunthii, my go-to and generally most successful method is stem cuttings. It’s tried and true, and when done right, yields great results.
Stem Cuttings:
- Select Your Stems: Snip young, semi-hardwood stems from a healthy, well-established plant. Aim for cuttings that are about 4-6 inches long.
- Prepare the Cuttings: Remove the leaves from the bottom two-thirds of the stem. If a leaf is particularly large, you can cut it in half to reduce water loss. Leave just a few leaves at the top.
- Apply Rooting Hormone: Dip the cut end of each stem into your rooting hormone, tapping off any excess. This helps stimulate root development.
- Plant Your Cuttings: Fill your pots with your prepared potting mix. Use your dibber or pencil to make a hole, then carefully insert the prepared cutting. Gently firm the soil around the base so the cutting stands upright.
- Water Gently: Water thoroughly but gently until the soil is evenly moist.
The “Secret Sauce” (Pro Tips)
Here are a couple of little tricks I’ve learned over the years that really make a difference:
- Cleanliness is King: Before you even touch your plant, make sure your tools and pots are sparkling clean. This helps prevent introducing any nasty bacteria or fungi that can kill a precious cutting before it even has a chance. A quick rinse with soapy water and then a bleach solution should do the trick.
- The Mist is Your Friend: Davilla kunthii loves a bit of humidity. Once your cuttings are planted, mist their leaves regularly, especially in the first few weeks. Alternatively, pop the pots into a clear plastic bag, supported by stakes so the leaves don’t touch the plastic, or use a propagation dome. This creates a microclimate that roots love.
Aftercare & Troubleshooting
Once your cuttings are planted, patience is your greatest virtue. Keep the soil consistently moist but not soggy. Place the pots in a bright, indirect light location. Avoid direct sun, as it can scorch those delicate new leaves.
You’ll know your cuttings are rooting when you feel gentle resistance if you tug lightly on a stem. You might also see new leaf growth appearing. This usually takes anywhere from 4 to 8 weeks, sometimes a bit longer.
The most common issue you might encounter is rot. If you see mushy, blackening stems or leaves, it’s a sign of too much moisture. In this case, you might need to remove the affected cutting, allow the soil to dry out a bit more, and potentially improve air circulation. Overwatering is the biggest culprit here, so err on the side of caution if you’re unsure.
A Encouraging Closing
Watching a new plant emerge from a tiny cutting is one of gardening’s most profound joys. Don’t be discouraged if not every cutting takes. Gardening is a journey of learning, and each attempt brings you closer to success. Enjoy the process, celebrate every little sign of life, and soon you’ll be sharing your beautiful Davilla kunthii with friends!
Resource:
https://identify.plantnet.org/k-world-flora/species/Davilla%20kunthii%20A.St.-Hil./data