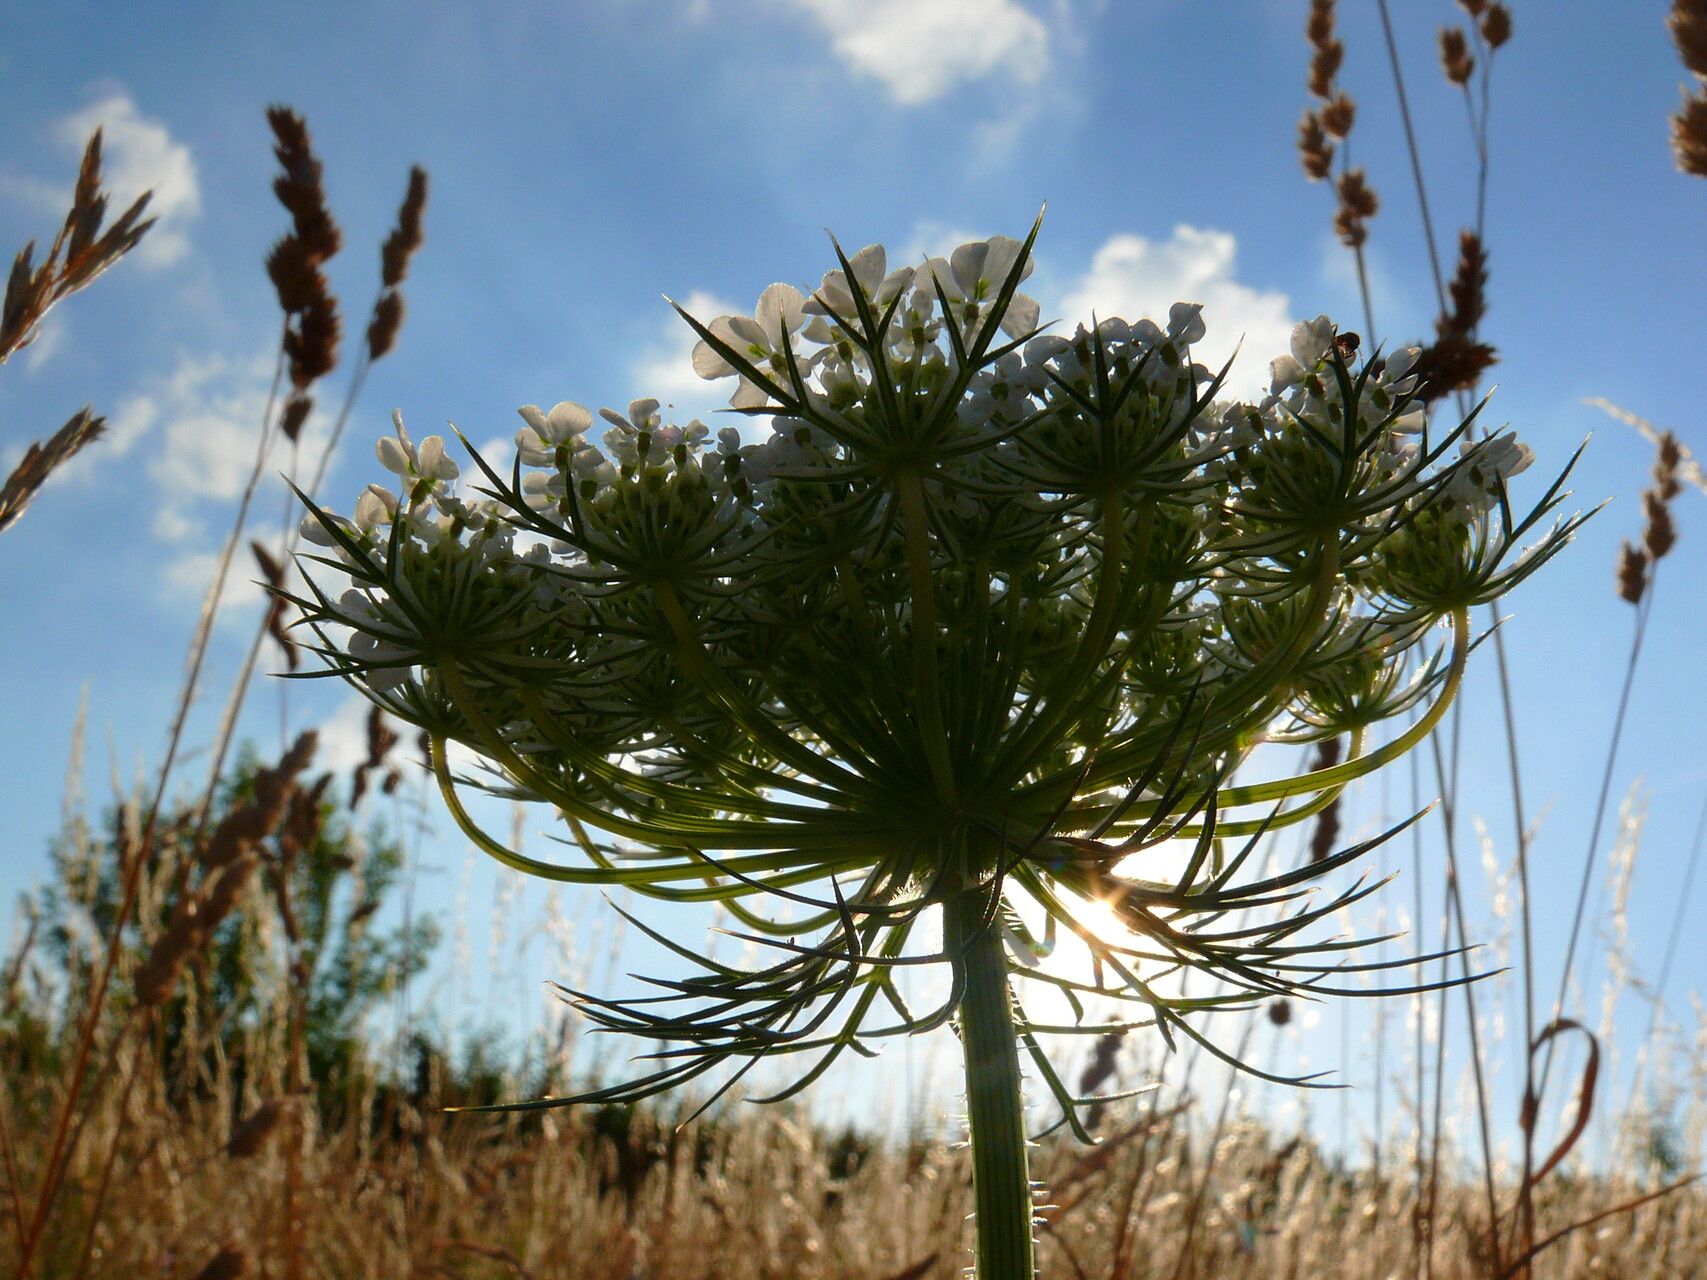
Oh, hello there, fellow garden enthusiast! Pull up a chair, let’s chat about Daucus muricatus. If you’ve ever admired its delicate, lace-like foliage and the subtle charm of its white, umbel-shaped flowers, you’re not alone. This beauty, sometimes called the “prickly carrot” (though don’t worry, the prickles are quite mild!), can be a delightful addition to the edgier parts of your garden, perhaps weaving through bolder blooms or enlivening a herb spiral.
Propagating Daucus muricatus is a wonderful way to expand your collection or share its unique prettiness with friends. For beginners, I’d say it’s moderately easy. It’s not quite as forgiving as a spider plant, but with a little attention, you’ll be celebrating successful new growth in no time.
The Best Time to Start
For the highest success rate, the late spring to early summer is your sweet spot. This is when the plant is actively growing, fueled by warmer temperatures and longer days. Starting then gives your new cuttings plenty of time to establish before the cooler weather sets in. You can also try in early autumn, provided you can offer some protection if your winters are harsh.
Supplies You’ll Need
Gathering your supplies beforehand makes the whole process much smoother. Here’s what you’ll want to have on hand:
- Sharp Pruning Shears or a Clean Knife: For taking clean cuts on your parent plant.
- Potting Mix: A light, well-draining mix is key. I like to use a blend of equal parts peat-free compost, perlite, and a bit of grit.
- Small Pots or Seed Trays: Clean ones are crucial to prevent diseases.
- Rooting Hormone (Optional but Recommended): This can give your cuttings a little boost. Look for one containing IBA.
- Watering Can or Spray Bottle: For gentle watering.
- Labels: To keep track of what you’ve planted and when!
- Clear Plastic Bag or Propagator Lid: To create a humid environment.
Propagation Methods
Daucus muricatus is most reliably propagated from stem cuttings. It’s a tried-and-true method that usually yields great results.
Stem Cuttings
- Select Your Mother Plant: Find a healthy, vigorous Daucus muricatus plant. Look for stems that are neither too woody nor too soft and new.
- Take Your Cuttings: Using your clean shears or knife, take cuttings that are about 4-6 inches long. Make the cut just below a leaf node (where a leaf attaches to the stem). You want to include at least two nodes on each cutting. Remove any lower leaves that might fall below the soil line once planted.
- Prepare the Cuttings: If you’re using rooting hormone, dip the cut end of each stem into the powder or gel. Gently tap off any excess.
- Plant Your Cuttings: Fill your small pots or trays with your prepared potting mix. Make a small hole with a pencil or your finger. Insert the cut end of the stem into the hole, ensuring at least one leaf node is buried in the soil. Gently firm the soil around the stem.
- Create Humidity: Water the soil gently but thoroughly. Then, cover the pot or tray loosely with a clear plastic bag or place a propagator lid over it. This traps moisture and creates the high humidity cuttings need to develop roots.
- Find a Good Spot: Place the pots in a bright location with indirect light. Avoid direct, scorching sun, which can dehydrate the cuttings. A greenhouse bench or a bright windowsill is perfect.
The “Secret Sauce” (Pro Tips)
Now, for a couple of my little secrets that have helped me over the years:
- Don’t Let Those Leaves Touch the Water (If You’re Water Propagating): While I focus on stem cuttings for Daucus muricatus, if you’re tempted to try water propagation with other plants and find yourself with a surplus of cuttings, remember this: any leaves submerged in water will rot and introduce disease. Keep all foliage above the water line.
- Bottom Heat is Your Friend: If you have access to a heated propagator mat, use it! Providing gentle bottom heat can significantly speed up root development. It mimics the warmth of spring soil and gives your cuttings a real advantage. Aim for a temperature around 70-75°F (21-24°C).
Aftercare & Troubleshooting
Once your cuttings are planted and nestled into their humid little worlds, keep an eye on them.
- Watering: The soil should remain consistently moist but not waterlogged. Mist the leaves occasionally if the humidity seems to be dropping, especially if you don’t have a cover.
- Checking for Roots: After a few weeks, you can gently tug on a cutting. If you feel resistance, roots are forming! You can also look for new leaf growth, which is another good sign.
- Vanishing Act: If a cutting turns yellow and wilts, it might not be getting enough humidity or it could be too much direct sun. If it turns mushy and black, that’s usually a sign of rot, often from overwatering or a lack of air circulation. Don’t be discouraged if a few don’t make it – it’s all part of the learning curve. Just remove the rotting cutting so it doesn’t affect others.
- Transplanting: Once the roots are well-established and you see good growth, you can carefully pot up your new Daucus muricatus into their own individual pots. Continue to keep them well-watered and in bright, indirect light until they are strong enough to be planted outdoors.
A Encouraging Closing
Propagating plants is such a rewarding journey. It connects us to the cycles of nature and allows us to multiply the beauty we cherish. Be patient with your Daucus muricatus cuttings; sometimes they take a bit longer to show their enthusiasm. Enjoy the process, celebrate each tiny new root, and soon you’ll have a whole garden full of this lovely plant! Happy gardening!
Resource:
https://identify.plantnet.org/k-world-flora/species/Daucus%20muricatus%20(L.)%20L./data