Oh, hello there! Come on in, grab a mug. I’ve been meaning to chat about one of my favorite under-the-radar beauties: Daucus decipiens. If you’re looking for something a little different to add to your garden – something with delicate, lacy foliage and a touch of wild charm – then this is your gal. And the best part? She’s a joy to multiply!
Why You’ll Love Growing Daucus decipiens
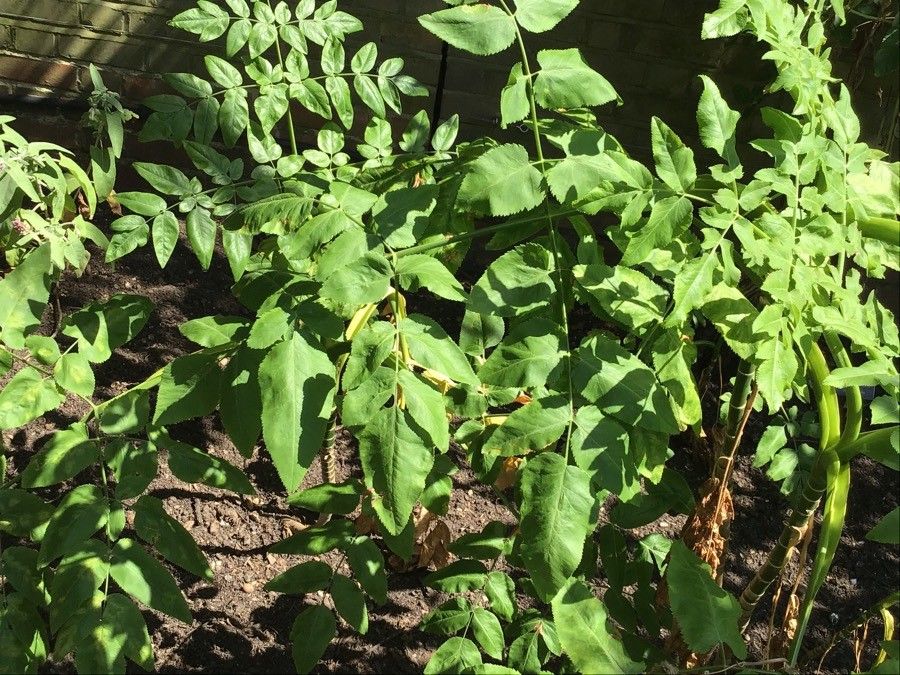
Daucus decipiens, sometimes called the ‘False Carrot’ or ‘Wild Carrot’ relative, has this gorgeous, airy quality that just softens any planting. Its intricate leaves are a delight, and if you’re lucky, it might even send up a few of those classic white Queen Anne’s Lace-like flowers. Propagating it is wonderfully rewarding. Seeing a tiny cutting transform into a thriving plant is pure gardening magic! For those of you just starting out, I’d say Daucus decipiens is a moderately easy plant to propagate. It’s not foolproof, but with a little attention, you’ll be well on your way.
The Best Time to Start
Honestly, the sweetest spot for propagating Daucus decipiens is in late spring to early summer. This is when the plant is really motivated to grow after its spring awakening. You’ll have lush, healthy stems that are full of life and ready to put down roots. Whenever you see new growth really taking off, that’s your cue.
Supplies You’ll Need
Here’s a little rundown of what I usually have on hand:
- Sharp pruning shears or a clean craft knife: For making clean cuts.
- Small pots or seed trays: With good drainage holes, of course.
- A well-draining potting mix: I like a blend of seed starting mix and perlite (about a 50/50 ratio works wonders).
- Rooting hormone (optional but recommended): Helps speed things up.
- Watering can with a fine rose: For gentle watering.
- Plastic bags or a propagation dome: To create a humid environment.
- A tray for bottom watering: Makes life so much easier.
My Favorite Propagation Methods
I usually tackle Daucus decipiens with stem cuttings. It’s my go-to, and it works like a charm.
Stem Cuttings: The Reliable Choice
- Select your parent plant: Look for a healthy, vigorous Daucus decipiens that’s not flowering.
- Take the cuttings: Using your clean shears, cut a healthy stem that’s about 4-6 inches long. Try to take it just below a leaf node (where a leaf meets the stem). Remove any flowers or flower buds – they steal energy!
- Prepare the cutting: Gently strip off the lower leaves, leaving just a couple at the very top.
- Dip in rooting hormone: If you’re using it, dip the cut end of the stem into the rooting hormone powder. Tap off any excess.
- Plant the cutting: Fill your small pots with your prepared potting mix. Make a hole with your finger or a pencil, then insert the cutting, making sure the nodes where you removed the leaves are buried. Gently firm the soil around it.
- Water gently: Give the pot a good, gentle watering from the top until water drains from the bottom.
- Create humidity: Pop the pot into a plastic bag or cover it with a propagation dome. This is key to preventing the cuttings from drying out before they root. You just want enough air circulation to prevent mold.
The “Secret Sauce” (Pro Tips)
Here are a couple of things I’ve learned over the years that really make a difference:
- Don’t let the leaves touch the water! If you’re tempted to try water propagation (which Daucus decipiens can do, but it’s a bit trickier for beginners), make sure none of the leaves are submerged. They’ll just rot and take the whole cutting down with them. For stem cuttings in soil, this means ensuring all the removed leaves are well below the soil line.
- Bottom heat is your friend. If you have a heat mat, placing your pots on it can significantly speed up root development. It mimics the warmth of spring and gives those root cells a lovely little boost to get going.
Aftercare & Troubleshooting
Once your cuttings are planted, place them in a bright spot out of direct sunlight. A north-facing windowsill is often perfect.
Check for roots in about 3-4 weeks. You can gently tug on a cutting; if there’s resistance, congratulations, you have roots! Slowly acclimate your new plant to normal humidity by gradually opening the plastic bag over a few days.
The most common sign of trouble is wilting and browning, which usually means it’s drying out too much. Conversely, you might see ʾmold or rotʾ, which indicates too much moisture and not enough air circulation. If you see rot, remove the affected cutting immediately and try to improve air flow.
Keep Growing!
Propagating plants is such a rewarding journey. It teaches you so much about patience and the resilience of nature. Don’t be discouraged if not every cutting takes – it happens to all of us! Just keep trying, learn from each one, and before you know it, you’ll have a beautiful collection of Daucus decipiens to share. Happy growing!
Resource: